- Published on
A Developer's Guide to Git Conflict Resolution
- Authors

- Name
- Gabriel
- @gabriel__xyz
Git conflict resolution is what happens when you have to manually step in and fix competing changes made to the same file. It's a core skill you'll need when two branches have gone their separate ways and a standard git merge or git rebase just can't figure out how to combine them on its own.
Why Git Conflicts Happen in Real-World Development

Merge conflicts aren't a sign you did something wrong; they’re a totally normal part of building software with a team. Instead of dreading them, think of conflicts as communication checkpoints. They’re just Git’s way of saying, "Hey, a couple of people touched the same code, and I need a human to make the final call."
Figuring out why they pop up is the first step to getting good at fixing them.
With Git being the go-to version control system for practically everyone, these situations are more common than ever. As of 2025, Git adoption shot up to 93.87% among developers, making it the standard for modern projects. More developers and distributed teams mean more branches, which naturally leads to more conflicts. You can read more about version control system trends to get the full picture.
The Anatomy of a Merge Conflict
At its heart, a conflict happens when Git is faced with a logical puzzle it can't solve alone during a merge. This usually boils down to a few classic scenarios:
- Concurrent Line Edits: Two developers change the exact same lines of code in the same file, but on different branches. For instance, Developer A refactors a function's logic while Developer B is busy fixing a bug inside that very same function.
- File Deletion vs. Modification: One developer deletes a file on their branch, while another developer is still making changes to it on a different branch. Git is stuck—should it keep the modified file or get rid of it?
- Divergent Histories: The two branches have evolved so much since they were created that their histories are just too different for Git to merge them automatically.
This is where the idea of a "three-way merge" comes into play. Git doesn't just look at the two branches you're trying to combine. It also looks at a third point: the common ancestor commit where the two branches originally split. A conflict is born when the changes on both branches clash with each other relative to that common starting point.
Keeping a clean working directory and fetching the latest changes often aren't just good habits—they're your first line of defense in making git conflict resolution a systematic, stress-free process.
Fast-Forward vs. Three-Way Merges
To really get a handle on conflicts, it helps to know when they don't happen.
If the branch you're merging into (say, main) hasn't had any new commits since you created your feature branch, Git can do a fast-forward merge. It’s super simple. Git just moves the main branch pointer forward to the latest commit of your feature branch. No new merge commit is created, and conflicts are impossible.
But the moment the target branch moves on with new commits, a three-way merge becomes necessary. This process creates a brand-new merge commit that ties the two divergent histories together. This is the scenario where conflicts live and breathe. Understanding this distinction helps you anticipate when a conflict might be lurking around the corner so you can be ready for it.
Resolving Conflicts Directly in the Terminal
While visual tools are great, mastering Git conflict resolution right in the terminal is a core skill for any developer. It’s fast, works on any system with Git installed, and gives you a much better feel for what’s happening under the hood. When a git pull or git merge fails, the command line is your most direct path to getting things sorted.
The first thing you’ll see is a message from Git like Automatic merge failed; fix conflicts and then commit the result. This isn't a signal to panic; it’s your cue to take the wheel. The very next thing you should do is figure out what you're dealing with.
Identifying the Conflicting Files
During a conflict, your best friend is git status. Run this command, and you'll get a clear, no-nonsense report of the problem. It lists all the conflicted files under an "Unmerged paths" section, pointing you exactly where to focus. You'll see something like both modified: styles/main.css.
Getting this initial diagnosis right is crucial. For the 65% of developers who run into merge conflicts regularly, using commands like git status and git diff is a proven way to work through them. These commands provide clear insights that can cut down resolution time by as much as 40%. You can explore the latest findings on GitFlow merge conflicts for more detailed strategies.
Once you know which files are the culprits, git diff can give you a closer look at the competing changes, but the real work happens inside the file itself.
Decoding the Conflict Markers
Open any conflicted file in your favorite text editor, and you’ll see Git has left some special markers for you. These markers fence off the conflicting code blocks, showing you exactly what needs to be fixed.
<<<<<<< HEAD: This marks the start of the changes from your current branch—the version you have locally.=======: This line is the divider, separating your version from the incoming one.>>>>>>> <branch-name>: This marks the end of the changes from the branch you're trying to merge.
Your job here is to be the editor. You have to manually delete these markers and edit the code to create the final, correct version. Sometimes you'll keep your version, sometimes you'll take the incoming one, and other times you'll need to blend them together.
Below is a typical view of what Git shows you during a basic merge, where a new merge commit is created to tie the histories together.
This visual shows how a merge commit acts as a junction, connecting two previously separate lines of development.
The goal is to produce clean, functional code, which means removing every last
<<<<<<<,=======, and>>>>>>>line. Git won't let you commit until these markers are gone.
Finalizing the Resolution
After you've manually edited each conflicted file and are happy with the changes, you need to let Git know the problem is solved. It’s a simple, two-step process to wrap things up.
- Stage the Resolved Files: For each file you've fixed, run
git add <filename>. This moves the file from the "Unmerged paths" list to the "Changes to be committed" section, signaling to Git that the conflict in that file is resolved. - Commit the Merge: Once all your fixed files are staged, finish the job with
git commit. Git will usually pre-populate a commit message for you, something likeMerge branch 'feature-branch'. You can stick with that or edit it to be more descriptive.
With that final commit, the merge is officially complete, and your branch history is unified again. Going through these steps systematically builds muscle memory, turning a once-dreaded task into a routine part of your workflow. For more ways to improve your team's process, check out our guide on pull request best practices.
Using Visual Tools to Simplify Complex Merges
Let's be honest, the command line is powerful, but staring at a wall of conflict markers in a massive file can feel like you're trying to crack an ancient code. This is exactly where visual merge tools come in. They take that confusing terminal output and turn it into a clean, side-by-side comparison that makes git conflict resolution worlds easier.
For many of us, visual tools are the go-to for untangling tricky merges. The numbers back this up, too. While around 87% of developers have run into merge conflicts, a solid 80% of them reach for an external merge tool to sort things out. It’s a clear sign of how vital these apps are for handling complex code. If you're curious, you can find more git development statistics that show just how common this is.
The Power of a Three-Way Merge View
The real magic behind tools like VS Code’s built-in resolver, GitKraken, or SourceTree is the three-way merge view. Instead of just showing you two clashing versions of a file, they give you the complete story:
- Your Changes (Current): The code as it exists on your local branch.
- Incoming Changes (Theirs): The version from the branch you're trying to pull in.
- Base Version (Ancestor): The original, common commit where the two branches first diverged.
That third "base" panel is an absolute game-changer. It gives you critical context by showing what the code looked like before anyone touched it. This makes it so much easier to understand what each developer was trying to achieve and make a smart decision on how to combine the changes.
By visually comparing all three versions at once, you move from guesswork to a structured resolution process. You can see the full story of the changes, which is invaluable for preventing mistakes.
Configuring and Using a Mergetool
Getting a visual tool hooked up to Git is pretty straightforward. First, you just need to tell Git which tool you want it to use. A couple of simple commands in your terminal will set this up globally.
For instance, to make Visual Studio Code your default merge tool, you’d run something like this:
git config --global merge.tool "vscode" git config --global mergetool.vscode.cmd "code --wait --merge $MERGED"
Once that's configured, launching the tool is a breeze. The next time you hit a merge conflict, instead of opening the file in a regular editor, you just type:
git mergetool
This command fires up your chosen tool and lays everything out in that handy three-way view. From there, most tools give you an intuitive interface where you can click to accept incoming changes, keep your own, or manually edit the final code in a fourth panel.
After you save and close the tool, Git knows the conflict is handled. All that's left is to git add the resolved file and git commit to finalize the merge. This whole visual approach cuts down on human error and makes the entire process feel a lot less daunting.
Navigating Advanced Conflict Scenarios
Sooner or later, you'll run into conflicts that are a little more complex than the standard text-based variety. These are the situations that require a different set of tools and a calmer approach. Mastering these advanced scenarios is what really separates the beginners from the seasoned pros in git conflict resolution.
One of the most intimidating conflicts involves non-text files. Imagine two designers on separate branches both update the company logo. Since Git can't show you line-by-line differences in a PNG or JPEG file, it basically throws up its hands. This is a binary file conflict.
Handling Binary File Conflicts
You can't merge binary files the way you would a source code file; there are no conflict markers to edit. Instead, you have to make a choice: which version of the file do you want to keep?
You have two primary commands at your disposal here:
git checkout --ours <file>: This command discards the incoming version and keeps the one from your current branch.git checkout --theirs <file>: This command gets rid of your local version and accepts the incoming one from the branch you're merging.
For example, to accept the logo update from the incoming feature branch, you'd run git checkout --theirs assets/logo.png. After choosing a version, you just need to git add assets/logo.png and carry on with your merge. The most important step, though, is communicating with your team to decide which file version is the right one to keep.
When a Rebase Goes Wrong
Using git rebase can create a beautifully clean, linear history, but its interactive conflict resolution process can get confusing fast. Unlike a standard merge where you solve all conflicts at once, a rebase applies your commits one by one, which can force you to resolve the same conflict multiple times over several commits.
If you find yourself stuck in a messy rebase, Git gives you a few escape hatches:
- Continue: After you resolve a conflict, run
git rebase --continueto move on to the next commit. - Skip: If a specific commit is causing all the trouble and isn't essential,
git rebase --skipwill discard it entirely and move on. Be careful with this one. - Abort: This is your ultimate undo button. If you're completely lost or realize the rebase was a mistake,
git rebase --abortwill stop the entire process and return your branch to how it was before you started.
Knowing when to pull the plug with
git rebase --abortis a critical safety net. It gives you the confidence to attempt complex rebases without the fear of permanently messing up your repository's history.
Different tools, both automated and manual, play a role in resolving these tough conflicts.
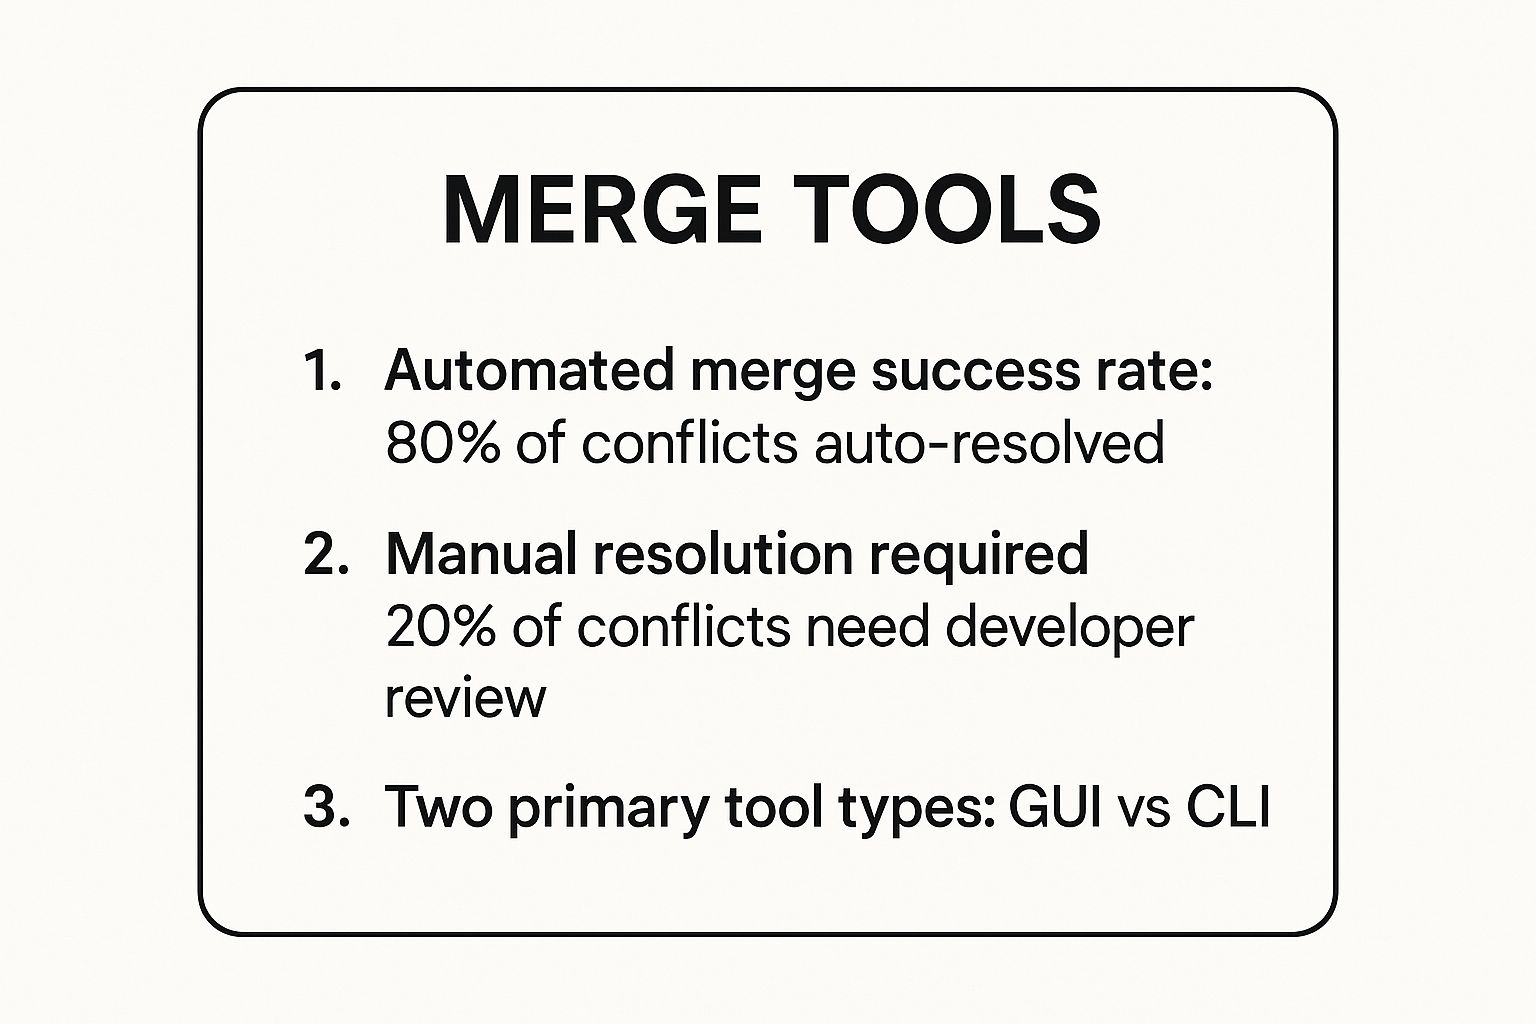
While automation handles most cases, about 20% of conflicts still need a developer to step in directly. This really highlights why it's so important to be comfortable with both command-line and visual tools.
The Ultimate Escape Hatch
What if you've already "resolved" a conflict during a merge but realize you made a mistake before committing? It’s a common and stressful scenario, but there’s a simple fix.
If you haven't run git commit yet, you can undo the entire merge attempt with git merge --abort. This command is an absolute lifesaver, instantly resetting your working directory back to its clean, pre-merge state.
Already committed the faulty merge? Don't panic. You can still step back in time. Use git reset --hard HEAD~1 to completely remove the bad merge commit and restore your branch to its previous state. This is a powerful command that rewrites history, so use it carefully on shared branches, but it's an invaluable tool for fixing your own mistakes locally.
Handling Different Git Conflict Scenarios
When you're in the thick of it, it helps to have a quick reference. Here’s a table that breaks down some common conflict scenarios and the best way to handle them.
| Conflict Scenario | Common Cause | Primary Resolution Command | Key Tip |
|---|---|---|---|
| Standard Text Conflict | Two developers edit the same lines of code in a text file. | git merge <branch> then edit file | Manually edit the file to remove conflict markers and combine the changes. |
| Binary File Conflict | Two developers modify the same non-text file (e.g., an image or PDF). | git checkout --ours/--theirs | You must choose one version to keep; you can't merge them. Communication is key. |
| Rebase Conflict | A commit being rebased conflicts with changes on the target branch. | git rebase --continue/--abort | Conflicts are resolved commit-by-commit. Use --abort if you get stuck. |
| Merge Commit Mistake | A merge was completed, but the conflict resolution was incorrect. | git reset --hard HEAD~1 | This rewrites history, so only use it on local branches or with team agreement. |
| "Deleted by us" Conflict | You deleted a file that was modified on another branch you're merging from. | git rm <file> or git add <file> | Decide whether to keep the modified file (git add) or confirm its deletion (git rm). |
This table isn't exhaustive, but it covers the conflicts you'll likely face day-to-day. Knowing the right command for the situation can turn a stressful moment into a routine fix.
Strategies for Preventing Merge Conflicts

The best way to deal with a merge conflict is to stop it from ever happening. Seriously. If you can shift your team's mindset from being reactive to proactive, you'll cut down on a massive amount of friction in your workflow. The most effective git conflict resolution strategies are the ones you put in place long before a git merge command blows up in your face.
A simple, foundational habit is to pull the latest changes from your main branch into your feature branch often. This little action keeps your branch from drifting too far from where the project is headed. Instead of one giant, terrifying merge at the end, you're handling a series of small, manageable updates along the way.
Keep Branches Small and Short-Lived
From my experience, long-running feature branches are the number one cause of painful merge conflicts. When a branch is alive for weeks, it’s like a runaway train collecting a mountain of changes. All the while, the main branch is also speeding ahead, setting the stage for a high-risk collision when you finally try to merge.
The fix? Embrace small, short-lived branches. Focus every single branch on one, clearly defined task. This isn't just about avoiding conflicts; it also encourages faster feedback, makes code reviews way easier, and simplifies the final merge.
High-performing teams I've worked with often aim to get feature branches merged within a day or two. This rapid cycle is a core principle of Continuous Integration and it drastically shrinks the window where conflicts can even develop.
Another powerful technique is making small, atomic commits. Each commit should represent a single, logical change—not a jumble of unrelated edits. This creates a much cleaner project history and, if a conflict does pop up, you’re only dealing with a tiny, isolated change instead of a tangled mess.
Establish Clear Team Workflows
Beyond your individual habits, team-wide processes are what really create an environment where conflicts become rare. Adopting a clear development workflow, like GitFlow or Trunk-Based Development, gets everyone on the same page about how and when code gets merged.
Protecting your main branch is non-negotiable. By requiring pull requests for all merges into main, you create a mandatory checkpoint for code review. This isn't just about catching bugs; it’s a communication hub where potential overlaps can be spotted and discussed before they become conflicts. Using a solid code review checklist helps standardize this process, making sure every merge is properly vetted.
Ultimately, nothing beats clear communication. Just talking to your teammates about what files you're touching can prevent you from stepping on each other's toes. On top of that, clear code that follows code commenting best practices reduces the kind of ambiguity that often leads to conflicting changes. Combine these technical and communication strategies, and merge conflicts will become a rare exception, not a daily headache.
Got Git Conflict Questions? I've Got Answers
Even when you've got your Git workflow down, merge conflicts can still throw a wrench in the works. Let's tackle some of the most common questions developers have when they're stuck untangling branches.
Safest Way to Undo a Merge
So, you've kicked off a merge and immediately hit a wall of conflicts. What's the safest way to back out?
If you're not ready to dive into resolving them just yet, your best friend is the command git merge --abort.
This command is your escape hatch. It instantly stops the merge process and rolls your repository back to the exact state it was in before you started. No partial merges, no accidental commits—just a clean slate.
Think of
git merge --abortas your emergency stop button. It's a completely safe way to reset the situation without any risk to your codebase, giving you time to regroup before trying again.
Automatically Choosing One Version
Is there a way to just tell Git to pick my changes (or theirs) for every single conflict?
Absolutely. For those straightforward situations where you know for a fact that one branch's changes are the definitive source of truth, you can use a merge strategy option to skip the manual work.
- To accept all changes from your current branch (the one you're on), use
git merge -X ours <branch_name>. - To accept all incoming changes (from the branch you're merging in), use
git merge -X theirs <branch_name>.
Just be careful with this one. It's a powerful shortcut that will completely discard the other set of changes without giving you a chance to review them. Be absolutely sure before you run it. Spotting potential issues early can prevent these scenarios altogether; learning to identify common code smells in pull requests can seriously improve your code quality beforehand.
Rebase vs Merge Conflicts
How are conflicts during a rebase different from a regular merge?
The big difference is in the workflow. When you run a git merge, you get all the conflicts thrown at you at once. You resolve everything in a single, big merge commit, and you're done.
A git rebase, on the other hand, is more of a step-by-step process. It replays each commit from your feature branch on top of the target branch, one by one. This means you might have to resolve conflicts for multiple commits, sequentially. After fixing each conflict, you use git rebase --continue to move to the next one.
The result is a cleaner, linear project history, which is great, but the resolution process itself can feel much more intensive.
Ready to cut down on code review delays and keep your team in sync? PullNotifier integrates GitHub with Slack to deliver clear, real-time pull request updates, reducing notification noise by up to 90%. Try PullNotifier for free today.