- Published on
A Developer's Guide to Generate SSH Key Git
- Authors

- Name
- Gabriel
- @gabriel__xyz
Setting up an SSH key for Git is a one-time task that pays off every single time you git push or git pull. It all starts with the ssh-keygen command, which generates a secure public/private key pair on your machine, replacing insecure passwords for good.
Why SSH Is the Standard for Secure Git Access
Before we get into the commands, let's talk about why SSH is the gold standard for connecting to Git repos. It’s not just about skipping password prompts—it’s a fundamental security boost that also makes your daily workflow a lot smoother.
Once you have it set up, SSH access is completely seamless. This offers some huge advantages:
- Rock-Solid Security: Instead of a password that can be guessed or stolen, SSH uses a cryptographic key pair. You authenticate with something you have (your private key), which is worlds more secure than something you just know.
- Frictionless Productivity: No more typing your username and password every time you interact with a remote. It saves a surprising amount of time and mental energy throughout the day.
- Painless Automation: SSH keys are a must-have for any kind of automation, from simple scripts to full-blown CI/CD pipelines that need to access your code without anyone around to type a password.
But here’s the catch: not all keys are created equal. A 2023 analysis of over 1.3 million public GitHub keys found that a shocking 4% (that's over 55,000 keys) were still using the ancient and vulnerable 1024-bit RSA size. You can read the full breakdown on the widespread use of these weak SSH keys on CIO.de.
Here's the simple breakdown: you generate a key pair on your computer. The private key is your secret—it never leaves your machine. The public key gets uploaded to your Git provider, like GitHub or GitLab. When you connect, the service uses your public key to verify you have the matching private key, proving it's you.
Getting this right is a cornerstone of any professional development workflow. If you're new to the whole ecosystem, you might want to check out our beginner's guide to getting started with Git first. Properly configuring SSH is the logical next step to leveling up your Git game.
Generating Your SSH Key: A Cross-Platform Guide
Alright, let's get our hands dirty and create that key. Generating a secure key is a straightforward process on any major operating system, and we’ll be using the modern Ed25519 algorithm. It offers much better security and performance than the old RSA standard.
The main tool for this job is the ssh-keygen command, though how you use it can change a bit depending on your setup.
This chart gives a quick overview of the two main ways Git handles authentication, showing the journey from your machine to the remote repository.
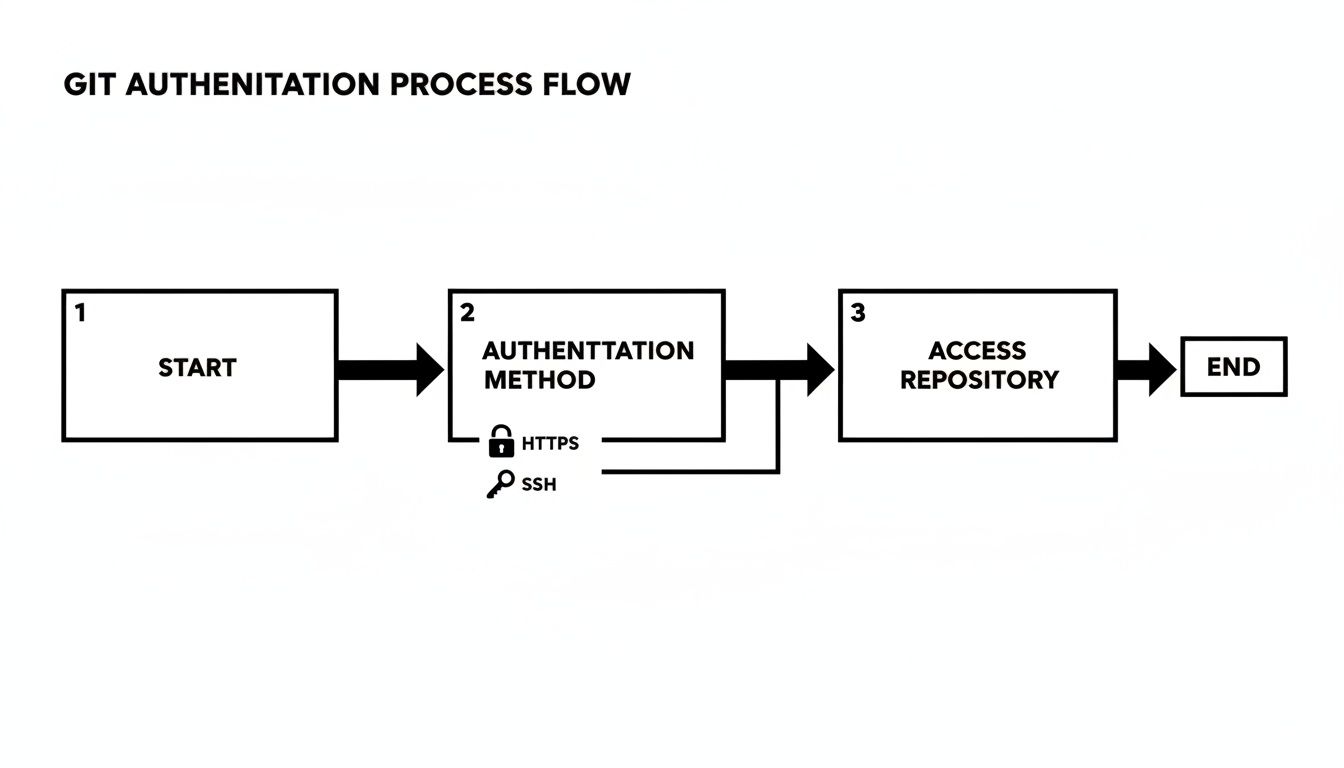
As you can see, SSH skips the password hassle entirely by relying on a secure key exchange, which is exactly what we're setting up.
For Linux and macOS Users
If you're on Linux or macOS, you're in luck—OpenSSH is almost always installed right out of the box. Just pop open your terminal and run this one command to generate your SSH key.
ssh-keygen -t ed25519 -C "your_email@example.com"
This command tells ssh-keygen to create a new key (-t) of the type ed25519 and tags it with a comment, usually your email (-C), to help you identify it later.
After running this, you'll be asked a couple of questions:
- File location: The default
~/.ssh/id_ed25519is almost always the right choice. Just hit Enter to accept it unless you have a specific reason to manage multiple keys. - Passphrase: Don't skip this. A strong passphrase encrypts your private key on your disk, adding a powerful layer of security. If someone ever gets access to your machine, they still won't be able to use your key without it.
For Windows Users
Windows users have a couple of great options for generating an SSH key. Your choice will probably come down to which terminal you prefer to work in.
Using Git Bash
If you've installed Git for Windows, you already have Git Bash, which gives you a Linux-like command line. The process here is identical to what you'd do on macOS or Linux.
Fire up Git Bash and run the exact same command:
ssh-keygen -t ed25519 -C "your_email@example.com"
Follow the prompts to choose a file location and, most importantly, set a strong passphrase. For developers on Windows, this is easily the most common and recommended approach.
Using PowerShell or Command Prompt
Modern versions of Windows 10 and 11 now ship with a native OpenSSH client. This means you can generate keys directly from PowerShell or the classic Command Prompt (CMD).
The command is, you guessed it, exactly the same. Open your shell of choice and type:
ssh-keygen -t ed25519 -C "your_email@example.com"
This will generate the key pair right where it belongs: in your user profile's .ssh directory (e.g., C:\Users\YourUser\.ssh\id_ed25519), just like on other systems.
Pro Tip: A good passphrase is like a strong password—long, complex, and unique. Think of a short, memorable sentence instead of a single word. This protects your key if your laptop is ever lost or stolen.
Verifying Your New Key
Once you’ve run the command and set your passphrase, two new files will appear in your ~/.ssh/ directory (or C:\Users\YourUser\.ssh\ on Windows).
id_ed25519: This is your private key. Keep it secret. Keep it safe. Never, ever share it with anyone.id_ed25519.pub: This is your public key. This is the part you'll upload to services like GitHub, GitLab, and Bitbucket.
You can confirm they were created by listing the files. On Linux, macOS, or Git Bash, use ls -l ~/.ssh. In Windows PowerShell, you can use Get-ChildItem ~/.ssh. If you see those two files, you've successfully generated your key pair and you're ready for the next step.
Managing Your Keys with the SSH Agent
You've got your secure key and a strong passphrase to protect it. That's great for security, but typing that passphrase every single time you git push or git pull gets old, fast.
This is where the SSH agent becomes your best friend. It’s a small background program that acts like a temporary keychain for your terminal session. You unlock your key once with your passphrase, and the agent keeps it ready in memory for the rest of your session.
Essentially, you get the security of a passphrase-protected key on your disk and the convenience of a password-free workflow in the terminal.
Starting the Agent
First, you need to make sure the ssh-agent is actually running. On most modern systems, it might start automatically, but you can always kick it off manually in your current terminal.
For Linux, macOS, or Windows using Git Bash, run this command:
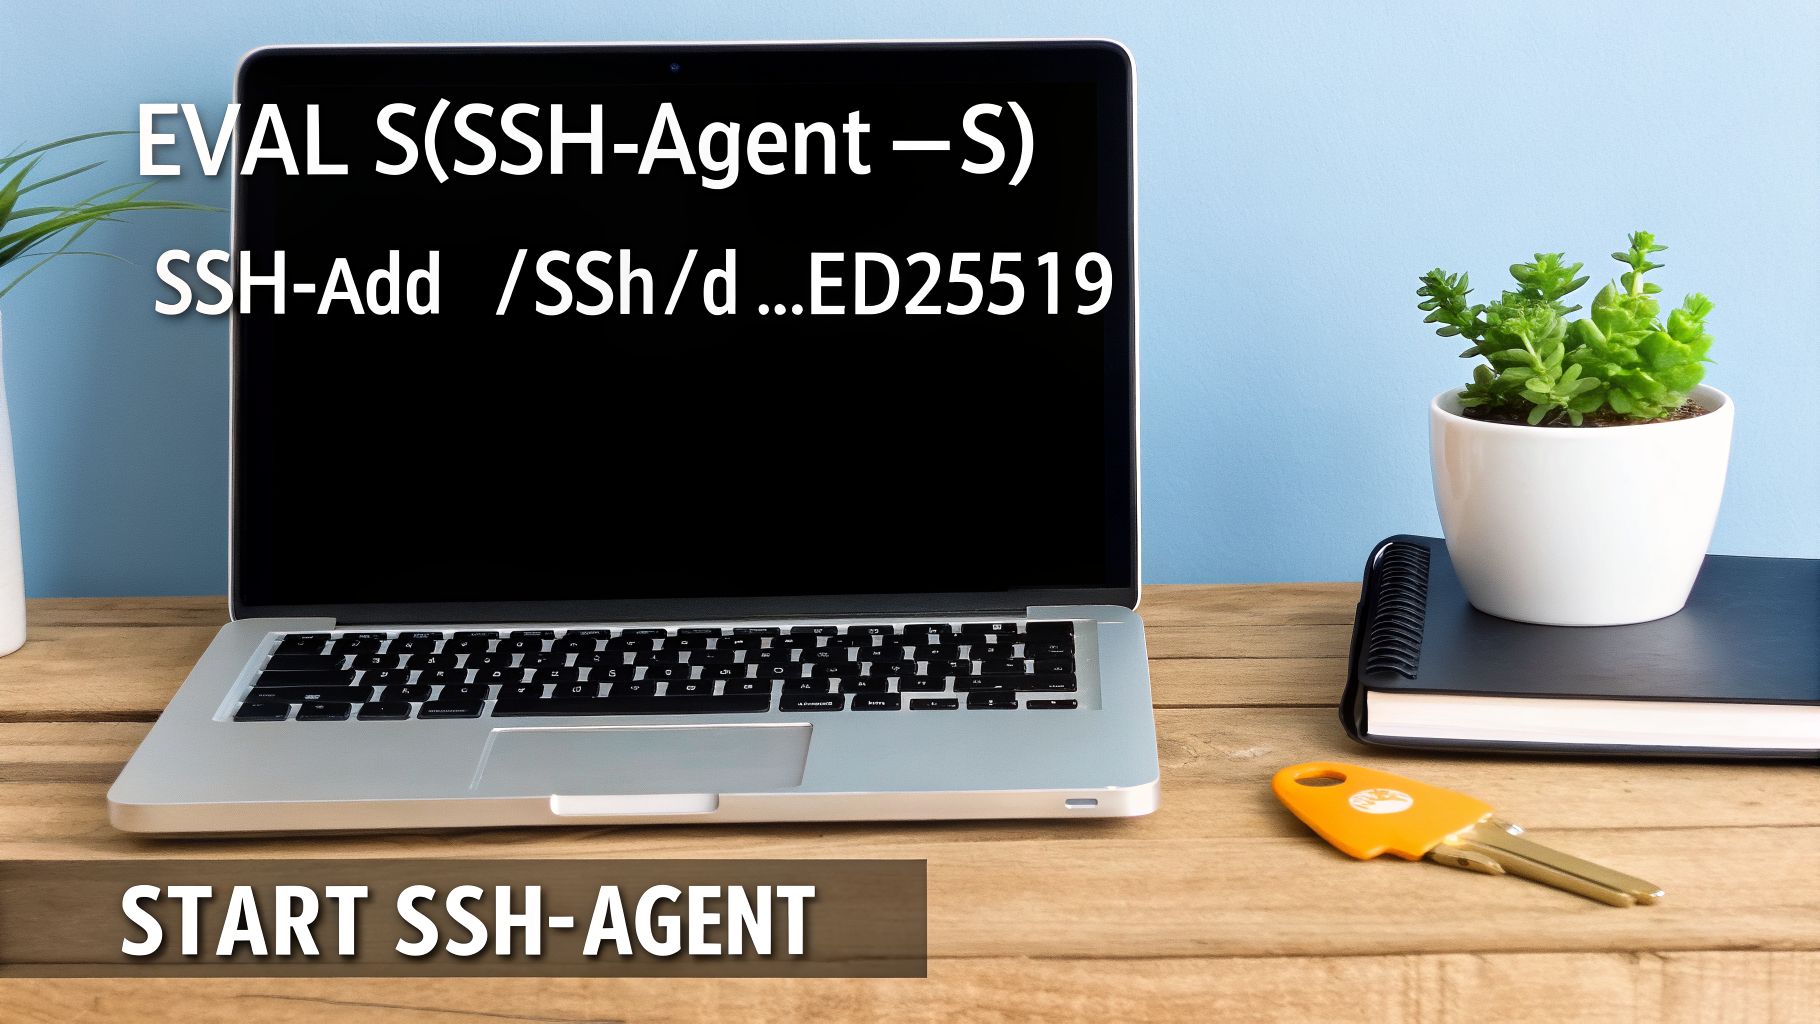
eval "$(ssh-agent -s)"
This command boots up the agent and sets the environment variables your shell needs to talk to it. You should see a confirmation message pop up with the agent's Process ID (PID), something like Agent pid 12345.
Adding Your Key to the Agent
With the agent running, it's time to add your key. This is the one time you’ll need to enter that passphrase you created. We’ll use the ssh-add command and point it to your private key file.
Since we created an Ed25519 key, the command looks like this:
ssh-add ~/.ssh/id_ed25519
You’ll be prompted for your passphrase. Enter it correctly, and you'll get a confirmation message: Identity added. From now on, at least for this terminal session, all your Git commands that use SSH will just work—no more passphrase prompts.
Key Takeaway: The
ssh-agentis built to be session-specific. If you close your terminal window and open a new one, you'll have to add the key again. It’s a security feature, but it can be a minor headache in a busy workday.
Luckily, you can easily automate this. Just add the ssh-add command to your shell's startup file—like .bashrc, .zshrc, or .profile—and your key will be ready to go every time you open a new terminal.
Adding Your SSH Key to Your Git Provider
Okay, you've generated your key and loaded it into the ssh-agent. The final piece of the puzzle is telling your Git provider about it. This means copying your public key—and only the public key—and pasting it into the security settings of your GitHub, GitLab, or Bitbucket account.
Think of it like giving your computer a specific key to unlock the door to your remote repositories.
The most common mistake I see here is people accidentally copying extra characters or whitespace. To sidestep this completely, just copy the key's contents directly from your terminal.
- On macOS:
pbcopy < ~/.ssh/id_ed25519.pub - On Windows (Git Bash):
clip < ~/.ssh/id_ed25519.pub - On Linux:
xclip -selection clipboard < ~/.ssh/id_ed25519.pub(you might need to installxclipfirst)
These commands pipe the public key file's output straight into your system clipboard, guaranteeing a perfect copy every time.
Where to Add Your Key on GitHub
Since GitHub is where most of us spend our time, let's start there. The process is dead simple once you know where to look.
- Log in to your GitHub account.
- Click your profile picture in the top-right corner and choose Settings.
- In the left sidebar, navigate to SSH and GPG keys.
- Hit the New SSH key button.
- Give your key a descriptive Title. Something like "MacBook Pro" or "Work Dell Laptop" helps you identify it later if you need to revoke it.
- Paste your public key into the Key field and click Add SSH key.
And that's it. Your machine is now authorized to push and pull from your GitHub repos.
Getting this right is more important than you might think. With 100 million developers on GitHub and private repos growing by 38%, a single mishandled key can have a massive blast radius. A 2024 scan found a staggering 39 million leaked secrets in public repos, many tied to sloppy SSH practices. You can get more context on how these GitHub statistics highlight key security challenges.
Adding Your Key to GitLab and Bitbucket
The process for GitLab and Bitbucket is nearly identical—it's just a matter of finding the right menu.
For GitLab Users
On GitLab, click your avatar in the top right, head to Preferences, and find SSH Keys in the left sidebar. Paste your public key in, click Add key, and you're all set.
For Bitbucket Users
For Bitbucket, click your profile avatar in the bottom-left corner and select Personal settings. Under the "Security" heading, click on SSH keys, then Add key. Paste your key and save it.
One crucial tip I always give Bitbucket users: make sure the email in your local Git config (
user.email) is an exact, case-sensitive match to an email registered in your Bitbucket account. Mismatched emails are a super common cause of "unverified" commits, even when your SSH key is perfectly valid.
Adding your key is also the standard procedure for connecting to a private instance, like a company's self-hosted server. We cover how that works in more detail in our guide to understanding GitHub Enterprise Server.
Alright, you've generated your keys and added the public half to your Git provider. Now for the moment of truth: making sure your machine can actually use them to authenticate. This quick test confirms everything is wired up correctly before you try to clone or push any code.
The standard command is pretty simple. For GitHub, you’ll run this in your terminal:
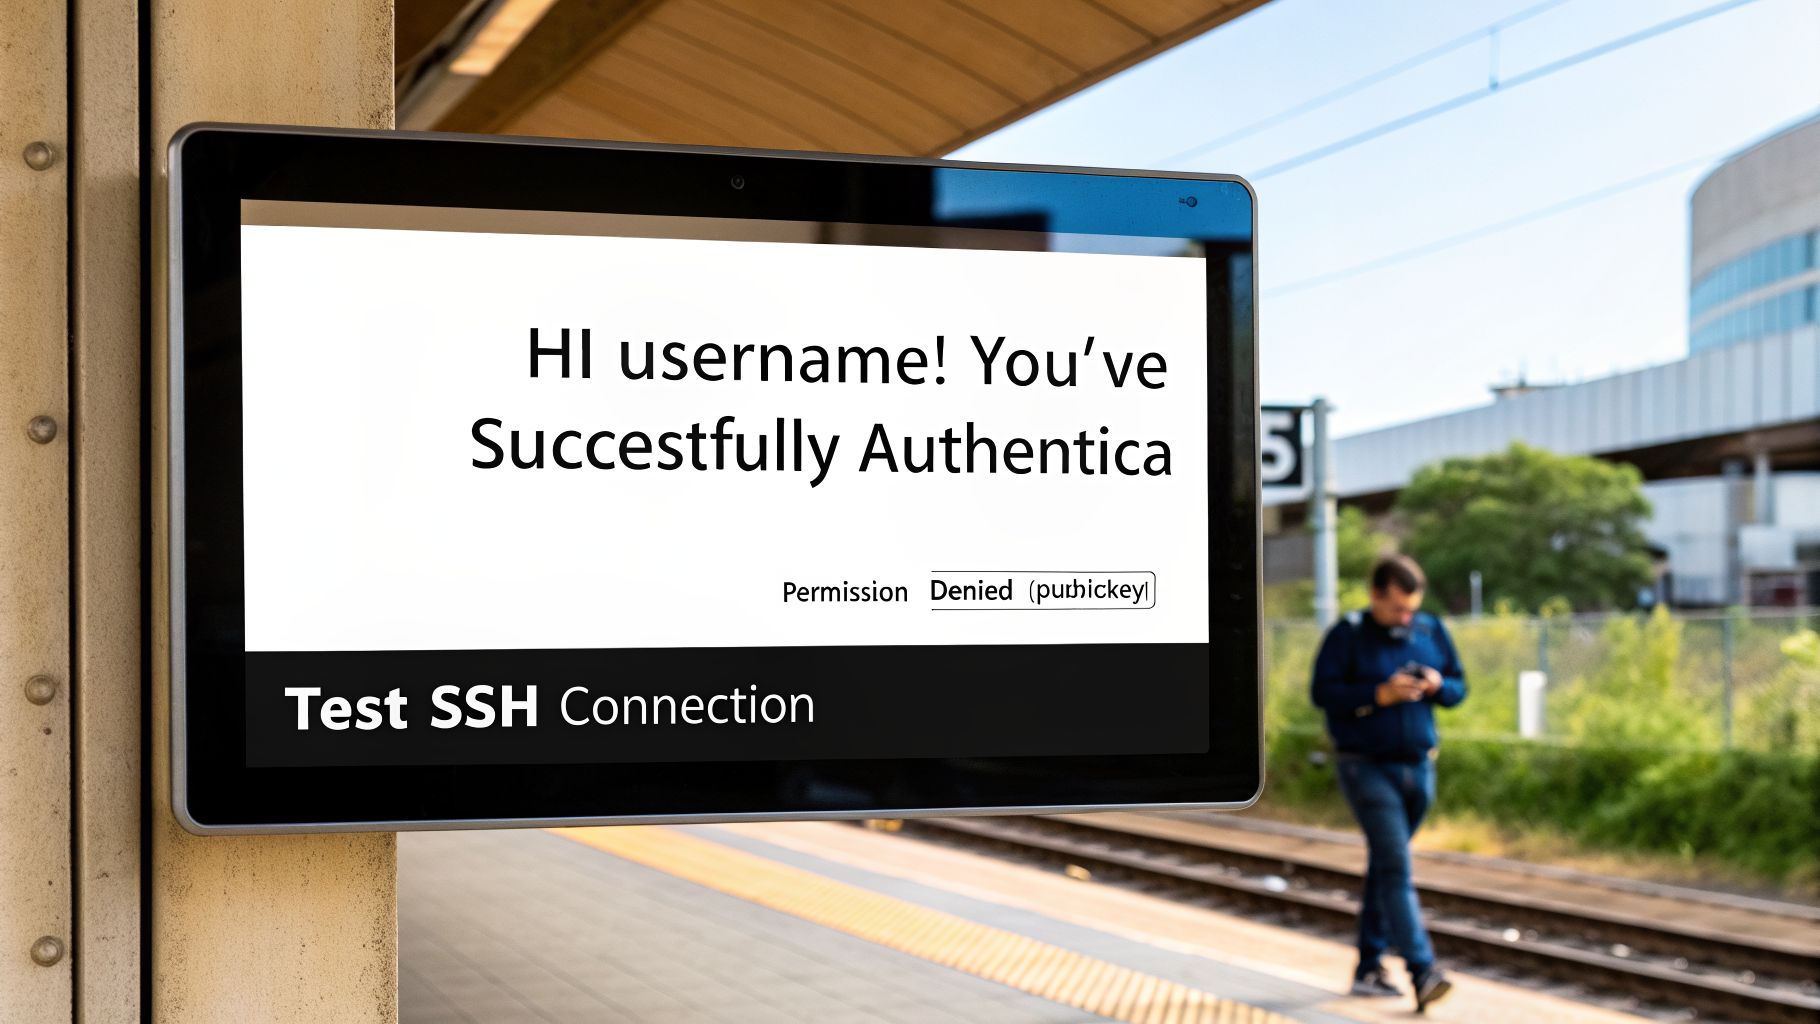
ssh -T git@github.com
The first time you connect, you'll probably see a one-time warning about the host's authenticity. This is completely normal. Just type yes and hit Enter to continue.
If everything is configured correctly, you'll get a friendly success message back. It should look something like, "Hi your-username! You've successfully authenticated, but GitHub does not provide shell access." The key part is that it recognized you by your username. The "no shell access" bit is expected—you're just testing authentication, not trying to log into their servers.
Fixing Common Connection Errors
Of course, things don’t always go smoothly on the first attempt. The most common error you'll run into is the dreaded Permission denied (publickey) message. It’s a generic error that can be frustrating, but it almost always points to one of a few usual suspects.
Incorrect File Permissions: Your private key is sensitive information. If its file permissions are too open, SSH will refuse to use it for security reasons. On Linux or macOS, the fix is to lock it down with
chmod 600 ~/.ssh/id_ed25519.The SSH Agent Isn't Running: If you get a prompt for a password instead of your key's passphrase, it usually means the
ssh-agentisn't running or doesn't know about your key. To fix this for your current terminal session, runeval "$(ssh-agent -s)"and thenssh-add ~/.ssh/id_ed25519.Wrong Git URL: This one trips up even experienced developers. If you cloned a repository using an HTTPS URL (like
https://github.com/...), your Git client won't even attempt to use SSH. You have to use the SSH clone URL (git@github.com:...).
Pro Tip: You can easily fix a repository that was cloned with HTTPS. Just navigate into your local repo folder and run
git remote set-url origin git@github.com:your-username/your-repo.git. This command switches theoriginremote to use SSH for all future Git operations.
Unverified Commits in Bitbucket
A particularly tricky issue can pop up with Bitbucket. If you see your commits showing up as "unverified" even after setting up your key correctly, the cause is often a subtle case-sensitivity mismatch. One developer I know spent days on this, only to discover their corporate email Name.Surname@Company.com didn't match the all-lowercase version stored in their Bitbucket account settings.
The solution is to make sure the email in your local Git config (git config user.email) is an exact, lowercase match to the primary email address listed in your Bitbucket profile.
Advanced SSH Security and Best Practices for 2026
Okay, so you’ve got your first SSH key set up for Git. What’s next? If you want to move beyond the basics, it's time to adopt the security habits that professional development teams live by.
Simply having a key isn't enough. We need to talk about managing multiple keys, rotating them regularly, and even preparing for threats that don't exist yet. This isn't just about security theater; it's about protecting your code, your company's IP, and your own identity across different projects.
Managing Multiple Identities with SSH Config
As a developer, you probably wear more than one hat. Maybe you contribute to open-source projects, have a day job, and maintain your own personal repositories. Juggling separate keys for each identity is a must, and the ~/.ssh/config file is how you do it without losing your mind.
This little configuration file is incredibly powerful. It lets you create aliases for different hosts, telling SSH exactly which key to use for which connection. For example, you can set up a github-work host that uses your corporate key and a github-personal host for your side projects.
For consultants or anyone working with multiple GitHub accounts, this setup isn't a nice-to-have—it's essential.
The Rise of Phishing-Resistant Hardware Keys
The future of Git authentication is already here, and it's physical. GitHub now supports FIDO2 hardware security keys, like a YubiKey, for SSH. Instead of just relying on a file on your computer, these devices require you to physically touch them to authorize an SSH operation.
This makes them almost completely resistant to phishing attacks.
With a projected 100 million developers worldwide in 2026 and an estimated 3.5 billion contributions, software-based SSH keys represent a huge attack surface. GitHub is even preparing for future threats by rolling out post-quantum key exchange algorithms, future-proofing access against computers that are orders of magnitude more powerful than today's.
Key Rotation and Scoped Deploy Keys
Treat your SSH keys like any other password or sensitive credential—they shouldn't live forever. A critical security habit is regular key rotation.
Set a calendar reminder. Every six months to a year, generate a new key and get rid of the old one. This drastically limits your exposure if a key is ever compromised without you knowing.
For your CI/CD pipelines, stop using personal SSH keys. Instead, use deploy keys. These keys can be scoped to a single repository and set to read-only, which massively limits the potential damage if one gets leaked from your automation server.
Thinking about how SSH fits into your team's broader security strategy is key. For more on that, you can find great overviews on cybersecurity & data protection for businesses. And if you're automating workflows, our guide on how to create reusable GitHub Actions in 2025 will help you implement these security principles effectively.
Frequently Asked Questions About Git SSH Keys
Once you've got your SSH keys set up, a few common questions tend to pop up. Let's tackle them head-on so you can get back to coding with confidence.
Can I Use the Same SSH Key for Multiple Git Providers?
The short answer is yes. There's nothing stopping you from adding the same public key to your GitHub, GitLab, and Bitbucket accounts. If you're using them all for the same identity—like your personal projects—it's technically fine.
That said, many developers prefer to create separate keys for organizational reasons. For instance, using one key for personal projects and another for work creates a clean separation. It’s a simple way to manage your digital identities, especially if you work across multiple machines.
Do I Need a Different Key for Each Computer?
This is a big one. It's a security best practice to generate a unique SSH key for each machine you use.
While you could just copy your private key from your laptop to your desktop, doing so creates a significant security risk. If one of those machines gets compromised, a stolen key could grant an attacker access to everything that key protects, from all your devices.
Generating a new key for each machine is a quick, one-time task. It ensures that if one computer is lost or stolen, you can simply revoke its specific key without disrupting access from your other trusted devices.
It just makes managing and revoking access on a per-device basis so much easier.
Why Is My Commit "Unverified" on Bitbucket with an SSH Key?
This is an incredibly common and frustrating quirk specific to Bitbucket. You’ve set up your SSH key correctly for authentication, but your commits still show up as "unverified." What gives?
The problem is almost always a mismatch between your local Git email config and the email address in your Bitbucket account settings—and it's often case-sensitive. If your Git config is set to Your.Name@company.com but your Bitbucket profile uses your.name@company.com, the signatures won't line up.
The fix is simple: make sure the user.email in your Git configuration is an exact, lowercase match to the primary email address listed in your Bitbucket profile.
Are noisy pull request notifications slowing your team down? PullNotifier integrates directly with Slack to deliver clean, real-time PR updates, cutting through the noise and accelerating your code review process. Join over 10,000 developers who trust PullNotifier to keep their workflows moving.