- Published on
A Guide to GitHub Merge Branches
- Authors

- Name
- Gabriel
- @gabriel__xyz
When you github merge branches, you're essentially taking the changes from one line of work and folding them into another. Think of it as combining a new feature branch back into your main, stable branch. This is a fundamental, everyday operation in Git, and it’s the bedrock of how teams build software together without stepping on each other's toes.
This process lets everyone work on their own features, bug fixes, or experiments in a safe, isolated space before bringing their contributions into the main codebase.
Why Branching and Merging Are Essential
Imagine a team of developers all hammering away on the exact same file. Developer A is adding a new login function, while Developer B is trying to fix a bug in the navigation bar at the same time. When they both hit save, whose changes win? It’s pure chaos.
This is precisely the mess that Git branching and merging were designed to prevent. By creating branches, each developer gets their own independent sandbox to play in.
This isolation is what keeps your project stable. The main branch can remain a clean, production-ready version of the code, while all the new, potentially buggy work happens somewhere else entirely. This workflow unlocks a few key things:
*   **Parallel Development:** Multiple features can be built at once without anyone interfering with each other's work.
*   **Safe Experimentation:** Got a wild new idea? Just create a branch to try it out. If it doesn't pan out, you can just delete the branch. No harm, no foul, and no impact on the main codebase.
*   **Organized Bug Fixes:** You can isolate bug fixes on their own branches. This is great for getting them tested and deployed quickly without having to bundle them with a bunch of unrelated feature work.
The golden rule is that your
mainbranch should always be deployable. Branching is what ensures that "work in progress" doesn't break the stable version of your app, making your whole development process much more resilient and predictable.
Strategic Code Management
Merging isn't just a technical command you run; it’s a strategic part of managing your project's story. When you github merge branches, you’re creating a permanent record of how a feature was developed and woven into the project. A clean, easy-to-read history makes it so much easier to hunt down bugs or figure out why a certain change was made months or even years down the line.
The flexibility you get from practices like branching and merging is a huge benefit of modern custom software development, as it lets teams pivot and respond to new requirements on the fly. As projects get bigger, understanding different ways to manage this complexity becomes even more critical. You can learn more about specialized monorepo branching strategies for teams to see how these core ideas scale up.
While the command line is a powerful tool, a lot of developers I know, myself included, often prefer the visual workflow you get with the GitHub web interface. It’s especially great for team projects because it centers the whole process around a Pull Request (PR). Think of a PR as a formal conversation starter for integrating your code.
Once you push a new branch to your remote repository, GitHub practically begs you to open a PR. This gives your team a dedicated space to review code, drop comments, and make sure everything is up to snuff before it hits the main codebase.
This infographic breaks down the common reasons you'd create a branch in the first place—maybe for a new feature, a quick bug fix, or just to experiment without breaking anything.
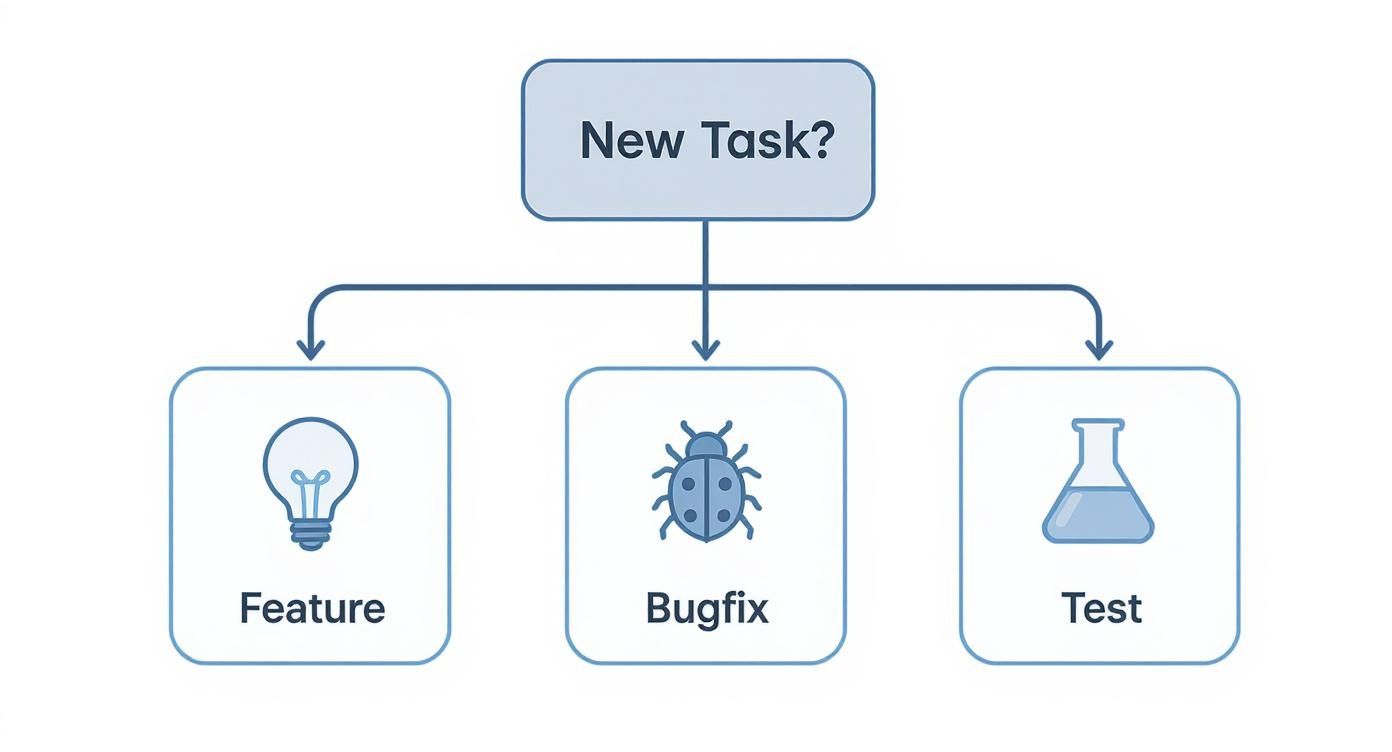
Each of those paths represents a safe, isolated workspace. It’s a perfect illustration of why branching is so fundamental to organized development before you can even think about merging.
Choosing Your Merge Method
After your pull request gets the green light, GitHub doesn’t just give you one big "merge" button. Instead, you get three distinct options. The one you pick has a real impact on your project's commit history, so it pays to know what each one does.
When you're ready to merge, you'll see a dropdown with three choices, each designed for a different workflow and outcome on your main branch. Let's dig into what they are.
Deciding between a merge commit, squashing, or rebasing can feel tricky at first, but each method serves a specific purpose. This table gives you a quick rundown to help you choose the right one for the job.
Choosing Your GitHub Merge Method
| Merge Method | Commit History Result | Best For |
|---|---|---|
| Create a merge commit | Preserves all commits from the feature branch and adds a new "merge commit." Creates a non-linear, branching history. | Keeping a detailed, unabridged history of a feature branch, including all the individual steps and thought processes. |
| Squash and merge | Combines all commits from the feature branch into a single, clean commit on the main branch. | Tidying up a messy branch history with lots of small "work-in-progress" commits into one meaningful commit. |
| Rebase and merge | Moves the entire feature branch to the tip of the main branch, creating a perfectly straight, linear history. | Maintaining a clean, easy-to-follow, sequential project history without any merge commits cluttering the timeline. |
Ultimately, the best choice depends entirely on your team's preference for what the project history should look like—detailed and branching, or clean and linear.
Let's break these powerful choices down a bit more:
*   **Create a merge commit**: This is the classic, default option. It takes all the commits from your feature branch and plops them onto the main branch, creating a special "merge commit" to tie it all together. This method keeps the full, unabridged history of the feature branch, showing exactly where it diverged and when it came back.

*   **Squash and merge**: This one is my personal favorite for keeping the main branch history clean. It takes all your messy, "work-in-progress" commits from the feature branch and squishes them down into one single, tidy commit on the main branch.

*   **Rebase and merge**: This method rewrites history a bit. It takes all the commits from your feature branch and places them on top of the main branch, making it look like all the work happened in a straight line. The result is a perfectly linear history, which some teams love for its readability.
Each of these strategies has its place. A standard merge commit gives you the full, sometimes messy, story. Squashing tidies things up for clarity. Rebasing creates that clean, linear timeline that's easy to follow.
The sheer scale of GitHub, with over 420 million repositories, highlights why having these different options is so important. As detailed in these GitHub statistics from sqmagazine.co.uk, the platform’s tools are built to handle the diverse workflows of millions of developers. Picking the right merge method helps you maintain a project history that’s easy to understand, which is a massive win for long-term maintenance and team productivity.
Using the Command Line for Powerful Merges
While the GitHub UI is great for a visual workflow, getting comfortable with the command line interface (CLI) gives you a ton of speed and power. Honestly, for most developers, the terminal is just the fastest way to get things done. Learning to github merge branches from the CLI is a skill you'll use constantly.

Before you even think about merging, get into the habit of syncing your local repository with the remote. This one step will save you from countless headaches caused by merging into an outdated version of your main branch.
First, fetch all the latest changes from the remote. This command downloads all the new data but doesn't actually change any of your local files just yet.
git fetch origin
Next, hop over to your main branch and pull down those changes. This brings your local main completely up to speed with what's on GitHub.
git checkout main git pull origin main
Performing a Standard Merge
Alright, with your main branch fresh and updated, you're ready to bring in your feature branch. The git merge command is your go-to tool for this. Let's imagine you've been working on a branch called feature/user-authentication.
Make sure you are on the branch you want to merge into—in this case, main. Then, run the merge command and tell it which branch to bring in.
git merge feature/user-authentication
If there are no conflicting files, Git will either perform a "fast-forward" merge or create a new merge commit that ties the two branch histories together. Simple as that.
An Alternative: A Clean History with Rebase
Sometimes, you want a cleaner, more linear project history without all the extra merge commits cluttering things up. This is the perfect job for git rebase. Instead of creating a merge commit, rebasing essentially lifts the commits from your feature branch and replays them, one by one, on top of the main branch.
To do this, you first check out your feature branch and then rebase it onto main.
git checkout feature/user-authenticationgit rebase main
Once the rebase is done, you just switch back to main and perform a simple fast-forward merge.
git checkout main git merge feature/user-authentication
A word of caution: Rebasing rewrites commit history. You should only rebase branches that you are working on locally and have not pushed and shared with other team members. Rebasing a shared branch can create absolute chaos for your collaborators. Trust me on this one.
How to Navigate and Resolve Merge Conflicts
Sooner or later, every developer runs into a merge conflict. It's not a sign you did something wrong; it's just a normal part of collaborating on a busy project. A merge conflict is simply Git's way of saying it doesn’t know how to automatically combine two different sets of changes made to the same part of a file.
This usually happens when you and a teammate edit the exact same lines of code on different branches. When you try to github merge branches, Git essentially throws its hands up and says, "I can't decide which version is right—you need to tell me." Honestly, this is a good thing. It's a safety feature that prevents Git from accidentally overwriting someone's hard work.
Identifying the Conflict Markers
When a conflict pops up, Git will pause the merge and flag the files that need your attention. If you open one of these files in your code editor, you’ll find some odd-looking markers that Git has inserted to show you exactly where the trouble is.
Think of these markers as a visual guide separating the clashing versions of the code so you can make an informed decision.
*   `<<<<<<< HEAD`: Everything below this line and before the separator is the version from your current branch (the branch you are merging *into*).
*   `=======`: This is the dividing line. It separates your changes from the incoming ones.
*   `>>>>>>> [branch-name]`: Everything between this marker and the divider is the code from the branch you're trying to merge *in*.
Your job is to step in, play the editor, and decide what the final, correct version of the code should be.
The Resolution Process on Your Local Machine
Fixing a conflict is a hands-on process. You’ll need to manually edit the conflicted files to create the final version you want to keep. This doesn't always mean picking one version over the other; often, the right solution is a combination of both.
Once you’ve found the conflict markers, it’s time to get to work.
- Edit the File: Open up each conflicted file and delete all the conflict markers (
<<<<<<<,=======,>>>>>>>). - Combine the Code: Manually edit the code in that section to reflect its final state. You might keep your changes, accept the incoming ones, or write something new that incorporates ideas from both.
- Stage the Changes: After you've resolved the conflict in a file and saved it, you need to tell Git that you're done by staging it. This is done with the
git addcommand. - Finalize the Merge: Once you've staged all the files that had conflicts, you can finally commit the merge.
For instance, after editing your style.css file to fix a conflict, you would run:
git add style.css
After adding all your resolved files, you just need to run git commit to complete the process.
A helpful tip is to use a code editor with built-in Git support, like VS Code. These tools often provide a visual, side-by-side interface for resolving conflicts, which can make it much easier to see the differences and choose the correct code.
Proven Practices for a Clean Merge Workflow
Using git merge effectively is more than just knowing the commands. It's about building habits that keep your project’s history clean, readable, and easy to trace when something inevitably breaks. A messy history full of massive, confusing merges makes it nearly impossible to hunt down bugs or figure out why a change was made in the first place.
The easiest way to sidestep merge headaches is to keep your branches small and focused. Each branch should tackle a single, logical unit of work—one feature, one bug fix, one idea. This approach not only makes the code review process way faster but also dramatically cuts down on the chances of running into gnarly merge conflicts.
Keep Your Branches Short-Lived
Long-running feature branches that linger for weeks are a recipe for disaster. While you're chipping away in isolation, the main branch keeps evolving, and the gap between your work and main widens with every commit. The longer you wait, the more agonizing that final merge will be.
Instead, get into the rhythm of merging smaller, incremental changes more frequently. This philosophy pays off in a few key ways:
*   **Fewer Conflicts:** When you merge daily or every couple of days, you're only dealing with a small batch of changes. This drastically lowers the odds of major conflicts.
*   **Easier Code Reviews:** It's so much easier for a teammate to review a small, focused pull request than a monster PR with thousands of lines of code.
*   **Continuous Integration:** This practice slots perfectly into a CI/CD workflow, making sure the main branch is always in a state that's close to deployable.
A great rule of thumb is to frequently pull changes from the main branch into your feature branch (
git pull origin main). This keeps you synced up with the team's progress and lets you resolve tiny conflicts as they appear, instead of battling one massive conflict at the end.
Write Clear and Actionable PRs
The last piece of the puzzle for a clean workflow is just good communication. Your commit messages and pull request descriptions are notes to your future self and your teammates. Vague descriptions like "fixed bug" are completely useless when you’re trying to understand a change six months from now.
A well-written pull request tells a story. It should clearly explain what the change is, why it was necessary, and how a reviewer can test it. That context is priceless for code reviewers and future developers trying to navigate the codebase. For a deeper dive, our guide on pull request best practices has tons of actionable tips for crafting PRs your team will actually appreciate.
When you consistently github merge branches with clarity and purpose, you’re not just merging code—you're building a healthier, more maintainable project for everyone.
Frequently Asked Questions About Merging
When you're first getting your sea legs with git merge, a few questions always pop up. It's totally normal. Let's break down some of the common ones I see.
Merge vs. Rebase: What's the Real Difference?
This is probably the number one point of confusion. Think of it this way: a git merge is all about preserving history exactly as it happened. It takes your branch and smashes it into another, creating a special "merge commit" that ties the two histories together. You can literally see where the timelines diverged and came back together.
On the other hand, git rebase is like rewriting history to tell a cleaner story. It takes your commits and stacks them neatly on top of another branch. The result is a straight, linear timeline, which many teams prefer because it's easier to follow. No messy merge commits, just a clean line of progression.
"Oops, How Do I Undo That Merge?"
It happens to the best of us. You merge something and immediately realize it was a mistake. How you fix it depends on whether you've pushed it yet.
*   **If it's still local:** Your best friend is `git reset`. You can use it to rewind your local branch back to the state it was in before the merge, and it'll be like it never happened. Easy.
*   **If you've already pushed it:** Don't panic, but **do not** use `git reset`. Rewriting public history is a big no-no. Instead, you'll want to use `git revert`. This command creates a *new* commit that simply reverses all the changes introduced by the merge. It's the safe, collaborative way to undo something that's already out in the wild.
The key takeaway is that your merge strategy directly shapes your project’s history. Choosing between a merge, squash, or rebase depends on whether your team values a detailed, unabridged history or a clean, linear one.
Tired of noisy GitHub notifications in Slack? PullNotifier cuts through the clutter, delivering focused pull request updates to keep your team in sync without the spam. Learn how PullNotifier can streamline your code review process.