- Published on
How to Create a Bot on Slack A Developer's Guide
- Authors

- Name
- Gabriel
- @gabriel__xyz
To build a bot in Slack, you'll start by defining an app in Slack's API dashboard. From there, you'll select the right permissions (called scopes) and then use a framework like Bolt for JS or Python to code how it handles commands and events. It’s a mix of simple configuration and practical coding that brings your custom automation to life.
Why Your Dev Team Needs a Custom Slack Bot
Before you write a single line of code, it’s worth thinking about the real-world impact of building a custom Slack bot. This isn't just a fun technical exercise; it's a strategic move to completely change how your team works. A well-designed bot can slash context switching, automate mind-numbing tasks, and pull critical information right into your team’s main collaboration hub.
Think about your current workflow for pull request (PR) notifications. A developer pushes code, pastes a link into a channel, manually tags reviewers, and then starts chasing them for feedback. It's chaotic, information is scattered, and momentum dies fast.
Now, imagine a bot that handles that entire cycle for you.
Slashing Friction and Boosting Focus
A custom bot takes those messy interactions and turns them into a streamlined, actionable process. Instead of constant pings and interruptions, your team gets structured updates when they need them. This shift brings some tangible benefits that you'll feel throughout the entire development lifecycle.
*   **Accelerated Development Cycles:** By automating notifications and reminders for code reviews, bots get rid of manual bottlenecks and help teams merge code faster.
*   **Clearer Team Communication:** Information is delivered the same way, every time. This ensures everyone from developers to QA engineers is on the same page without having to ask.
*   **Improved Developer Experience:** Taking tedious administrative work off your engineers' plates lets them focus on what they do best: writing quality code. For more ideas on improving your team's workflow, check out our guide on how to [master Slack for developers](https://blog.pullnotifier.com/blog/master-slack-for-developers-the-ultimate-guide-to-boost-productivity).
A custom Slack bot is a powerful piece of the puzzle among the broader IT solutions for business growth that a development team might use to boost productivity. It directly tackles the small, operational slowdowns that can drag down an entire organization.
The value of building on this platform is undeniable. By early 2025, Slack hit 42 million daily active users worldwide, with over 750,000 custom bots running across different workspaces. This massive, engaged user base makes creating a bot a high-impact skill for any modern developer. You can find more insights about Slack's impressive growth on sqmagazine.co.uk.
Setting Up Your Slack App and Bot User
Your journey to building a Slack bot doesn't start with a single line of code. It begins inside the Slack API dashboard with a few essential clicks. This initial setup is the foundation for everything your bot will do, defining its identity and what it’s allowed to see and say within your workspace.
First things first, you need to create the Slack App itself. Think of the app as the container that holds all your bot's configurations, permissions, and features. Head over to the Slack API page and click "Create New App." You'll want to build it "From scratch," give it a name you'll remember, and pick the development workspace where you’ll be testing it out.
With the app created, it's time to give it a personality by enabling a bot user.
Activating Your Bot User and Permissions
Inside your app's dashboard, find "Bot Users" under the "Features" sidebar. Turning this on is what actually creates the bot that will live inside your Slack channels. It's a separate step from creating the app; the app is just the configuration, while the bot user is the actual entity that sends and receives messages.
Once your bot user is live, you have to define what it can do using scopes. Scopes are just permissions that control your app's capabilities. This is a critical security step—always stick to the principle of least privilege and only grant the permissions your bot absolutely needs to function.
For most bots, you'll need a few common scopes to get started:
*   `chat:write` - Lets your bot post messages in channels it's a part of.
*   `commands` - A must-have for your bot to receive and respond to slash commands.
*   `app_mentions:read` - Allows your bot to see any messages where it gets an @mention.
This infographic shows just how a bot can take a tangled, chaotic workflow and turn it into something smooth and efficient.
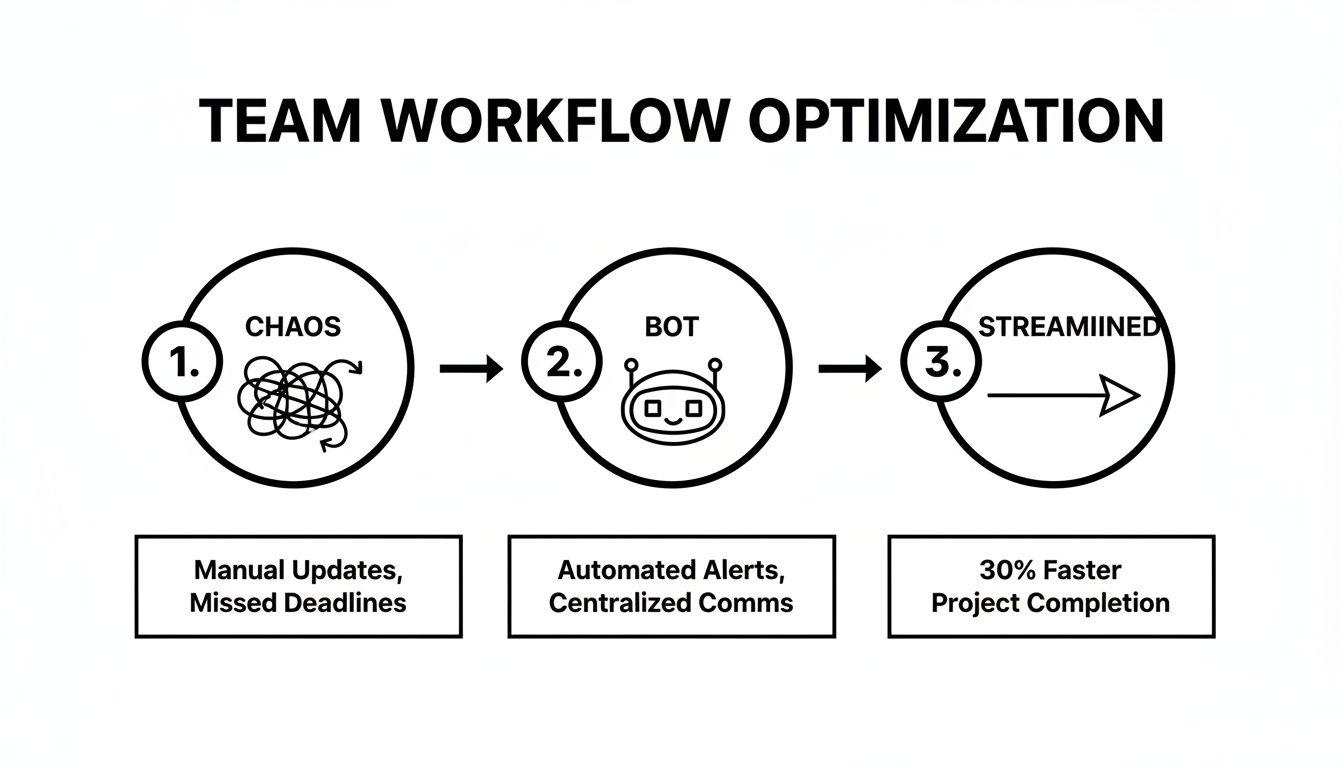
By letting a bot handle the routine stuff, teams can shift from operational chaos to focused, productive work.
Installing the App to Get Your Token
After you've set the scopes, you need to install the app into your workspace. This action generates the single most important piece of information you'll need for your code: the Bot User OAuth Token.
This token is your bot’s private key. Treat it like a password—never, ever share it publicly or commit it to a Git repository. It grants full access to the permissions you’ve just configured.
Navigate to "OAuth & Permissions" in the sidebar and hit the "Install to Workspace" button. Once you authorize the installation, Slack will present you with the token. Copy this key and keep it somewhere safe. You're going to need it as soon as we start writing some code.
For a more detailed walkthrough of this process, check out our complete guide to making a Slack app from scratch.
Coding Your Bot with the Bolt Framework
Alright, you've configured your Slack app and have your tokens. Now for the fun part: bringing your bot to life with code. This is where we shift from clicking through settings to actually writing logic, and the best tool for the job is Slack's own Bolt framework.
Bolt is available for both JavaScript and Python, and it’s a lifesaver. It’s an SDK that elegantly handles the tedious, error-prone parts of the Slack API for you. Instead of manually verifying request signatures or wrestling with webhooks, Bolt gives you a clean, event-driven interface.
Think of it this way: you can either build an engine from individual nuts and bolts, or you can drop a pre-built, high-performance motor into your project. Bolt is that motor.
Listening for Events with Bolt
One of the most powerful things a bot can do is react to things happening in your workspace. A new user joining a channel, a specific emoji reaction, a file being shared—these are all "events" you can hook into. Bolt makes listening for them incredibly simple.
Let’s say you want to automatically welcome new members when they join a specific channel. With Bolt, you just need to set up a listener for the member_joined_channel event.
Here's how that looks in Python:
import os
from slack_bolt import App

# Initialize your app with your bot token and signing secret
app = App(
    token=os.environ.get("SLACK_BOT_TOKEN"),
    signing_secret=os.environ.get("SLACK_SIGNING_SECRET")
)

# Listen for a new member joining a channel
@app.event("member_joined_channel")
def welcome_new_user(event, say):
    user_id = event["user"]
    channel_id = event["channel"]
    if channel_id == "C024BE91L": # Only welcome in a specific channel
        say(f"Welcome to the team, <@{user_id}>! We're glad you're here.")

# Start your app
if __name__ == "__main__":
    app.start(port=int(os.environ.get("PORT", 3000)))
This small block of code is doing a ton of work. The @app.event() decorator tells Bolt exactly which event to pay attention to. When it happens, Bolt hands over the event data and a slick say() function to post a message right back to the channel where the event occurred. No manual API calls needed.
Responding to Slash Commands
Slash commands are how your users will directly interact with your bot. When someone types /deploy-staging or /check-pr-status, they expect a fast, useful response. Bolt makes handling these commands a breeze, neatly packaging the user's input and context.
Let's build a classic /greet command. When a user types /greet Hello, our bot will reply with a friendly message. This is a foundational interaction for almost any bot you might build.
One thing to remember: Slack requires your app to acknowledge a command within 3,000 milliseconds. If you don't, the user sees a timeout error. Bolt gives you an
ack()function that you should call immediately to handle this.
Here’s a practical example using Bolt for JavaScript:
const { App } = require('@slack/bolt');

// Initializes your app with your bot token and signing secret
const app = new App({
  token: process.env.SLACK_BOT_TOKEN,
  signing_secret: process.env.SLACK_SIGNING_SECRET
});

// Listen for the /greet command
app.command('/greet', async ({ command, ack, say }) => {
  // Acknowledge the command request immediately
  await ack();

  // Send a response back to the user
  await say(`Hey there, <@${command.user_id}>! You said: "${command.text}"`);
});

(async () => {
  // Start your app
  await app.start(process.env.PORT || 3000);
  console.log('⚡️ Bolt app is running!');
})();
In this snippet, app.command() sets up our listener for the /greet command. The first thing we do inside the function is call ack() to satisfy Slack's time limit. After that, we use the say() function to craft a personal response using the user's ID (command.user_id) and whatever text they typed (command.text).
These examples are just the starting point, but they provide a solid foundation for building out much more complex and interesting bot logic.
Testing Your Bot Locally Before Deployment
A bot that only works on your machine is just a prototype. Before you can unleash it on your team, you need to test it in a real-world scenario—without constantly pushing code to a live server. This is where local testing becomes your best friend.
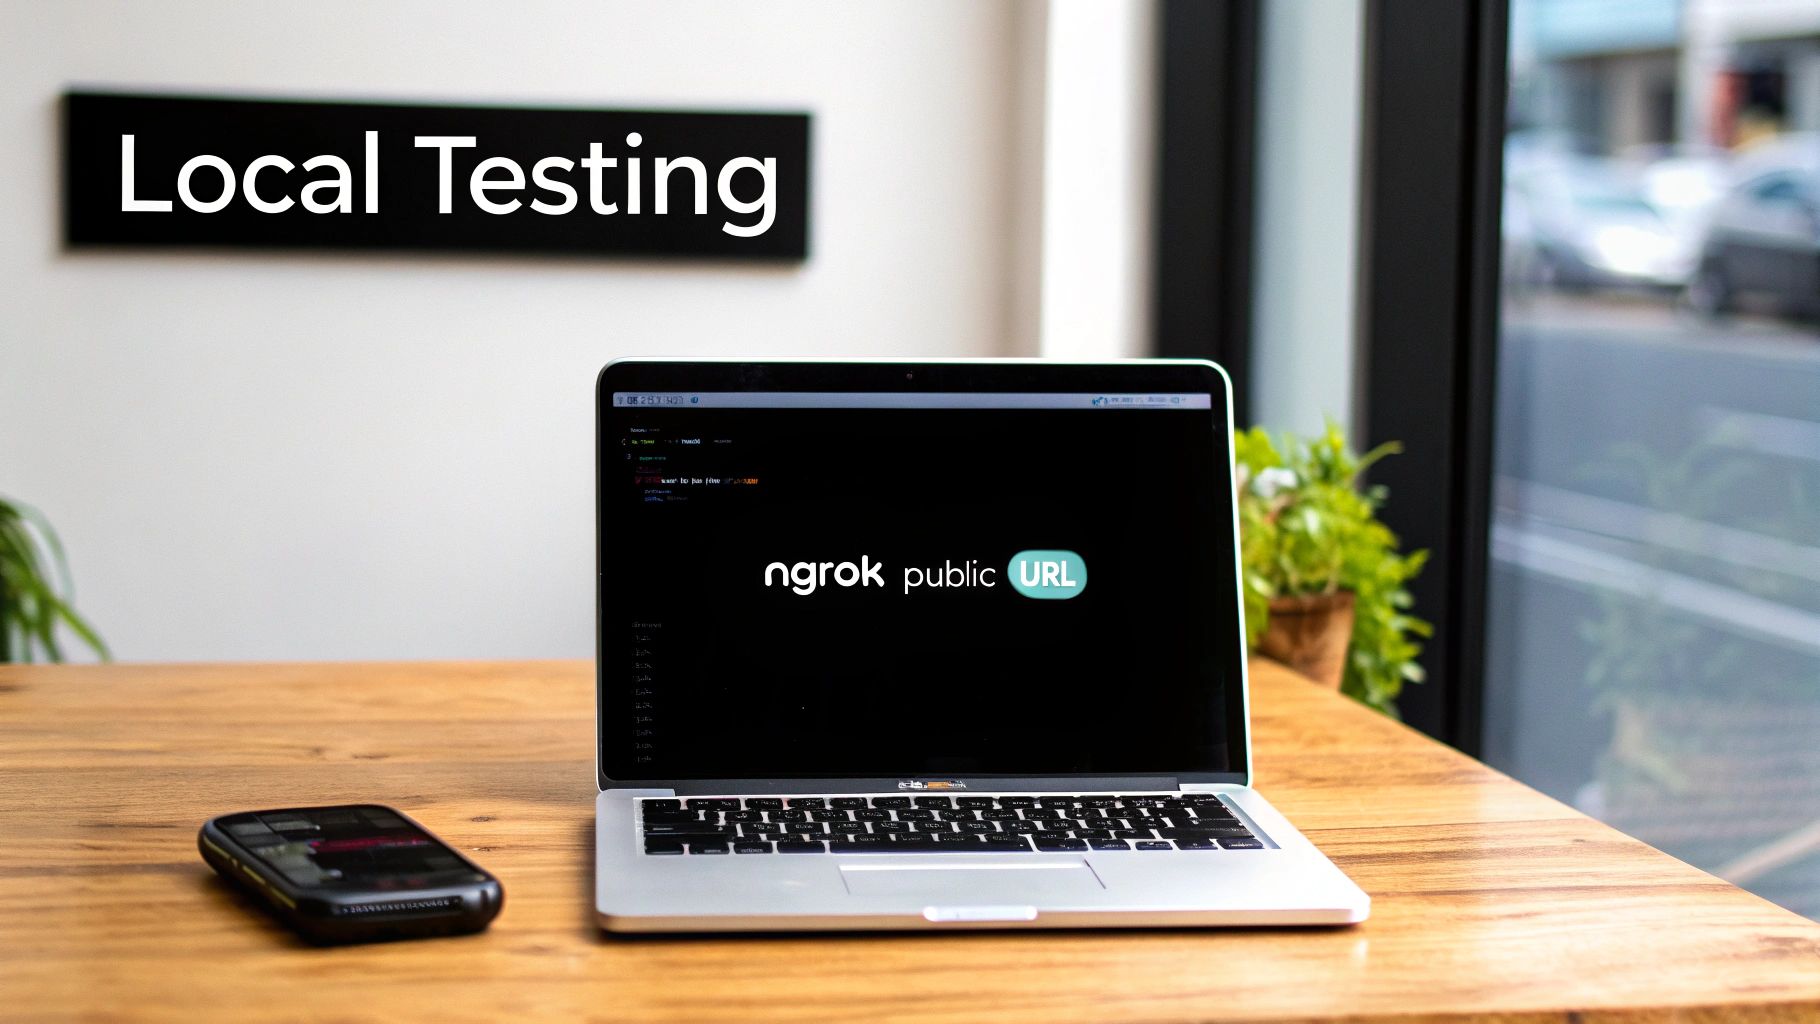
The big challenge? Your local development server is tucked away behind your network's firewall. Slack's servers, out on the public internet, have no way to reach it to send events or slash command payloads. This is where a clever little tool called ngrok saves the day.
Bridging the Gap With Ngrok
Ngrok is a slick utility that creates a secure, public URL that "tunnels" directly to a port on your local machine. Think of it as giving Slack a public address that points right to the bot code running on your laptop. This setup lets you receive real-time events and commands as if your bot were already deployed, which massively speeds up your development cycle.
Getting it running is simple. Just tell ngrok which local port your bot is listening on. For Bolt apps, that's usually port 3000.
ngrok http 3000
Once it's up, ngrok will give you a public HTTPS forwarding URL. This is the magic address you'll hand over to Slack.
Pro Tip: The free version of ngrok generates a new public URL every time you restart it. That means you'll have to go back into your Slack App settings and update the Request URL with each restart. The paid versions of ngrok offer stable subdomains, which can save you a lot of repetitive copy-pasting.
Hooking Up Your App for Local Events
With your ngrok URL ready, head back to your Slack App configuration dashboard.
Go to the "Event Subscriptions" section and flip the switch to enable them. In the "Request URL" field, paste your ngrok forwarding URL. Don't forget to add /slack/events to the end—that's the default endpoint for Bolt apps.
Slack will immediately ping that URL with a challenge request to make sure it's legit. If your local bot is running, Bolt handles this handshake automatically, and you’ll see a satisfying green "Verified" checkmark. Now you can subscribe to bot events, like app_mention, and test them in real-time. You'll want to do the same thing under "Interactivity & Shortcuts" to get your commands working.
Before you even think about deploying, it’s a good idea to run through a comprehensive software testing checklist to make sure your bot is solid.
Keep Your Secrets Secret
One final, absolutely critical step: managing your environment variables. Your SLACK_BOT_TOKEN and SLACK_SIGNING_SECRET are sensitive credentials. They should never, ever be hard-coded into your application or committed to version control.
The best practice here is to use a .env file locally to store these secrets. Your application can then load them into its environment at runtime. This simple habit separates your configuration from your code, which is a fundamental principle of building secure and scalable apps.
Deciding When to Build vs When to Buy
So, you’re thinking about building your own bot on Slack. It's a fun technical challenge, for sure, but it isn’t always the right move for your team. Before you sink precious engineering hours into a custom build, it’s worth taking a step back to consider the real cost—which goes way beyond just writing the code.
Building a bot from the ground up gives you complete control, but that freedom has a hidden price tag. Your team suddenly owns every single part of its lifecycle, a commitment that can quietly siphon focus away from your actual product.
The True Cost of a DIY Bot
When you decide to build your own bot, the initial development is just the tip of the iceberg. The real investment is everything that comes after you deploy.
*   **Ongoing Maintenance:** [Slack's](https://slack.com/) API is always changing. What works perfectly today might be broken after their next update. This means your team has to carve out time to update dependencies, squash bugs, and keep the bot from falling apart.
*   **Security Patching:** Your shiny new bot is another potential entry point for attacks. Your engineers are now on the hook for monitoring vulnerabilities and rolling out security patches—not just for your product, but for this internal tool, too.
*   **Feature Creep:** It starts small. Someone asks, "Can we add just one more thing?" Soon, everyone has ideas. These little requests pile up, and before you know it, your simple side project has ballooned into an internal product with its own roadmap and resource demands.
All this extra work adds up to a massive opportunity cost. Every hour one of your engineers spends maintaining an internal tool is an hour they aren't spending on the product that actually makes money.
Building a bot seems like a quick win, but the long-term maintenance tax can be surprisingly high. The decision to build should be weighed against the value of freeing up your best engineers to focus on revenue-generating work.
When a Ready-Made Solution Makes More Sense
Let's look at a classic developer use case: getting GitHub pull request notifications in Slack. You could definitely build a bot for this. Or, you could use a specialized tool that already exists, like PullNotifier. This is exactly where the "buy" decision starts to look really smart.
An off-the-shelf solution like PullNotifier is built by a team that does nothing but think about this specific problem. It takes all the noisy GitHub PR updates and organizes them into clean, threaded conversations. It has advanced routing rules and comes with dedicated support—features that would take your team weeks, if not months, to build from scratch.
Slack's bot ecosystem exploded with over 750,000 custom bots and integrations live across workspaces by 2025, powering 18% of all internal requests. For PullNotifier users—developers, tech leads, and enterprise teams—this means bots like theirs consolidate GitHub PR noise into threaded updates, boosting code reviews for 10,000+ engineers. Find out more about Slack's powerful bot ecosystem on Salesforce.com.
Choosing a tool like this isn't giving up; it's making a strategic call to put your best people where they'll have the biggest impact. If you're curious about other great tools, check out our list of the top 10 best Slack apps for developers.
DIY Slack Bot vs PullNotifier: A Quick Comparison
To make the choice clearer, here's a side-by-side look at what you're signing up for. This table breaks down the key differences between building from scratch and using a ready-made solution like PullNotifier.
| Factor | DIY Custom Bot | PullNotifier Solution |
|---|---|---|
| Initial Effort | High. Requires significant engineering time for design, development, and testing. | Low. Setup takes less than a minute with no coding required. |
| Maintenance | Your team is on the hook for all updates, bug fixes, and API changes. | Fully managed. The PullNotifier team handles all maintenance and updates. |
| Feature Set | Limited to what you build. New features require more development time. | Rich, specialized features like threaded updates, smart routing, and user mapping. |
| Security | Your responsibility. You must monitor for vulnerabilities and apply patches. | Handled by experts focused on platform security and reliability. |
| Total Cost | High hidden costs in ongoing engineering hours and diverted focus. | Predictable subscription fee. Frees up your developers for core product work. |
| Support | None. Your internal team has to solve any problems that come up. | Dedicated customer support is included to help with any issues. |
Ultimately, the choice to build or buy comes down to a simple question: is the problem you're solving a core part of your business, or is it a common operational headache that someone else has already mastered? Often, the smartest move is to let the experts handle it so you can get back to building what you do best.
Common Questions About Building Slack Bots
As you get your hands dirty building a bot for Slack, you're bound to run into a few practical questions. These are the little details that can easily stall a project if you're not ready for them. Let's walk through some of the most common questions developers have, so you can build with confidence.
Getting these sticking points sorted out early is the key to a smooth development process. From security best practices to the rules of user interaction, knowing these nuances will set your bot up for success and save you a lot of headaches later on.
How Do I Handle Security and Secrets for My Slack Bot?
Security is everything, especially when your bot has access to company conversations. The golden rule is to never, ever commit secrets like your Bot Token or Signing Secret into a Git repository. That’s like leaving your house keys under the welcome mat—just a massive, unnecessary risk.
Your best bet is to always use environment variables to store them. Your application can then pull these variables at runtime without ever exposing them in your codebase.
Beyond just hiding your secrets, your bot absolutely must verify the signature of incoming requests from Slack. This is how you confirm the requests are legitimate and not some bad actor trying to impersonate Slack.
The Bolt framework is a huge help here. It handles signature verification for you right out of the box, as long as you give it your Signing Secret when you initialize it. This takes a complex but critical security step completely off your plate.
Finally, make these practices a habit:
*   **Rotate your tokens regularly.** This limits the window of opportunity if a key ever gets compromised.
*   **Only request the scopes you actually need.** Don't ask for `channels:history` if all you need to do is `chat:write`. Stick to the principle of least privilege.
What Are the Most Common Mistakes to Avoid?
One of the biggest mistakes I see developers make is requesting way too many permissions (scopes) right from the start. It’s tempting to grab everything you think you might need later, but this opens up security risks and can make users think twice before installing your app. Start lean and add more scopes as your bot’s functionality grows.
Another common pitfall is failing to give users clear feedback. If a slash command is taking a while to process or fails for some reason, the bot needs to say so. A silent failure is just a frustrating user experience.
Lastly, ignoring rate limits will get your bot temporarily throttled by Slack's API. Always be mindful of how often you're hitting their endpoints. Thankfully, modern libraries like Bolt have built-in retry logic that can help manage this gracefully.
Can My Slack Bot Interact in Private Channels or DMs?
Yep, your bot can definitely operate in more private settings, but it needs an explicit invitation. To get into a private channel, a member of that channel has to manually invite it using /invite @your-bot-name. It can’t just waltz in on its own.
As for Direct Messages (DMs), your bot can message any user in the workspace as long as it has the chat:write scope and knows that user's ID. You can easily grab a user's ID from an interaction payload, like when they use one of your slash commands. And if you want users to be able to message your bot directly, don't forget to enable the "Messages Tab" in your app's settings on the Slack API dashboard.
Stop wrestling with noisy GitHub notifications and custom scripts. PullNotifier organizes all your pull request updates into clean, threaded conversations in Slack, helping your team review code faster. Start your free trial today and see the difference.