- Published on
How to Create a Bot Slack from Scratch
- Authors

- Name
- Gabriel
- @gabriel__xyz
To get a bot up and running in Slack, you'll need to register a new app, set its permissions, and then use a framework like Slack's Bolt to actually handle events and send messages. It's a surprisingly powerful way to bring your team's workflows right into the place you're already talking.
Why Custom Slack Bots Are a Game Changer
Building a custom Slack bot is easily one of the highest-leverage things a dev team can do. This isn't just about piping in another stream of notifications. It’s about creating a true digital teammate that sands down the rough edges and friction slowing you down every day.
A well-designed bot goes way beyond generic alerts to deliver targeted, actionable intelligence. Imagine a bot that doesn't just announce a new pull request, but actually summarizes the changes, tags the right reviewers based on what part of the codebase was touched, and drops in a direct link to the CI/CD pipeline. That’s where custom bots shine.
They drastically reduce the mental load on developers by cutting out the constant context-switching—jumping from GitHub to Jira to Slack and back again. By bringing critical updates into one central place, a bot helps your team stay focused and deep in their work.
The Real Impact on Developer Productivity
The value of automating inside Slack isn't just a nice theory; it's a proven way to get more done. There are over 750,000 custom bots and integrations active in Slack workspaces right now, and the use of workflow automation jumped by 34% in the last year alone.
For development teams, this is huge. Remote squads using custom bots report resolving tickets 23% faster. And tools built for specific tasks, like pull request notifications, can slash code review delays by up to 90%. You can dig into more Slack usage statistics to see just how big this trend is.
This guide will walk you through a practical example: building a GitHub pull request notifier from scratch. You'll see exactly how to solve the all-too-common problem of noisy, irrelevant alerts you get from default integrations. We'll focus on building something that's genuinely useful—a bot that only delivers the information your team needs, right when they need it.
By the end of this tutorial, you won't just know how to create a bot. You'll understand how to build a tool that actively improves your team’s development lifecycle, slashes context-switching, and cuts down on meeting fatigue.
Of course, mastering Slack is an ongoing journey. If you're looking for more ways to level up, you might want to check out our ultimate guide to mastering Slack for developers to find even more ways to boost your team's productivity.
For now, let's dive into the foundational steps, starting with registering your application and setting up the essential permissions that will bring your bot to life.
Your Foundation: Setting Up the Slack App
Every great bot starts its life as a simple Slack App. Think of this initial setup as the blueprint—it defines everything your bot can see, say, and do. Your first stop is the Slack API dashboard, where you'll create a new app "from scratch." This gives you a clean slate, which is much easier than wrestling with pre-built manifests right out of the gate.
Once you’ve named your app and hooked it up to your workspace, you’ll land on the main settings page. This is where you’ll decide how your bot gets information from Slack, and you have to make a key decision right away: public HTTP endpoints or Socket Mode.
This is all about moving a manual, tedious process into a streamlined, automated one. A good bot makes everything faster for your team.
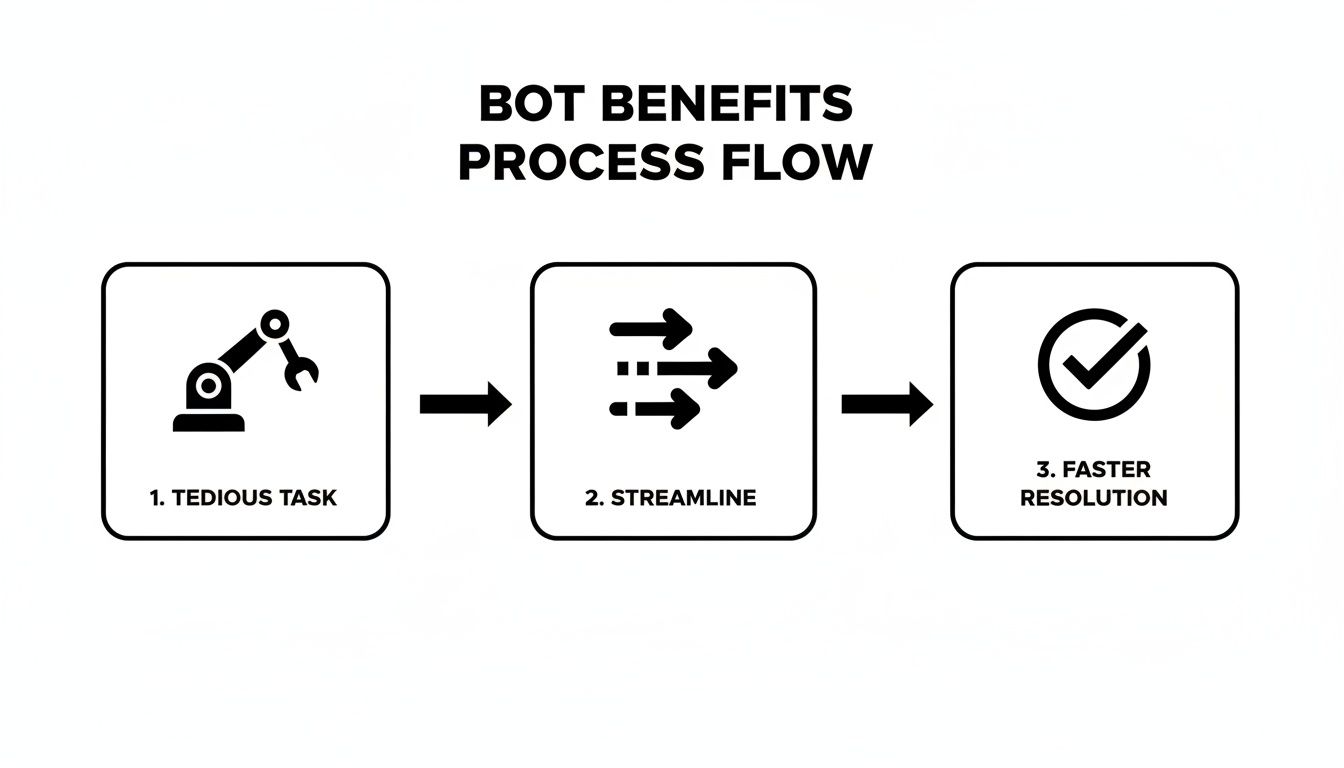
As you can see, a well-designed bot takes manual effort and turns it directly into operational efficiency.
Choosing Your Connection Method
Deciding between HTTP and Socket Mode is one of the first critical choices you'll make. It dictates how your bot communicates with Slack, especially during development.
*   **HTTP Endpoints:** This is the traditional approach. Slack pings a public URL you provide with event data. It’s perfect for production bots living on servers or serverless platforms because it's scalable and reliable. The downside? It requires exposing an endpoint, which can be a pain during local development.
*   **Socket Mode:** This method is a lifesaver for development. Your app opens a secure WebSocket connection directly to Slack, so all events are funneled through it. This completely bypasses the need for a public URL, making it fantastic for quick prototyping or building behind a firewall without tools like ngrok.
For this guide, we'll kick things off with Socket Mode. It lets us get our bot running locally with minimal fuss. You can always switch to an HTTP endpoint later when you’re ready to deploy.
Defining Your Bot's Permissions With Scopes
With your connection method picked out, it's time to grant your bot permissions. In the Slack world, this is handled through OAuth scopes, which explicitly define what your app is allowed to do. Think of them like a permission slip—your bot can't do anything without the right scopes.
When you add scopes, Slack generates a Bot User OAuth Token, which usually starts with xoxb-. This token is the secret key your code will use to authenticate with the Slack API.
Never, ever share your
xoxb-token publicly or commit it to version control. Treat it like a password. Storing it in an environment variable is the standard, secure way to handle it.
For our GitHub PR notifier, we need just a few essential scopes to get started. Head over to "OAuth & Permissions" in your app's sidebar and add these under the "Bot Token Scopes" section:
*   **`chat:write`**: This one is non-negotiable. It’s what allows your bot to post messages in channels it belongs to.
*   **`commands`**: If you want to build any slash commands (like `/pr-status`), you'll need this scope to register and listen for them.
*   **`app_mentions:read`**: This lets your bot see messages when a user directly mentions it with `@your-bot-name`.
After adding the scopes, you need to install (or reinstall) the app to your workspace. This action officially grants the permissions you just configured. With your app registered and your xoxb- token in hand, you’re ready to start writing some code.
Bringing Your Bot to Life with Slack Bolt
With your Slack App configured and tokens ready, it's time to write the code that makes your bot actually do something. While you could interact directly with the Slack API, using a framework simplifies everything. We'll be using Slack Bolt for JavaScript, an official library that makes handling events, actions, and commands feel incredibly intuitive.
Honestly, Bolt is a game-changer. It abstracts away the tricky parts like request verification and event routing, letting you focus purely on your bot's logic. Instead of manually parsing incoming JSON payloads, you just write "listeners" for specific event types. This clean, event-driven model is what makes it so powerful.
Listening for Events and Commands
At its core, a Slack bot is all about listening and responding. Bolt makes this straightforward with simple listener functions. For instance, if you want your bot to react whenever it's mentioned in a channel, you'd use the app.event() listener.
Here are a few common listeners you’ll likely use:
*   **`app.event('app_mention', callback)`**: This triggers whenever someone types `@your-bot-name` in a channel the bot belongs to. It's the perfect entry point for conversational interactions.
*   **`app.command('/your-command', callback)`**: This listens for a specific slash command. The callback function gets all the command details, including any text the user typed after it.
*   **`app.action('action_id', callback)`**: This one is for interactive components. When a user clicks a button you've defined in a message, this listener catches that specific interaction by its ID.
The real magic of Bolt is its declarative nature. You just tell it what to listen for, and it handles the how. This means less boilerplate code and more time spent building the features that actually matter.
Let's see this in action with a simple app_mention handler. This quick snippet shows how to initialize the Bolt app and get it to reply to a mention with a simple "Hello."
const { App } = require('@slack/bolt');

// Initializes your app with your bot token and signing secret
const app = new App({
  token: process.env.SLACK_BOT_TOKEN,
  signingSecret: process.env.SLACK_SIGNING_SECRET,
  socketMode: true, // Enable Socket Mode for local development
  appToken: process.env.SLACK_APP_TOKEN
});

// Listens for mentions of your bot
app.event('app_mention', async ({ event, client, logger }) => {
  try {
    // Respond in the same channel where the bot was mentioned
    const result = await client.chat.postMessage({
      channel: event.channel,
      text: `Hello, <@${event.user}>!`
    });
  }
  catch (error) {
    logger.error(error);
  }
});

(async () => {
  // Start your app
  await app.start(process.env.PORT || 3000);
  console.log('⚡️ Bolt app is running!');
})();
Crafting Rich Messages with Block Kit
Plain text messages are fine, but to make your bot genuinely useful, you need to create rich, interactive messages. This is where Slack's Block Kit comes in. It’s a UI framework that lets you build messages with structured layouts, images, buttons, and more.
Instead of passing a simple string to the text parameter in chat.postMessage, you provide a blocks array. Each object in that array represents a "block," like a section of text with markdown, a divider, or an actions block containing buttons.
For our GitHub PR notifier, we'll use Block Kit to create a notification that's easy to scan and act upon. We can set up a webhook from GitHub to fire when a new pull request is opened, parse its payload for key details (like the title, author, and URL), and then format a slick message. As you dive deeper into custom logic, exploring concepts like how to build an AI chatbot can offer great insights into design patterns and functionality.
Here's an example of how you might structure the blocks array for a PR notification:
[
  {
    "type": "section",
    "text": {
      "type": "mrkdwn",
      "text": "New Pull Request in `your-repo`: *Fix Authentication Bug*"
    }
  },
  {
    "type": "context",
    "elements": [
      {
        "type": "mrkdwn",
        "text": "Opened by: *Jane Doe*"
      }
    ]
  },
  {
    "type": "actions",
    "elements": [
      {
        "type": "button",
        "text": {
          "type": "plain_text",
          "text": "View on GitHub",
          "emoji": true
        },
        "value": "view_pr_123",
        "url": "https://github.com/your-org/your-repo/pull/123"
      }
    ]
  }
]
This structure creates a message that's far more engaging than a simple line of text. It clearly presents the information and provides a direct call-to-action with the "View on GitHub" button, reducing friction for your whole development team.
Deploying Your Bot for Your Team to Use
A bot that only lives on your local machine isn't much use to your team. To turn it into a tool they can actually rely on, you need to get it running on a server that's always on and accessible. This is the step where your bot graduates from a local prototype to a live, production-ready application.
Let's walk through some of the most popular hosting options for a Node.js app like ours.

The "right" platform really comes down to your team's budget, technical comfort level, and how much you expect the bot to be used. Each option strikes a different balance between ease of use and granular control.
Choosing Your Slack Bot Hosting Platform
When it comes to deploying a Node.js application, you've got several solid choices, each with its own vibe. I've deployed bots on all sorts of platforms, and a few stand out for their simplicity and power. Here's a look at some popular hosting options to help you decide where to deploy your bot based on your team's needs and technical expertise.
| Platform | Best For | Scalability | Cost Model | Key Consideration |
|---|---|---|---|---|
| Heroku | Startups & Hobby Projects | Good | Free Tier, then usage-based | Incredibly simple to deploy (git push heroku main), but free dynos "sleep" when inactive. |
| Glitch | Prototyping & Collaboration | Low | Free | Fantastic for quick tests and collaborative coding, but not built for production-scale apps. |
| AWS Lambda | Event-Driven Bots | Excellent | Pay-per-invocation | Highly scalable and cost-effective for bots with infrequent traffic, but has a much steeper learning curve. |
These are all great platforms, but the best one for you depends on what you're trying to build. A simple bot for a small team has very different needs than one serving a massive enterprise.
My personal tip? Start with Heroku. It hits the sweet spot between simplicity and power for most Slack bot projects. You can get a bot live in just a few minutes, and its environment variable management is both straightforward and secure.
Managing Secrets and Finalizing the Setup
No matter which platform you pick, you absolutely cannot hardcode your credentials. Your SLACK_BOT_TOKEN and SLACK_SIGNING_SECRET are sensitive keys and should never, ever be committed to a Git repository.
Instead, store them as environment variables on your hosting platform. This keeps them out of your codebase and safe from being accidentally exposed.
Once you deploy your code, your hosting service will give you a public URL. This is the last piece of the puzzle. Head back over to your Slack App configuration to wire everything up.
- Disable Socket Mode: In your app's settings, find "Socket Mode" and flip the switch to off.
- Enable Event Subscriptions: Now, go to the "Event Subscriptions" tab and toggle it on.
- Add Your Request URL: In the "Request URL" field, paste the public URL from your hosting provider (e.g.,
https://your-bot-name.herokuapp.com/slack/events). Slack will immediately send a challenge to this endpoint to make sure it's live and responding correctly.
Once the URL is verified, your bot is officially live! It will now receive all the events you subscribed to from your Slack workspace. You've successfully taken your project from a local script to a fully deployed application.
For more advanced automation, you might also want to explore workflows like using GitHub Actions to send Slack notifications, which can be a great way to complement your custom bot's capabilities.
Should You Build a Custom Bot or Buy a Solution?
Shipping a custom-built tool is a satisfying feeling, no doubt. But the choice between building a Slack bot from scratch and buying a managed solution is a big one. When you build your own, you’re not just creating a tool; you're creating a new piece of infrastructure that needs ongoing maintenance, security updates, and general care.
A custom-built bot is the clear winner when your needs are highly specialized. If you’re trying to automate a proprietary internal workflow or integrate with a homegrown system, building is probably your only option. No off-the-shelf tool can anticipate your unique business logic. Digging into what custom software development services really involve can give you some good context here.
When to Choose a Managed Tool
On the flip side, for common problems like getting better GitHub pull request notifications, a dedicated tool is often the smarter move. A specialized solution like PullNotifier has already wrestled with all the tricky edge cases you haven't even thought of yet.
Think about the long-term maintenance burden:
*   **API Changes:** Both Slack and GitHub are constantly evolving their APIs. A managed service absorbs those changes for you, so your bot doesn’t suddenly break one Tuesday morning.
*   **Security:** A third-party tool is on the hook for security patches and best practices, which takes a significant operational load off your team.
*   **Feature Development:** These tools are always adding new features and refining existing ones based on feedback from thousands of users.
This approach lets your engineers focus on what they do best: building your core product, not maintaining internal tooling. The real goal is to solve a problem, and sometimes the fastest, most reliable way to get there is to buy a solution built by experts who live and breathe this stuff. For a deeper look, check out our comparison of the best GitHub Slack integrations available.
The power of a professionally maintained tool can't be overstated. The latest AI-powered Slackbot, for example, saves users 2-20 hours a week and achieves 96% satisfaction by handling complexity behind the scenes. This highlights how managed solutions allow teams to reap massive benefits without the development overhead.
Common Questions When Building a Slack Bot
When you're first getting your hands dirty with a custom Slack bot, a few questions almost always pop up. Getting these concepts straight from the get-go will save you a ton of headaches and debugging time later on.
Let's cut through the confusion and tackle the most common hurdles developers face when building their first bot.
What's the Difference Between a Slack Bot Token and a User Token?
This is a big one, and it's critical for security and how your bot behaves. A Bot Token, which you'll recognize because it starts with xoxb-, is tied directly to your Slack App. It acts on behalf of the bot itself, limited only by the permissions you've granted it. This is the token you’ll use for pretty much everything your bot does.
A User Token, on the other hand, starts with xoxp-. This token is granted by a specific user and allows your app to act as them, inheriting all of their permissions. For a shared team bot, you should almost always stick with a Bot Token. It’s a much safer approach that follows the principle of least privilege and prevents your bot from breaking if a single user’s account is disabled.
How Can I Make My Bot's Messages More Interactive?
Plain text messages get the job done, but if you want to build something truly engaging, you need to use Slack's Block Kit. Think of it as a UI framework for your messages. It lets you go way beyond simple text by adding structured layouts, buttons, dropdown menus, and even date pickers, all defined in a clean JSON payload.
So, what happens when someone clicks a button? Slack sends an interaction event right back to your app's endpoint. If you're using the Bolt framework, you can easily listen for this with app.action(). From there, you can update the original message, pop open a modal for more input, or kick off a completely different workflow. This is how you transform your bot from a simple announcer into a genuinely interactive tool.
My Bot Isn't Responding—What Should I Check First?
Nothing is more frustrating than a bot that gives you the silent treatment. Before you start tearing your code apart, run through this quick diagnostic checklist. More often than not, the culprit is a simple configuration issue.
*   **Is Your Request URL Correct?** Go to your Slack App's "Event Subscriptions" settings and make sure the URL is correct, publicly accessible, and not getting blocked by a firewall.
*   **Did You Subscribe to the Right Events?** It’s an easy mistake to make. Did you actually subscribe to the events you’re trying to handle, like `app_mention` or `message.channels`?
*   **Are Your OAuth Scopes Correct?** Double-check that your bot has the permissions it needs (like `chat:write` to send messages). If you've added new scopes, make sure you reinstalled the app in your workspace to apply them.
*   **Check Your Server Logs.** Your server logs are your best friend here. Look for any errors, especially anything related to signature verification. An incorrect signing secret is a super common reason for silent failures.
Tired of wrestling with custom scripts just to get GitHub notifications? PullNotifier delivers clean, actionable PR updates right into Slack, cutting through the noise so your team can focus on what actually matters. Streamline your code review process today.