- Published on
How to Git Push Your Code Like a Pro
- Authors

- Name
- Gabriel
- @gabriel__xyz
Getting your code from your laptop into a shared repository is one of those fundamental first steps in any collaborative project. The whole process boils down to a few key commands: you'll initialize a Git repo, stage and commit your changes, point your local project to a remote URL, and finally, run git push -u origin main. This first push is the one that gets your work out there for your team to see.
Your First Git Push From Local to Remote
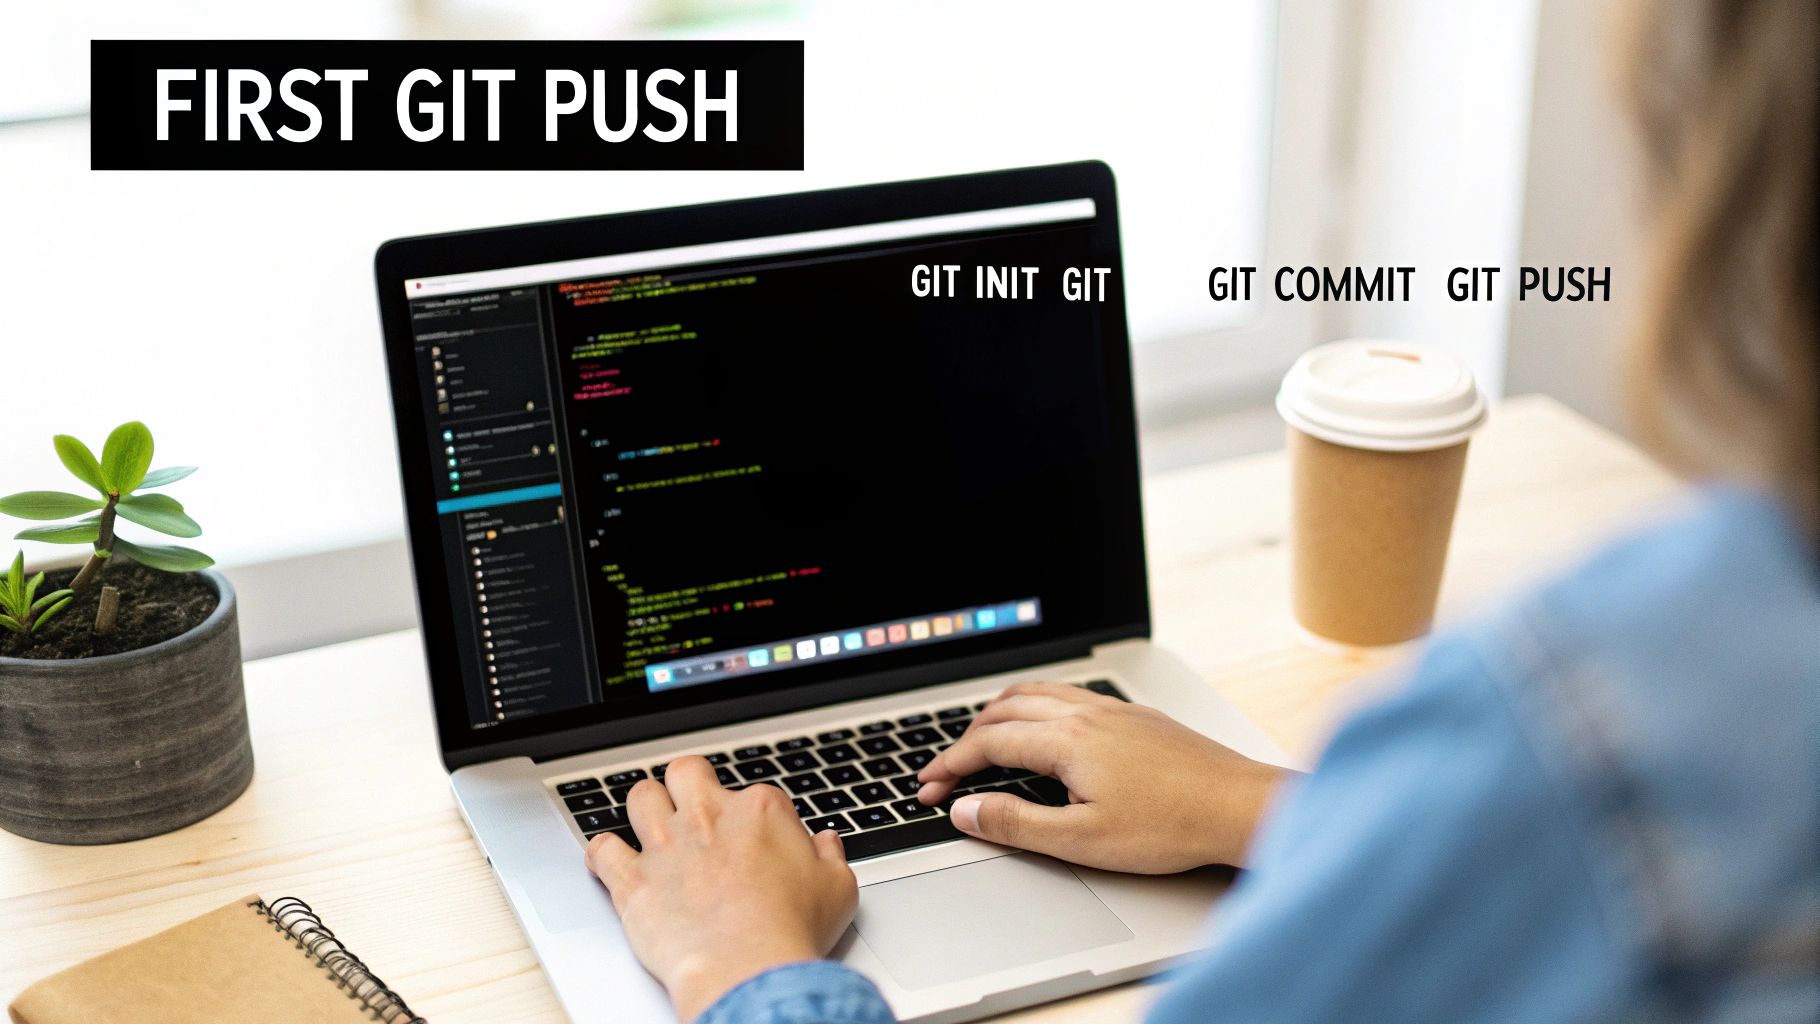
Before you can push anything, you need a local repository with at least one commit under its belt. Let's walk through it from the very beginning, assuming you have a project folder that isn't yet tracked by Git. This is exactly what you'd do when starting a new project from scratch or bringing an existing one under version control.
Preparing Your Local Repository
First thing's first: open your terminal, navigate to your project's root directory, and run git init. This command turns your folder into a new Git repository, creating the hidden .git directory where all the magic happens.
With the repository initialized, it's time to stage your files for the first commit. The easiest way to grab everything is with the git add . command. The dot is a wildcard that tells Git, "add everything in this directory and its subdirectories."
Now, you can lock in those changes with a commit. A clear and concise commit message is a gift to your future self and your teammates—it's the first entry in your project's history.
- Initialize the repo:
git init - Stage all files:
git add . - Create the first commit:
git commit -m "Initial commit"
Connecting to the Remote Repository
Your local commit is ready, but Git doesn't know where to send it yet. You need to connect it to a remote repository, like one you've created on GitHub, GitLab, or Bitbucket. You do this by adding a "remote."
By convention, the primary remote repository is named origin. Think of it as a nickname for the URL.
git remote add origin https://github.com/your-username/your-repository.git
With the remote added, you're ready for the main event: your first push. The -u flag (short for --set-upstream) is crucial here. It establishes a tracking relationship between your local main branch and the main branch on origin.
git push -u origin main
The beauty of using the
-uflag on your first push is that it makes all future pushes from that branch incredibly simple. From now on, you can just rungit pushwithout any extra arguments. Git already knows where to send your code.
To give you a quick reference, here are the core commands you'll use for that first push.
Core Git Push Commands at a Glance
| Command | Purpose | Example Usage |
|---|---|---|
git init | Initializes a new, empty Git repository in your project folder. | git init |
git add . | Stages all new and modified files in the current directory. | git add . |
git commit -m "..." | Records the staged changes to the repository's history. | git commit -m "feat: Add user authentication" |
git remote add origin <URL> | Connects your local repo to a remote one, naming it "origin". | git remote add origin https://... |
git push -u origin main | Pushes the main branch to the remote and sets up tracking. | git push -u origin main |
Getting this workflow down is essential. It's not just a niche skill; it's a cornerstone of how modern software gets built. In 2024 alone, developers made over 5 billion contributions to projects, highlighting just how central these simple commands are to the global development ecosystem. You can dig into more of these global development trends to see the bigger picture.
Securing Your Connection with SSH and PATs
Before a remote server like GitHub accepts your code, it has to know who you are. This isn't just a formality; it's a critical authentication step that stops unauthorized folks from messing with your projects. For most of us, this comes down to two main ways of proving our identity: HTTPS with a Personal Access Token (PAT), or the old developer favorite, SSH.
Each one has its pros and cons, and honestly, the choice usually boils down to what you value more: a super quick setup or long-term convenience.
HTTPS with Personal Access Tokens
Grabbing the HTTPS remote URL is usually the default and gets you up and running in no time. But here's the catch: you can't use your regular account password on the command line anymore. Instead, you'll need to generate a Personal Access Token (PAT) from your git host, whether that's GitHub, GitLab, or another service.
A PAT is just a long, random string that acts like a single-use password for your scripts or command line. When you create one, you give it specific permissions, called scopes. To push code, you'll typically need the repo scope.
The first time you git push, you'll get a prompt asking for your username and password. Just pop in your username, but paste the PAT into the password field.
Pro Tip: Your operating system's credential manager (like macOS Keychain or the Git Credential Manager on Windows) is your best friend here. It can securely save your PAT after you enter it once, so you won't have to fish for it every single time you push. It's the perfect blend of security and convenience.
SSH for Passwordless Pushing
If you’re looking for a "set it and forget it" solution, SSH is the way to go. It works using a key pair: a private key that lives on your machine and a public key that you upload to your GitHub account. When you push, Git uses this handshake to create a secure connection without ever bugging you for a password.
It does take a few minutes to get going, but it's a one-time thing.
- Generate a new SSH key pair on your local machine if you haven't already.
- Add the public key to your account settings on GitHub, GitLab, or Bitbucket.
- Use the SSH remote URL for your repository, which looks something like
git@github.com:user/repo.git.
Sure, the initial setup takes a little longer, but the payoff is a silky-smooth, password-free workflow. If you're pushing code multiple times a day, this removes a small but surprisingly annoying bit of friction from your process.
Pushing Feature Branches and Version Tags
Working directly on the main or master branch is a recipe for headaches. Instead, professional developers isolate features, bugs, and experiments on separate branches. When a feature branch is ready on your local machine, the next step is sharing it with your team by pushing it to the remote repository.
The very first time you push a new local branch, you need to tell Git where it should go and how it should be tracked. You can do this efficiently in a single command, which is one of the most common git push variations you'll use daily.
git push --set-upstream origin feature-branch-name
This command, often shortened to git push -u origin feature-branch-name, does two important things: it pushes the branch to the remote named origin and sets up a tracking link. From that point on, you can simply use git push from that branch, and Git will know exactly what to do.
Managing branches effectively is crucial, especially in complex setups like monorepos, where different branching strategies can make or break your workflow. For more on that, check out our guide on monorepo branching strategies for teams.
Pushing Important Milestones with Tags
While branches track ongoing development, tags are used to mark specific, important points in your project's history, like a version release (v1.2.0). Creating a tag is simple, but it only exists on your local machine until you explicitly push it.
Pushing a single, specific tag is straightforward:
git push origin v1.2.0
This makes the tag visible to everyone and allows CI/CD pipelines to trigger deployments based on it. If you have several new tags you need to share, you can push all of them at once using the --tags flag.
git push origin --tags
Be cautious with
git push --tags. It pushes every single local tag that doesn't already exist on the remote. This is usually what you want, but it's good practice to double-check your local tags first withgit tagto avoid pushing any accidental or temporary ones.
This push frequency varies wildly among developers, but collectively, it's immense. With platforms reporting over 5 billion contributions in a single year, the number of git push operations for branches and tags is astronomical. It’s a core part of modern software development, as you can see from data on developer activity and commit percentiles.
Solving Common Push Errors and Using Force Push Safely
Sooner or later, every developer runs into a failed git push. It’s not a sign you did something wrong; it's just a normal part of working on a team. Getting comfortable with these common errors and knowing how to handle them is a crucial skill for any collaborative project.
The most common roadblock you'll hit is the "non-fast-forward" error. This simply means a teammate pushed changes to the same branch before you did. The remote branch has commits that your local version is missing, so Git rightly stops you from accidentally overwriting their work.
The clean way to fix this is to pull in the new changes first. I've found that using git pull --rebase is often the best approach. It replays your local commits on top of the remote changes, which helps keep the project history clean and linear. Once the rebase is done, you can try your git push again. If you get stuck, our guide on how to resolve conflicts in Git walks through more complex scenarios.
When to Use Force Push Safely
Then there's the infamous git push --force. It's powerful, but it's also risky. You should almost never use this command on a shared branch like main or develop. It completely overwrites the remote branch history, which can wipe out your teammates' work without any warning.
Thankfully, there's a much safer alternative: git push --force-with-lease. This command does an extra check before pushing—it makes sure no one else has pushed to the remote branch since you last pulled. If someone has, the push will fail, protecting their work from being overwritten.
A perfect scenario for
--force-with-leaseis when you've cleaned up your own feature branch locally. Maybe you squashed a bunch of messy commits with an interactive rebase and now need to update the remote version of that same branch. This ensures you’re not accidentally erasing any unexpected changes someone else might have made.
When you're deciding what to push, this flowchart can help clarify whether you're dealing with new changes or a new version.
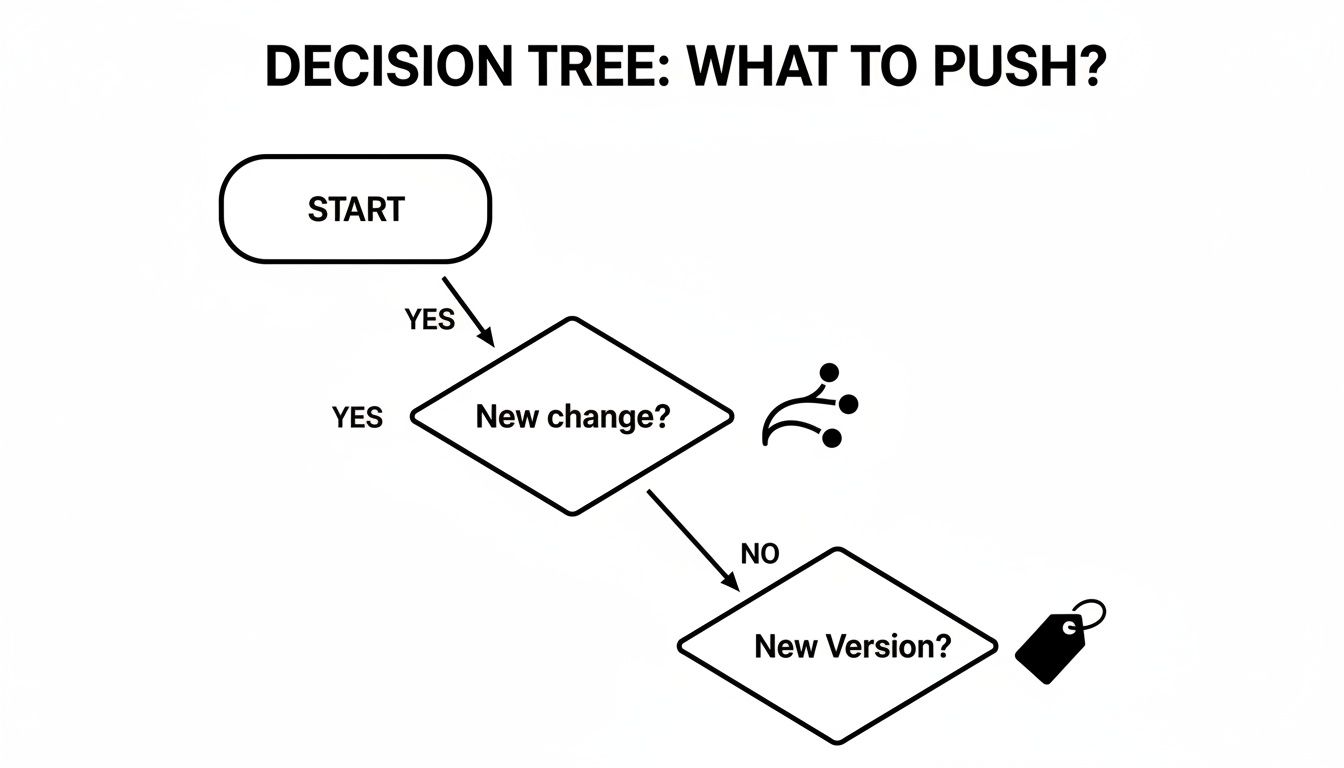
This visual guide is a great reminder: new development work should always be isolated in branches, while official releases get marked with version tags.
Force Push Command Comparison
Understanding the difference between standard and force push commands is key to avoiding those "oops" moments that can cause major headaches for your team.
| Command | What It Does | When to Use It (Safely) |
|---|---|---|
git push --force | Unconditionally overwrites the remote branch with your local one, discarding any remote changes. | Almost never on shared branches. Only for personal, unshared branches when you are absolutely certain no one else is using it. |
git push --force-with-lease | Overwrites the remote branch only if no one else has pushed to it since your last fetch/pull. | When you need to rewrite the history of your own feature branch (e.g., after a rebase) and want to avoid overwriting a teammate's work. |
Ultimately, --force-with-lease gives you the power to rewrite history when you need to, but with a critical safety net built in. It's the responsible way to force push.
How Git Push Fits into a Modern Development Workflow
In any professional dev environment, git push is so much more than a way to back up your code. It's the starting pistol for your team's entire collaboration and quality assurance process. To really get why it's a big deal, having a solid foundation in understanding version control is a must.
Every single push should be seen as the first step toward opening a Pull Request (PR). The best practice here is to keep your pushes small and focused on a single feature or bug fix. This simple habit makes code reviews way faster and much more effective for your teammates. You can get a deeper dive by mastering the pull request workflow.
From Push to Production
Once that PR is open, automation is king. This is where Continuous Integration (CI) and Continuous Deployment (CD) pipelines jump in. A single git push command can kick off a whole chain of events without you lifting another finger:
*   **Automated Builds:** The system immediately tries to compile your code to catch any breaking changes.
*   **Running Test Suites:** Unit tests, integration tests, and even end-to-end tests all run automatically.
*   **Code Analysis:** Linters and security scanners get to work, checking your changes for quality issues and vulnerabilities.
This instant feedback is priceless. We've seen a huge surge in enterprise teams adopting push-triggered pipelines, with GitHub Actions usage alone jumping by around 50%. This shift isn't just for show—it's been shown to slash average deployment times by about 30%, which is a massive win for productivity.
The modern workflow completely changes the game.
git pushis no longer just an upload command; it’s the engine that drives code quality, team collaboration, and ultimately, deployment to production. It’s the catalyst for the entire delivery cycle.
To keep everyone in the loop during this fast-paced process, tools like PullNotifier are essential. It sends real-time PR updates straight to Slack, so reviews never get buried in a sea of notifications. This keeps your team's momentum going strong, ensuring every push genuinely moves the project forward.
Git Push FAQ: Your Questions Answered
Even after you've got the hang of the basics, a few tricky questions about git push always seem to pop up. Let's tackle some of the most common ones I hear from developers.
What's the Difference Between Origin and Upstream?
Think of origin as the default name Git gives to the remote repository you cloned your project from. It’s your home base, the primary place you’ll be pushing to and pulling from.
Upstream, on the other hand, usually comes into play when you're working with forks. If you fork someone else's project to contribute, your forked copy is your origin. The original project repository you forked from is what you'd typically set as your upstream remote.
Do I Always Have to Push After a Git Pull?
Nope, not necessarily. Running git pull is all about getting the latest changes from the remote and merging them into your local branch. You only need to git push if you've made new commits locally that you want to share with everyone else.
A typical daily workflow looks like this:
git pullto sync up, make your own commits with new work, and thengit pushto send your contributions back. It's a simple rhythm that keeps you from working on outdated code.
Can I Undo a Git Push?
Yes, you can, but you need to be extremely careful. The safest way to "undo" a push is by reverting the commit and then pushing that revert. This creates a new commit that undoes the changes, which is great because it preserves the project's history.
The other option is git push --force, but this is the danger zone. It rewrites history on the remote and can easily wipe out commits someone else has pushed. If you must force push, always use git push --force-with-lease. It’s a much safer alternative that checks to make sure you aren't overwriting someone else's work.
How Do I Push to a Different Branch?
Sometimes your local branch name doesn't match the remote one you want to push to. No problem. You can tell Git exactly where to send your commits.
Let’s say you have a local branch called dev and you want to push it to a remote branch named feature-test. You'd run this:
git push origin dev:feature-test
This command is super explicit: it takes your local dev branch and pushes its commits to the feature-test branch on the origin remote. Simple as that.
Tired of chasing down PR reviews in a sea of notifications? PullNotifier sends concise, real-time pull request updates directly to Slack, cutting through the noise and keeping your team's momentum high. Streamline your code reviews today.