- Published on
How to Merge GitHub Branches Like a Pro
- Authors

- Name
- Gabriel
- @gabriel__xyz
Merging on GitHub is how you get your hard work from a feature branch into the main codebase. It’s the final step that combines new features, bug fixes, or improvements, making it one of the most critical skills for any developer working in a team. Think of it as the moment your code officially joins the project.
Why Merging Is Your Most Important GitHub Skill
Let's be clear: merging isn't just a command you run. It's the very heart of collaboration on GitHub. Every time a teammate finishes a task, that work lives in its own branch until it’s merged. Getting this right is the difference between a smooth workflow and a codebase full of conflicts and broken features.
At its core, merging is about combining different lines of development. You might do a git merge on your local machine, but most teams rely on merging a pull request through the GitHub interface. This is where the real magic happens, as it introduces a few layers of safety and collaboration:
- Code Reviews: This gives your team a chance to look over the changes, leave comments, and give their approval before anything gets integrated.
- Automated Checks: Merging a pull request can trigger your continuous integration (CI) pipeline to run tests, making sure the new code doesn't break anything.
- Controlled Integration: With branch protection rules, you can enforce quality checks, like requiring a certain number of approvals before the merge button even becomes active.
Understanding the Three Main Merge Strategies
When you go to merge a pull request, GitHub doesn't just give you one big green button. You actually have a few options, and the one you choose has a big impact on your project's Git history.
It’s worth taking a moment to understand what each one does so you can pick the right tool for the job.
Choosing Your GitHub Merge Strategy
This table breaks down the three main merging options on GitHub, helping you decide which approach best fits your team's workflow and code history preferences.
| Merge Strategy | What It Does | Resulting History | Best For |
|---|---|---|---|
| Merge Commit | Creates a new merge commit, preserving the full history of the source branch. | A graph-like history showing exactly when branches were merged. | Preserving the exact context of a feature branch, including all its individual commits. |
| Squash and Merge | Combines all commits from the source branch into a single commit on the target branch. | A clean, linear history with one commit per pull request. | Keeping the main branch history tidy and easy to read. Great for small fixes. |
| Rebase and Merge | Re-applies commits from the source branch onto the target branch before merging. | A perfectly linear history with no merge commits. | Creating the cleanest possible project history, though it requires more Git expertise. |
Each strategy has its place. A merge commit is the default and tells the full story, while squash and merge is perfect for cleaning up a messy branch before it hits main. Rebase and merge offers the cleanest history of all, but it can get tricky if multiple people are working on the same branch.
The core mechanism behind Git's merging capabilities has seen significant advancements with the introduction of a new merge backend. This powerful engine drives commands like merges and rebases, enabling smoother workflows for the millions of developers who rely on Git daily. You can find more details on Git's merge advancements.
Merging Pull Requests Through the GitHub Interface
For most day-to-day development, you'll probably be merging pull requests right from the GitHub website. The interface gives you a clear, controlled environment for integrating code, complete with visual cues about the health of your pull request (PR). Before you even think about hitting that merge button, you'll see status checks from your continuous integration (CI) pipeline, letting you know if the new code passes all the automated tests.
This is the standard workflow for countless teams. If your repository has branch protection rules in place, GitHub won't even let you merge until all requirements are met, like getting a minimum number of approvals from your teammates. This process is a critical safety net that ensures only quality, peer-reviewed code lands in your main branch.
Finalizing Your Merge
Once all the checks have passed and you've got the necessary approvals, you're at the final step: choosing how to merge.
At the bottom of a pull request, you’ll find a dropdown menu offering the three main merge strategies.
This is a key decision point. Whether you create a standard merge commit, squash everything into one, or rebase, your choice directly shapes the project's commit history. Picking the right one is crucial for maintaining a clean and understandable repository. Honing these skills is a big part of our guide on pull request best practices, which can help your team build a consistent, clean workflow.
After picking a method, you can tweak the commit message and add any final notes. I always recommend checking the box to automatically delete the source branch after merging. It's a simple click that keeps your repository tidy by removing branches that are no longer needed, which prevents clutter and makes it much easier to see what work is still active. One final click, and your changes are officially part of the project.
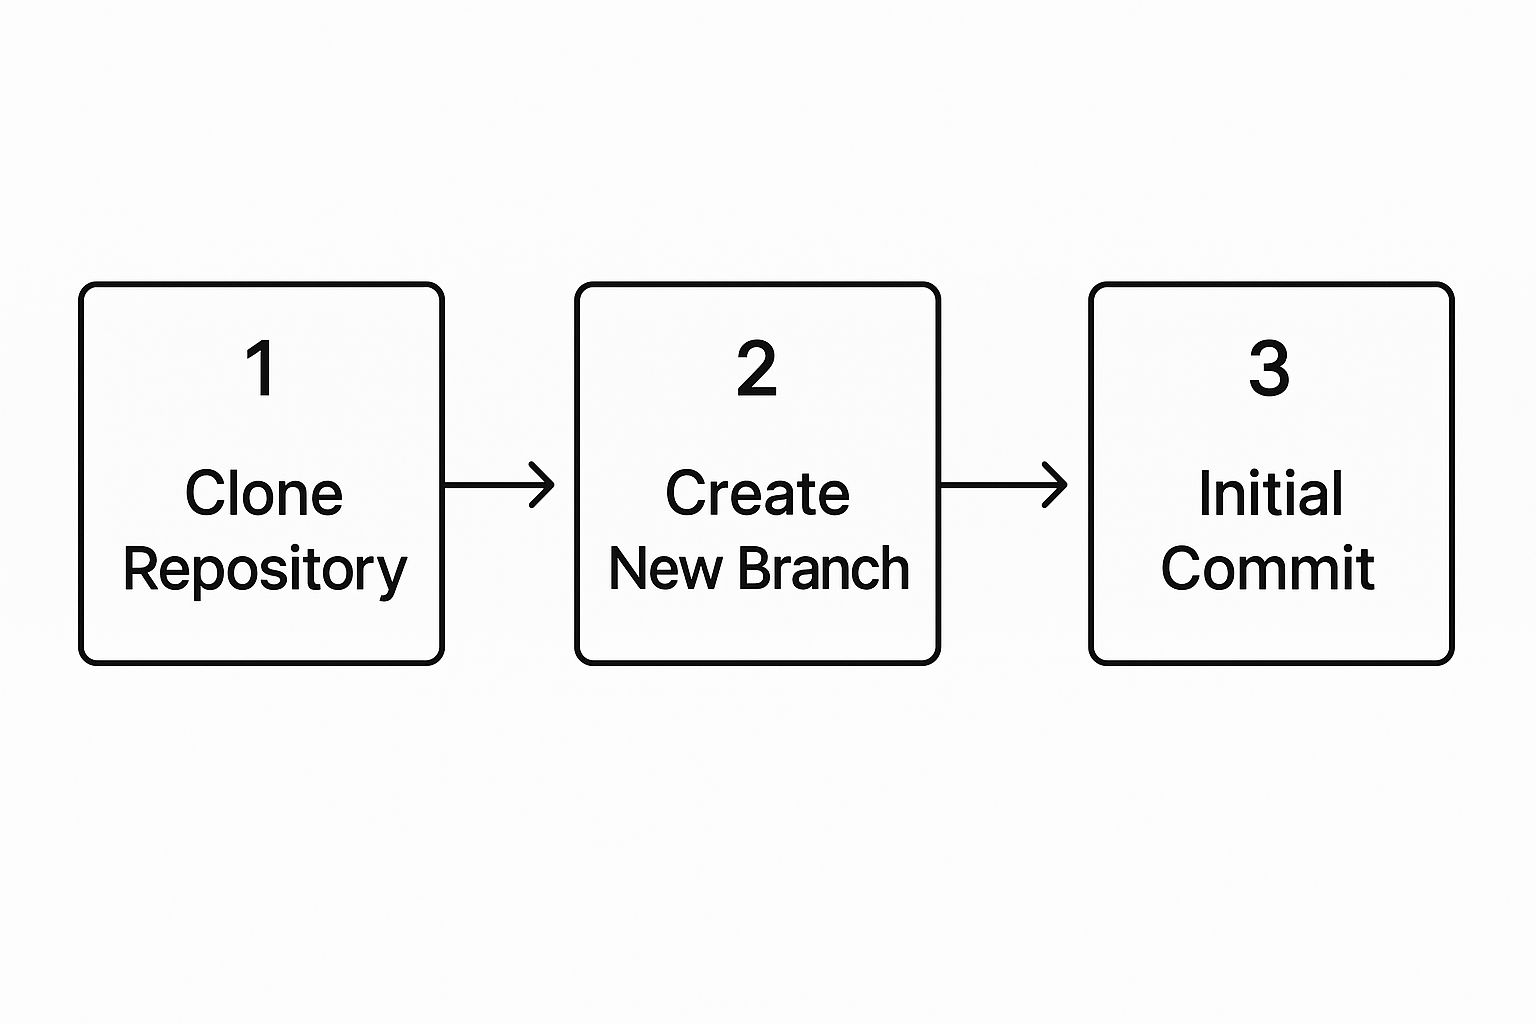
Remember, a good merge starts long before the pull request is even opened. It's all built on the foundation of a clean branch history, which begins with a logical flow of cloning, branching, and committing your work.
Mastering the Merge with Git Commands
While the GitHub interface is great for quick merges, there are times you need the raw power and precision of the command line. Merging locally with Git gives you total control over the process before you push anything to the remote repository. I find this approach is perfect when I need to resolve gnarly conflicts or manage complex histories on my own machine first.
Before you can merge, you have to get your local repository up-to-date. Think of it as a quick, three-step dance to sync up with the remote project.
Syncing Your Local Environment
First things first, switch to the branch that's going to receive the new changes. Nine times out of ten, this is your main branch.
git checkout main
Next, you'll want to grab the latest changes from the remote repository, but without integrating them just yet. The git fetch command is perfect for this—it downloads all the new data, like new branches and commits, so your local Git knows exactly what’s happened on the server.
git fetch origin
With the new data downloaded, you can now bring your local main branch up to speed. A lot of developers use git pull here since it handily combines fetching and merging into one step.
git pull origin main
Now that your main branch is fully synced, you're ready to bring in your new work.
Executing the Merge Command
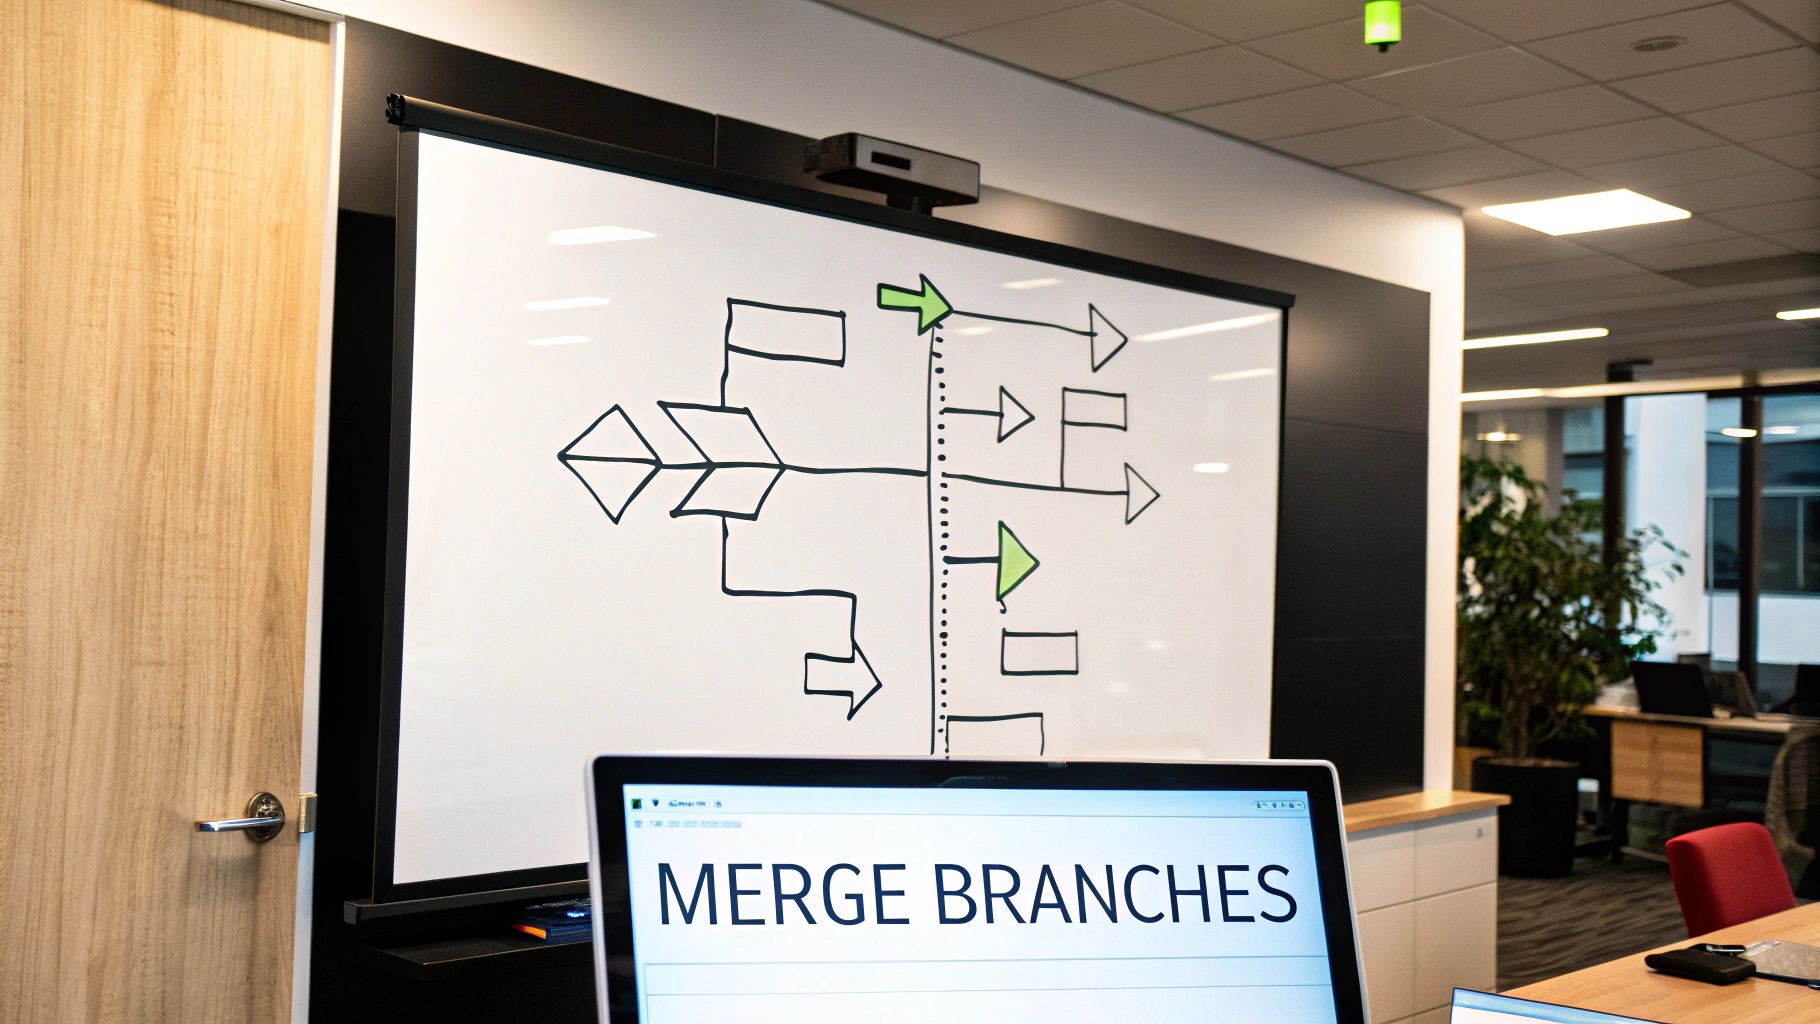
It's time to integrate your feature branch. Let's say you've been working on a branch called new-feature-branch. The git merge command is refreshingly simple.
git merge new-feature-branch
This one command takes all the commits from new-feature-branch and weaves them into your current branch (main). Git creates a new "merge commit" to tie the two histories together neatly.
Pro tip: For a cleaner, more explicit history, you can use the
--no-ff(no fast-forward) flag. This forces Git to create a merge commit even if it could just move the branch pointer forward. It's a great way to preserve the context that a specific feature branch was merged.
Once the merge is complete on your local machine, the final step is to push the updated main branch back to GitHub so the rest of your team can see the changes.
git push origin main
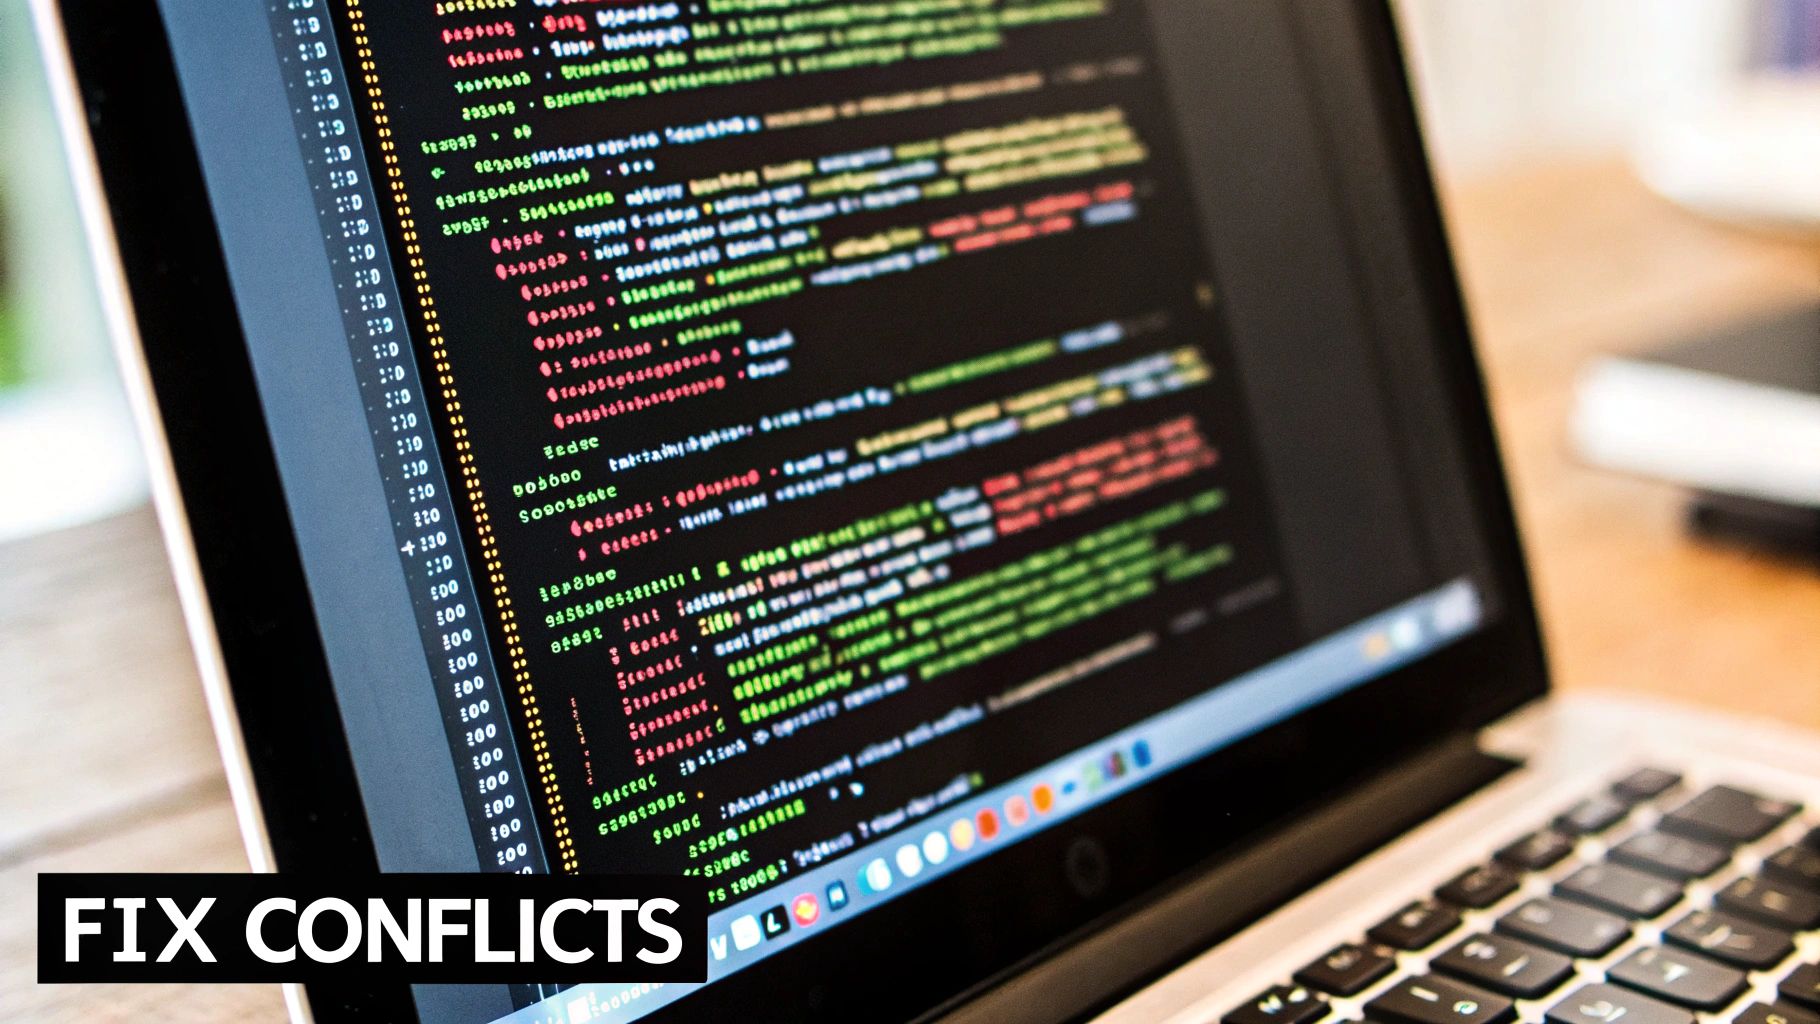
How to Handle and Resolve Merge Conflicts
Merge conflicts can seem scary, but they’re a totally normal—even healthy—part of working on a team. They happen for one simple reason: Git doesn't know how to automatically combine changes when you and a teammate have edited the exact same lines in the same file. Instead of guessing and potentially breaking things, Git wisely pauses the process and asks you, the human, to step in.
When a conflict pops up, Git actually modifies the file in question. It injects special markers to show you exactly where the competing changes are. Your job is to play the role of editor and decide what the final version should look like.
Reading the Conflict Markers
The key to resolving any conflict is learning to read these markers. They’re Git’s way of flagging the specific lines that need your attention. Let's say you changed a button's text to "Submit," while a teammate changed it to "Continue." Inside the file, you’d see something like this:
<<<<<<< HEAD: This marks the beginning of the changes from your current branch (the one you are merging into).=======: This line is the separator. Everything above it is your change; everything below it is from the other branch.>>>>>>> feature-branch-name: This marks the end of the changes from the branch you're trying to merge in.
Your code editor will almost certainly highlight these blocks, making them impossible to miss.
The goal isn't just to make the markers disappear. It's to manually edit the code within that block to create the final, correct version. Sometimes that means keeping your change, sometimes theirs, and sometimes you might combine elements of both—or even write something entirely new.
Once you’ve opened the conflicted file, all you have to do is delete the Git markers and the version of the code you don't want to keep. After you've edited the file and are happy with the outcome, just save it.
Now, you need to tell Git that you've sorted it out. You do this by staging the newly modified file with git add.
git add your-conflicted-file.js
Finally, you can proceed with your commit to finalize the merge. If you were in the middle of a git merge, you'd just run git commit. If you were rebasing, you would use git rebase --continue. And that’s it—the conflict is resolved, and your branches are successfully merged.
Adopt a Smarter Merging Workflow
Knowing how to merge on GitHub is one thing, but building a process that prevents chaos is another. In my experience, the best development teams don’t see merging as a single click, but as the final step in a disciplined workflow that starts long before a pull request ever gets opened.
One of the most effective habits you can build is creating small, single-purpose branches. When a branch is laser-focused on fixing just one bug or adding one tiny feature, code reviews become dramatically faster and easier. Your reviewers can actually grasp the context without having to untangle a mess of unrelated changes, which almost always leads to fewer merge conflicts down the road.
Cultivate Healthy Team Habits
Beyond just keeping branches small, clear communication is everything. Take the time to write descriptive pull request titles and summaries. This gives reviewers crucial context right away and builds a searchable, useful history of all the changes made over time.
Another game-changer is to frequently pull changes from the main branch into your feature branch. This proactive syncing keeps your branch from drifting too far from the source, minimizing the chances of a massive, complex conflict when it's finally time to merge. You can also explore different monorepo branching strategies for teams to find a model that fits your project's scale.
A great merge isn't about avoiding conflicts entirely—it's about making them rare and easy to solve. By keeping branches focused and frequently synced, you're setting your team up for a smoother, less stressful development cycle.
Automating your quality checks with branch protection rules is another powerful move. You can enforce required status checks, mandate code reviews from specific teams, and even prevent direct pushes to critical branches like main or production.
If you're wondering if this scales, just look at GitHub itself. Their own merge queue system is a testament to this philosophy. It handles roughly 2,500 pull requests per month by automatically testing and merging them. This system cut their average wait time for shipping changes by 33% and, most importantly, keeps their main branch stable.
You can read more about how GitHub manages its high-volume workflow on their engineering blog. Adopting these habits transforms merging from a potential bottleneck into just another reliable part of your delivery pipeline.
Got Questions About GitHub Merging? We've Got Answers.
Even once you get the hang of merging branches in GitHub, you're bound to run into some tricky situations. Let's walk through a few of the questions I hear most often to help you level up your workflow.
How Do I Undo a Merge?
It’s a classic "oops" moment: you merge a branch and immediately realize it was a mistake. How you fix it depends on whether you've pushed the change yet.
- If you haven't pushed: Your best friend is
git reset --hard HEAD~1. This command simply moves the branch pointer back one step, completely erasing the merge commit as if it never happened. Quick and clean. - If you've already pushed: Don't panic. The safer route here is
git revert -m 1 <merge-commit-hash>. This creates a new commit that acts as the inverse of the merge, effectively undoing the changes without rewriting history. This is much safer for shared branches.
Can I Merge a Single Commit?
Absolutely. Sometimes, you just need one specific fix or feature from a development branch, but the rest of it isn't ready. Trying to merge the whole thing would be a mess.
This is where git cherry-pick <commit-hash> saves the day. It lets you grab a single commit from another branch and apply it directly to your current one. It’s perfect for pulling a hotfix into your main branch without dragging in a bunch of unfinished work along with it.
The biggest takeaway here is that Git gives you different tools for different jobs. A standard pull request merge is your bread and butter, but knowing your way around commands like
git revertandgit cherry-pickgives you the flexibility to handle real-world development headaches with confidence.
How Can I Count Merged Pull Requests?
For teams who live and breathe metrics, getting a hard number on merged pull requests is a common request. You can pull this data directly from GitHub’s API using a simple curl command to fetch the total count for a specific repository. If you want to dive into the technical details, the community forums have some great discussions on querying GitHub's API for merge data.
Is There a Way to Speed Up the Review Process?
Many developers ask how they can make the review process itself more efficient. One of the best ways is to automate reviewer assignments, which can dramatically cut down the time it takes to get a PR merged. We've put together a full guide on how to automatically assign reviewers in GitHub that gives you actionable steps to get this set up for your team.
Tired of chasing down pull request statuses in noisy channels? PullNotifier delivers focused, real-time PR updates directly to Slack, cutting through the clutter so your team can review and merge faster. Get started for free at https://pullnotifier.com.