- Published on
Merge Branches Git: A Practical Guide to merge branches git
- Authors

- Name
- Gabriel
- @gabriel__xyz
Merging branches is one of those Git fundamentals you'll use every single day. At its simplest, you just switch to your target branch (like main) and run git merge <feature-branch-name>. This one command pulls all the changes from your feature branch right into the main codebase, weaving different lines of development together.
If you're going to master anything in Git, this is it.
Why Mastering Git Merging Is Essential for Developers
Let's be real: merging branches in Git isn't just another technical task. It’s the very heartbeat of collaborative coding. Think of it as the central point where everyone's individual contributions come together to form a single, working piece of software.
When a team gets this wrong, the results are painful and immediate. Broken builds, a project history that makes no sense, and developers wasting hours trying to untangle knotted-up code.
But when you get it right? The benefits are just as immediate. A clean merge workflow means every new feature, bug fix, or experiment gets integrated smoothly and predictably. This guide will cut through the noise, taking you from the basic commands to the more nuanced strategies that senior developers rely on to keep projects sane and teams moving fast.
Building a Foundation for Scalable Projects
A disciplined approach to merging is non-negotiable for a project's long-term health. Without it, developers are constantly at risk of overwriting each other's work or introducing subtle bugs that are a nightmare to track down. A well-managed repository history, on the other hand, becomes an incredible asset, giving anyone on the team the ability to understand how and why the codebase evolved.
This skill is absolutely vital across all software domains. For example, mastering Git merging is a core competency throughout the mobile app development lifecycle, where smooth collaboration and code integrity are critical from the first commit to the final release.
Merging isn't just about combining code; it's about preserving the story of your project. A clean, understandable Git history is one of the most valuable long-term assets a development team can have.
Ultimately, the goal is to see merging not as a chore, but as a powerful tool for building better software, faster. By understanding the different strategies at your disposal, you empower your team to:
*   **Boost Collaboration:** Allow multiple developers to work on different features at the same time without stepping on each other's toes.
*   **Improve Code Quality:** Use pull requests and merge checks as gateways for essential code reviews and automated testing.
*   **Maintain Project History:** Create a clear, auditable log of every change that simplifies debugging and makes future development so much easier.
When you need to merge branches, Git gives you a few ways to get the job done, and each one leaves a different mark on your project's history. Getting a handle on these core strategies—the three-way merge, the fast-forward merge, and the squash merge—is a game-changer for keeping your repository clean and easy to follow. The right choice often comes down to your team's workflow and how you want your git log to read.
This flow from collaborative work to a clean history highlights that the how of merging is just as important as the what.
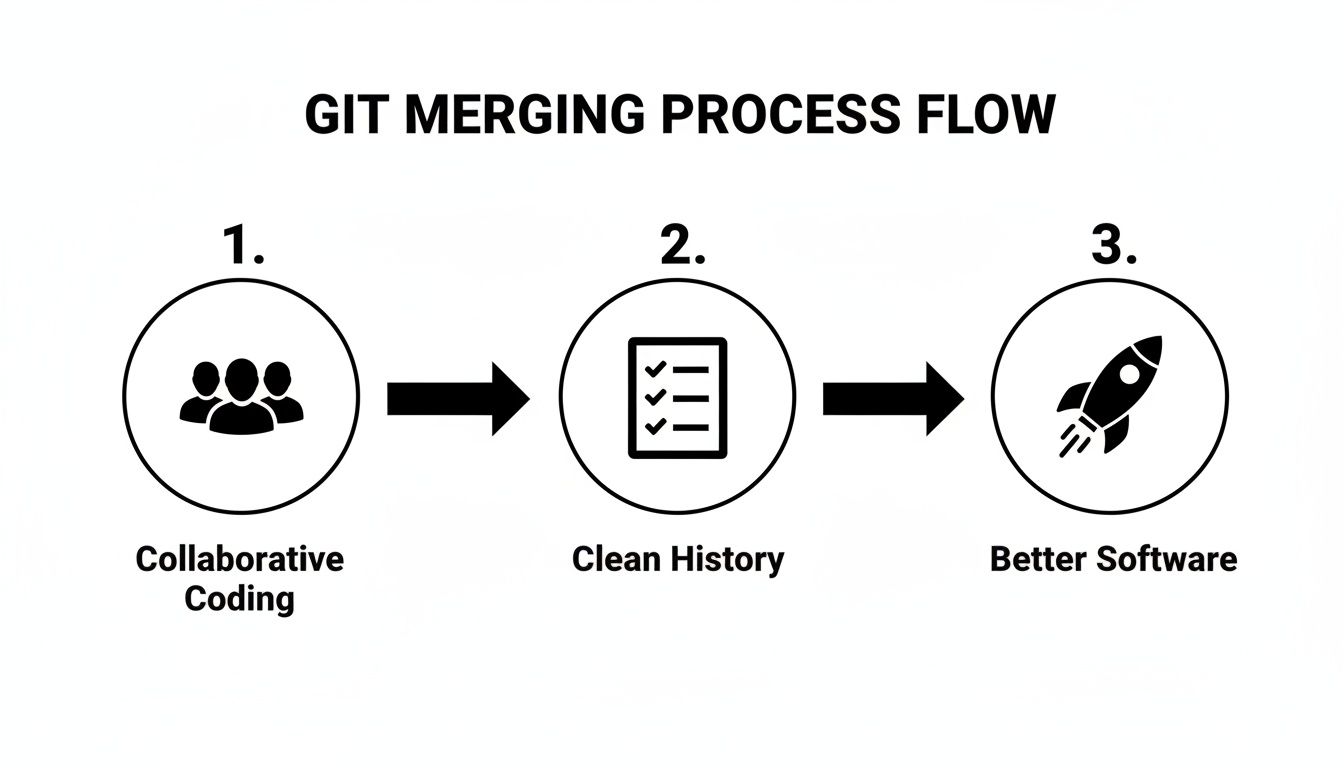
Let's dive into the three main ways you'll be bringing branches together.
The Classic Three-Way Merge
Most of the time, you'll find yourself in a situation where the main branch has moved on with new commits since you started your feature branch. Git can't just plop your changes on top; it has to be smart about combining the two different histories. This is where the classic three-way merge comes in.
To figure this out, Git looks at three specific points:
*   The tip of your feature branch.
*   The tip of the main branch.
*   Their most recent common ancestor commit.
From there, Git creates a brand new merge commit that ties the two histories together. This special commit has two parents, making it crystal clear that a feature branch was folded into the main line of development. It’s the default behavior for a reason—it preserves a full, auditable history of every piece of work.
Fast-Forward Merges and The --no-ff Flag
A fast-forward merge is the simpler scenario. This happens when the main branch hasn't changed at all since you created your feature branch. Git sees that your branch's history is just a straight continuation of main.
Instead of making a new merge commit, Git simply moves the main branch pointer forward to the latest commit on your feature branch. Think of it like fast-forwarding a tape to the end—it keeps the history perfectly linear. In healthy, collaborative projects, a good 60-70% of merges are fast-forwards, leaving the more complex three-way merge for the remaining 30-40% of cases where branches have truly diverged. For a deeper dive, you can explore detailed insights on Git branching and merging best practices.
But what if you always want a merge commit, even when a fast-forward is possible? Some teams prefer this for auditing purposes. You can force this behavior with the --no-ff (no fast-forward) flag.
Using
--no-ffensures that every feature, no matter how small, is represented by a merge commit in the history. This makes it much easier to see when a specific feature was integrated or to revert an entire feature if needed.
Squashing Commits for a Cleaner History
The squash merge is your best friend for cleaning up a messy branch history before it hits the main branch. We've all been there: a feature branch with a dozen commits like "WIP," "fix typo," and "oops forgot a file." You definitely don't want all that noise cluttering up your main branch history.
A squash merge takes all the individual commits from your feature branch, mushes them into a single, clean commit, and then applies that one commit to the target branch. The original messy history is left behind, giving your main branch a beautiful, easy-to-read log where each commit represents a complete feature.
This strategy is perfect for developers who commit frequently while working but want to present a polished, single-commit feature to the main codebase.
Git Merge Command Comparison
Here's a quick rundown to help you decide which merge command to use and when. Each one shapes your project's history differently, so picking the right tool for the job is key.
| Merge Command | History Impact | Typical Use Case |
|---|---|---|
git merge <branch> | Creates a merge commit if branches have diverged, preserving branch history. | The standard, default merge. Used when you want to explicitly show when a feature was integrated. |
git merge --no-ff <branch> | Always creates a merge commit, even if a fast-forward is possible. | For teams that require a merge commit for every feature to maintain a clear audit trail. |
git merge --squash <branch> | Combines all branch commits into a single new commit on the target branch. | Cleaning up a messy feature branch with lots of "work-in-progress" commits before merging to main. |
Choosing the right merge strategy is all about balancing the need for a detailed history with the desire for a clean, linear log. Knowing how each of these commands works puts you in full control of your repository's story.
Navigating Merge Conflicts Without Fear
That moment you run git merge and see "CONFLICT (content): Merge conflict in..." is a rite of passage for every developer. It feels like hitting a brick wall, but honestly, it’s a completely normal part of working on a team.
A merge conflict is just Git's way of saying it needs your help. Think of it as a traffic controller asking for manual direction because two branches tried to change the exact same line of code in different ways. Git can't read your mind to know which change is correct, so it pauses the merge and hands the decision over to you.

The first step is to open up the conflicted file. Git helpfully inserts special markers to show you exactly where the problem is. Getting comfortable with these markers is the key to solving the puzzle.
Decoding the Conflict Markers
When you open a conflicted file in your editor, you'll see a block of text that looks something like this:
<<<<<<< HEAD
This is the original line from your current branch.
=======
This is the conflicting line from the other branch.
>>>>>>> feature/new-login
This is Git’s way of presenting both sides of the story.
<<<<<<< HEAD: Everything between this and the=======is the version from your current branch (the one you're merging into, oftenmainordevelop).=======: This is just a divider separating the two conflicting versions.>>>>>>> feature/new-login: Everything between the divider and this line is from the branch you are trying to merge in.
Your job is to edit this block of text. You have to remove all the conflict markers (
<<<<<<<,=======,>>>>>>>) and decide what the final, correct version of the code should be. You might keep one version, the other, or write a completely new line that combines the logic from both.
For a deeper dive into different resolution techniques, check out this developer's guide to Git conflict resolution, which covers more advanced scenarios.
Once you’ve edited the file and you're happy with the result, finishing up is simple. You just need to let Git know you've fixed it.
Finalizing Your Resolution
After you've cleaned up the conflicted file and saved your changes, you complete the merge by following the standard commit process. First, you'll need to stage the resolved file.
Stage the file you've just edited
git add path/to/your/conflicted-file.js This command tells Git you’ve handled the conflict for that specific file. If you had multiple conflicted files, you'd need to resolve and git add each one.
Finally, you commit the changes. Git usually provides a pre-populated commit message like "Merge branch 'feature/new-login'," which you can use as-is or edit to add more context.
Commit the merge
git commit And that's it! You've successfully resolved a merge conflict. By approaching it methodically, you turn what feels like a stressful event into just another routine part of your development workflow.
Merging Branches Within a GitHub Pull Request
While the command line is powerful, most modern development teams have moved beyond running git merge directly into main. The workflow today is built around the Pull Request (PR), a central feature of platforms like GitHub, GitLab, and Bitbucket.
Think of a PR as more than just a request to combine branches. It's a dedicated forum for discussion, code review, and running automated quality checks. This approach transforms merging from a solitary command into a transparent, collaborative process. When you open a PR, you're essentially inviting your teammates to inspect your changes, offer suggestions, and sign off before that code hits the main branch. It’s a critical checkpoint for keeping code quality high and everyone on the same page.
Choosing Your GitHub Merge Method
Once a PR has been reviewed, approved, and all the automated checks have passed, you’ll see that satisfying green "Merge pull request" button. But hold on—clicking the dropdown arrow reveals three distinct ways to get your code into the target branch.
Each option leaves a different footprint on your repository's history. Getting these right is the key to maintaining a clean and easy-to-follow git log.
Here are the choices you'll face:
*   **Create a merge commit:** This is the default option and works just like a standard `git merge --no-ff`. It creates a new "merge commit" that ties the feature branch's entire history into the target branch, preserving every single commit from the PR. This gives you a complete audit trail, but it can also make your history look like a tangled web.
*   **Squash and merge:** This is a fan favorite. It takes all the commits from your PR—from the initial work to those "fix typo" commits—and squishes them down into one clean, single commit on the target branch. The result is a beautifully linear and readable history where each commit represents a whole feature or fix.
*   **Rebase and merge:** This method takes the commits from your feature branch and replays them, one by one, on top of the target branch's latest changes. It then fast-forwards the target branch to include them. Like squashing, this creates a linear history, but it preserves each individual commit from the PR instead of combining them.
The Power of Squash and Merge
There's a good reason the squash and merge strategy has become so popular. Research shows it's been adopted by 45-55% of teams managing active repositories. Why? Because it radically simplifies project history, making it much easier to understand how the codebase has evolved over time.
In fact, organizations that rely on squash workflows report that their developers spend roughly 30% less time digging through Git history to understand when a feature was built. You can read more about these merge methods on GitHub’s official documentation.
A squashed merge tells a clear story. Instead of a log cluttered with ten commits about a single feature, the
mainbranch log shows one concise commit: "Feature X was added." This makes everything from tracking down bugs withgit bisectto reverting features much, much simpler.
Enforcing Standards with Branch Protection Rules
To make sure everyone on the team follows the same process, you can use branch protection rules. For example, you can configure your main branch to only allow squashed merges, which prevents anyone from accidentally cluttering the history with merge commits. This is a common practice, with an estimated 72% of enterprise organizations using branch protection to enforce their workflows.
These rules are powerful. You can also require that all automated checks (like tests and linters) must pass and that at least one teammate has approved the PR before the merge button even becomes active. This kind of automated enforcement is the bedrock of a healthy, scalable development process.
To learn more, check out our deep dive on how to merge GitHub branches in our detailed guide. Ultimately, the GitHub PR workflow elevates merging from a simple command into a strategic process that protects code quality and supercharges team collaboration.
Best Practices for a Clean and Effective Merge Workflow
 Honestly, the best way to handle a gnarly merge conflict is to not have one in the first place. A proactive approach to how your team manages branches can turn a process that feels like a minefield into a smooth, predictable routine.
This isn't about some magic Git command. It's about discipline. Simple, consistent habits are what separate a clean, valuable Git history from a tangled mess. Nailing these practices will not only make merging easier but will also boost your team's overall velocity.
Keep Branches Small and Short-Lived
One of the most effective things you can do is keep your feature branches focused on a single, atomic task. A branch that lives for weeks and touches dozens of files is a magnet for merge conflicts. The longer a branch hangs around, the more it drifts from main, making the eventual merge exponentially more complex.
Instead, break big features into smaller, manageable chunks. Create a branch for each small piece, get it reviewed, merge it, and then move on. This dramatically lowers the risk of conflicts and makes code reviews way faster and more effective.
Short-lived branches are the cornerstone of a healthy merge workflow. Aim to merge a branch within a day or two of its creation. This ensures your work stays closely aligned with the main codebase, making integration simple and painless.
Sync Your Branch with Main Frequently
Don't code in a silo for days on end. Make it a daily habit to pull the latest changes from your main branch into your feature branch. At a minimum, do it once a day. This lets you resolve tiny conflicts incrementally instead of being slammed with one giant, intimidating conflict when you think you're ready to ship.
You can use either git merge main or git rebase main from your feature branch. Each one affects your history differently, but the benefit is the same: you integrate upstream changes on your terms, in small doses. This is a fundamental part of most modern website development processes that rely on continuous integration.
Write Clear and Descriptive Commits
Think of your commit messages as documentation for your future self and your teammates. A history full of "WIP" or "fixes" is practically useless. A good commit message explains the why behind a change, not just the what. That context is pure gold when you're trying to figure out how a piece of code evolved months later.
Strong commit messages are also a key part of a high-quality pull request. If you want to see how this fits into the bigger picture, check out these detailed pull request best practices. When you write clear commits, you build a project history that's a valuable, searchable asset instead of just a messy log.
Common Questions About Merging Branches in Git
Even after you've nailed down the main commands, you'll inevitably run into weird scenarios when merging branches in Git. Knowing how to handle the tricky questions is what separates the pros from the novices. Let's walk through some of the most common spots where developers get stuck.
What Is the Difference Between Git Merge and Git Rebase?
This is a classic. The big difference is all about how your project's history gets recorded.
Think of git merge as a meticulous historian. It’s a non-destructive action that preserves every detail of your branch history. When you merge, Git creates a brand-new "merge commit" that ties the two histories together. This gives you a comprehensive, graph-like history that clearly shows where different lines of development were joined.
On the other hand, git rebase is more like a storyteller tidying up the narrative. It rewrites history by taking all the commits from your feature branch and replaying them, one by one, on top of the target branch. The result is a clean, perfectly linear history—as if all the work happened in a single, straight line.
The golden rule of rebasing is to never rebase a public or shared branch. Since it rewrites commit history, doing so can cause a world of pain for any teammates who have pulled that branch. Seriously, just don't.
How Can I Safely Undo a Git Merge?
We've all been there—you merge the wrong branch or realize it wasn't ready. It's a common mistake, and thankfully, it's fixable.
If you just performed the merge and haven't pushed the changes yet, you're in luck. The quickest fix is git reset --hard HEAD~1. This command simply moves the branch pointer back one step, effectively making the merge disappear. Poof.
But what if you've already pushed it? Rewriting shared history is a major no-no. Instead, you'll want a safer, history-preserving method: git revert -m 1 <merge-commit-hash>. This command creates a new commit that is the exact inverse of the merge, canceling out its changes without messing with the public project history.
When Should I Use the No Fast Forward Flag?
You should use the git merge --no-ff (no fast-forward) flag when you want to absolutely guarantee that a merge commit gets created, even when a simpler fast-forward is possible.
Why would you want that? It's incredibly valuable for keeping a clean record that a specific feature branch existed and was integrated at a certain point. It groups all of a feature's commits under a single, identifiable merge point. This makes it way easier to see what changes were part of a feature or, if things go south, to revert the entire feature later on.
Stop drowning in GitHub notification noise. PullNotifier delivers clean, real-time pull request updates directly to Slack, cutting review delays and keeping your team synchronized. Find out more at https://pullnotifier.com.