- Published on
generate self signed certificate windows - quick guide
- Authors

- Name
- Gabriel
- @gabriel__xyz
Before we jump into the command line, let's talk about why you'd even want to generate a self-signed certificate on Windows. This isn't just a technical hoop to jump through; it's a practical move that makes development and testing way more efficient. A self-signed cert lets you enable HTTPS on local or internal servers without the hassle of dealing with a public Certificate Authority (CA).
Why Bother with Self-Signed Certificates?

Think of a self-signed certificate as a developer's fast pass. Instead of going through the whole song and dance of requesting and paying for a certificate from a public CA, you just create one yourself. It gives you the encryption you need for HTTPS, but with one key difference: it's signed by its own private key, not a trusted third party.
This makes it perfect for internal environments where you don't need public trust. The global SSL market is expected to hit over $500 million by 2032, which shows just how critical public-facing security is. But for private networks and dev workflows, self-signed certs are still absolutely essential.
Common Development Scenarios
Their main job is to secure non-production environments. I find myself reaching for them all the time in these situations:
*   **Local API Development:** You're building an API on your machine, and your frontend needs to talk to it over HTTPS. A self-signed cert lets you mimic production security without any fuss.
*   **Internal Dashboards:** Your team has an internal tool for monitoring or data visualization. Securing it with a self-signed cert is a quick way to protect internal data without the overhead of a commercial certificate.
*   **Home Lab Projects:** If you're running a personal server for media, home automation, or other fun projects, a self-signed certificate is the go-to for adding that necessary layer of encryption. Our guide on [how to build a home server](https://blog.pullnotifier.com/blog/how-to-build-a-home-server-expert-step-by-step-guide) covers more on securing these kinds of setups.
Understanding the Limitations
While they're incredibly handy, it’s crucial to know their limits. Because they aren’t signed by a trusted CA, browsers and operating systems will throw a fit, flagging them as untrusted by default. This means you’ll get those familiar security warnings that you have to manually click through.
Key Takeaway: Self-signed certificates are strictly for development, testing, and internal use. They should never be used on a public-facing website. Doing so offers zero proof of identity to your users and will absolutely tank their trust in your site.
When you need a self-signed certificate on Windows and don't want the hassle of installing extra tools, PowerShell is your go-to. It's already built into the OS, making it the quickest, most straightforward way to get the job done. The magic happens with the New-SelfSignedCertificate cmdlet, a surprisingly flexible command for creating certs right from your terminal.
This method is an absolute lifesaver for local development. Say you're spinning up a web app and need to test features over HTTPS on localhost or a slick local domain like dev.myapp.local. Instead of a convoluted setup, you can pop open PowerShell and generate a valid certificate with a single line of code. That kind of immediate feedback loop is priceless for staying productive. In fact, finding ways to automate repetitive tasks like this is a massive win for any developer's workflow.
Crafting a Practical PowerShell Command
While the basic command is simple, you'll almost always want to add a few parameters to get a certificate that actually meets your needs. Let's break down the ones you'll use most often.
*   **-DnsName**: This one's non-negotiable. It specifies the domain(s) the certificate is valid for. You can even list multiple names, like `localhost`, `dev.app`, and `*.dev.app` for wildcards.
*   **-CertStoreLocation**: This tells PowerShell where to stash the new certificate. The default is your personal store, but saving it to `Cert:\LocalMachine\My` is usually the better move for server applications like IIS.
*   **-NotAfter**: By default, certificates are only good for **one year**. This parameter lets you set a custom expiration date, which is perfect for long-running internal projects where you don't want to reissue certs constantly.
Here’s a practical, copy-and-paste example for securing a local development server:
New-SelfSignedCertificate -DnsName "localhost", "dev.webapp.local" -CertStoreLocation "Cert:\LocalMachine\My" -NotAfter (Get-Date).AddYears(5)
This one-liner creates a certificate valid for both localhost and dev.webapp.local, saves it in the local machine's certificate store (so services can find it), and sets it to expire in a comfortable five years.
PowerShell vs OpenSSL for Certificate Generation
When generating self-signed certificates on Windows, you have two primary options: the built-in PowerShell cmdlet New-SelfSignedCertificate and the industry-standard OpenSSL toolkit. Each has its strengths, and the right choice often depends on your specific needs and comfort level with the command line. PowerShell excels at simplicity and Windows integration, while OpenSSL offers unparalleled flexibility and cross-platform consistency.
This table breaks down the key differences to help you decide which tool is the best fit for your project.
| Feature | PowerShell (New-SelfSignedCertificate) | OpenSSL on Windows |
|---|---|---|
| Installation | Built-in; no setup required. | Requires separate installation (e.g., via Chocolatey, WSL, or Git for Windows). |
| Ease of Use | Very simple for basic certs; a single-line command is often enough. | More complex; involves multiple commands and configuration files for advanced options. |
| Windows Integration | Excellent. Directly integrates with the Windows Certificate Store. | Manual process. You need to generate .pfx or .p12 files and then manually import them into the store. |
| Flexibility | Good for common scenarios, but limited for advanced cryptographic options. | Highly flexible. Supports a vast range of extensions, algorithms, and custom configurations. |
| Cross-Platform | Windows-only. Scripts are not portable to Linux or macOS. | The industry standard. Commands and scripts are consistent across Windows, Linux, and macOS. |
| Best For | Quick local development, testing on Windows, and simple server setups. | Complex PKI needs, generating Certificate Authority (CA) certs, cross-platform projects, and advanced security. |
In short, if you're working exclusively on Windows and need a certificate for local development quickly, PowerShell is your best bet. But if you need more advanced features, are working in a multi-platform environment, or plan to build out a more complex certificate infrastructure, taking the time to set up and learn OpenSSL is a worthwhile investment.
Finding and Managing Your New Certificate
So you ran the command—now where did the certificate go? It's tucked away safely in the Windows Certificate Store. The quickest way to get to it is through the Microsoft Management Console (MMC).
Pro Tip: Type
certlm.mscinto your Start Menu or Run dialog (Win + R). This is a handy shortcut that opens the certificate manager for the local computer, saving you the clicks of manually adding the snap-in through the main MMC.
Once certlm.msc is open, navigate to Personal > Certificates. You should see your shiny new certificate listed there, ready to be exported or bound to your local web server. This seamless integration is what makes using PowerShell to generate a self-signed certificate on Windows so incredibly efficient for developers.
Advanced Certificate Control with OpenSSL
When you need to generate a self signed certificate in Windows with surgical precision, PowerShell’s convenience just won’t cut it. That's when you turn to the raw power of OpenSSL. As the undisputed industry standard for cryptography, it gives you granular control over every tiny detail of a certificate, making it perfect for complex development setups or cross-platform projects where consistency is everything.
Getting OpenSSL on Windows usually means installing it as part of another toolset, like Git for Windows, or using a package manager like Chocolatey. The workflow is also quite different. PowerShell’s New-SelfSignedCertificate cmdlet is a one-and-done command, but OpenSSL mirrors professional Public Key Infrastructure (PKI) processes.
It’s more of a multi-step dance:
- First, you generate a private key.
- Then, you create a Certificate Signing Request (CSR).
- Finally, you sign that CSR with your own key to produce the self-signed certificate.
Breaking Down the OpenSSL Workflow
This multi-stage process is what gives you such incredible flexibility. While only an estimated 82-87.6% of websites currently use valid SSL certificates, the need for encryption in local development is universal. Self-signed certificates on Windows are invaluable because they completely bypass commercial verification, letting you secure internal services instantly. You can read more about current SSL usage stats and trends over on SSL Dragon's blog.
The following infographic illustrates the high-level process, whether you're using PowerShell or diving into OpenSSL.
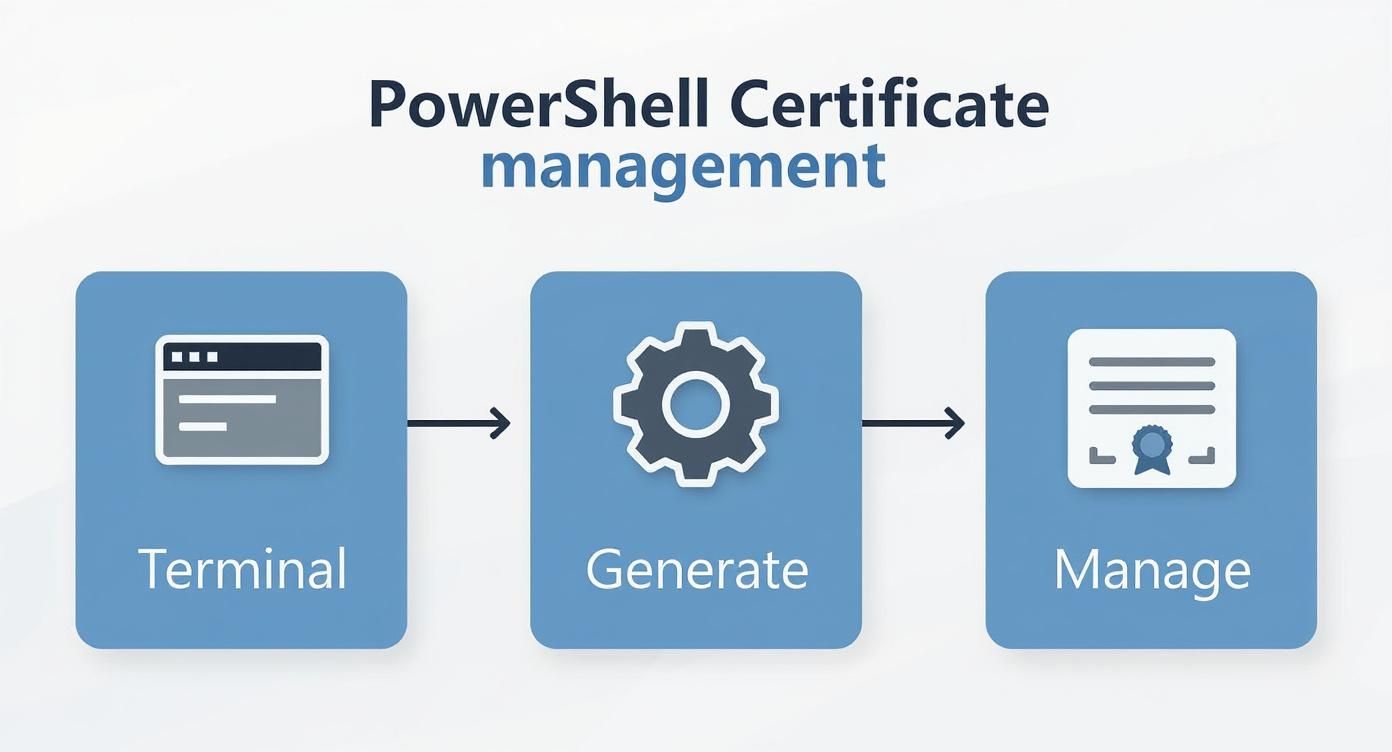
As you can see, both paths involve using a command-line tool to generate the certificate, which is then managed within your system's certificate store.
Key Generation and Signing Example
Ready to get your hands dirty? Let's start by creating your private key. This command generates a robust 2048-bit RSA key and saves it to a file. openssl genrsa -out myapp.local.key 2048
Next up, you'll use this key to generate a CSR. This is the step where you define the certificate’s identity, like its Common Name (CN), which should match your local domain. openssl req -new -key myapp.local.key -out myapp.local.csr
Finally, you sign the CSR with your own key, making it self-signed. This command also sets a validity period of 365 days and applies the extensions needed for browsers to recognize it as a valid server certificate. openssl x509 -req -days 365 -in myapp.local.csr -signkey myapp.local.key -out myapp.local.crt
Pro Tip: One of OpenSSL's biggest advantages is its superior handling of Subject Alternative Names (SANs). Modern browsers have deprecated the use of the Common Name for domain matching and now require SANs. With OpenSSL, you can easily add multiple DNS names and IP addresses, ensuring your certificate is trusted across all your local development domains without a single browser complaint.
This method gives you complete authority over algorithms, key lengths, and extensions, providing a powerful and flexible alternative for advanced certificate management.
Get Your Machine to Trust the Certificate

So, you've created a self-signed certificate. That’s the first big step, but it’s only half the battle. If your local machine doesn’t explicitly trust it, your browser will just throw up those frustrating NET::ERR_CERT_AUTHORITY_INVALID errors anyway. This kind of defeats the whole purpose of a smooth local dev setup.
Making Windows trust your certificate is a non-negotiable step for a seamless workflow. By manually telling the operating system your new certificate is legit, you get rid of the security warnings and can run your local apps just like they would in a production environment. Once this is done, it's also a great time to think about the bigger picture of securing your web server.
Dive Into the Microsoft Management Console
The key to all of this lies within the Microsoft Management Console (MMC). It's a powerful, old-school tool that gives you direct access to the Windows Certificate Store. This is where we’ll import your new certificate into the right place so the system recognizes it.
Getting it open is easy. Just press Win + R, type mmc, and hit Enter.
Once you're in the console, you need to add the "Certificates" snap-in to get started. It sounds more complicated than it is.
*   First, go to `File > Add/Remove Snap-in...`
*   Find **Certificates** in the list and click **Add**.
*   When prompted, choose **Computer account**. This part is crucial, especially for services like IIS or other local web servers that need to access the certificate.
*   Finally, select **Local computer** and click through the rest of the wizard.
With that, your MMC is ready to manage your machine's certificates. Now you can import the one you just created.
This screenshot shows the main interface of the Microsoft Management Console with the Certificates snap-in loaded for the local computer. The left pane is where you'll navigate to the Trusted Root Certification Authorities store—that’s exactly where our self-signed certificate needs to go.
The final step is to navigate to
Trusted Root Certification Authorities > Certificates, right-click, selectAll Tasks > Import, and just follow the wizard to find and install your certificate file.
After a quick import, your browser will finally see your local server as legitimate. For anyone managing Windows environments, it's also helpful to know how to check uptime in Windows to make sure your newly secured services are always available.
Common Mistakes and Practical Pro Tips

When you're generating self-signed certificates on Windows, a few common slip-ups can turn a quick task into hours of frustration. Trust me, learning from them upfront is the key to a smoother process. These are the practical tips I wish someone had told me when I first started.
One of the biggest mistakes I see is people still relying on the old Common Name (CN) field for domain validation. Modern browsers, especially Chrome, have moved on and now strictly require Subject Alternative Names (SANs). If your certificate is missing a SAN entry, you'll still get those pesky security warnings, even if the CN is technically correct.
Always use the
-DnsNameparameter in PowerShell or the equivalent SAN configuration in OpenSSL. This simple step ensures your certificate is future-proof and plays nice with all modern browsers.
Avoiding Expiration Headaches
Another classic issue is simply forgetting about expiration dates. The certificate you create today will likely expire in one year by default. When it does, your local services will suddenly break, and it might take you a while to figure out why. I've been there.
Here's how to avoid that headache:
*   **Set a longer lifespan:** For internal development work, there's no harm in setting a validity period of **5-10 years** using the `-NotAfter` parameter in PowerShell.
*   **Use calendar reminders:** For more critical internal certs, do yourself a favor and set a calendar reminder a month before it expires. It’s a simple but effective failsafe.
Beyond the technical steps, it's vital to sidestep common security missteps that could leave your system vulnerable. For a great overview on that broader topic, check out CloudOrbis's guide on the 6 Crucial Cybersecurity Mistakes And How To Stop Them.
Got Questions? I've Got Answers
Running into the same questions over and over is just part of the job. Here are a couple of common ones that pop up when dealing with self-signed certs on Windows.
Can I Just Use One Certificate for All My Local Domains?
Yes, you absolutely can, and you probably should. Instead of wrestling with a new certificate for every single project, you can generate one that covers all your local development domains using Subject Alternative Names (SANs).
When you're in PowerShell running New-SelfSignedCertificate, just pass all your domains to the -DnsName parameter. It's as simple as this: -DnsName "localhost", "dev.api.local", "test.webapp.com". Trust me, it’s a whole lot cleaner than juggling a dozen different certificates.
I Trusted the Certificate, So Why Do I Still Get a Browser Warning?
This is a classic. Nine times out of ten, it's a SAN mismatch. You might have generated a certificate for localhost, but then you tried to access your site using http://127.0.0.1. The browser sees that 127.0.0.1 isn't listed in the certificate's SANs and throws a warning, even if you’ve already trusted the root CA.
The fix is simple: make sure every single hostname you might use—including localhost and 127.0.0.1—is explicitly listed in the SANs when you create the certificate.
Key Takeaway: The number one reason for those stubborn browser warnings is a mismatch between the URL you're visiting and the domains listed in the certificate's Subject Alternative Names. Always double-check your SAN list!
Tired of noisy pull request notifications? PullNotifier integrates GitHub and Slack to deliver concise, real-time PR updates directly into your channels, cutting down on review delays and streamlining your development workflow. Join over 10,000 engineers and try it for free at https://pullnotifier.com.