- Published on
merge in github: A Developer's Guide to GitHub Merges
- Authors

- Name
- Gabriel
- @gabriel__xyz
Merging is where all the collaborative magic happens in GitHub. It’s how you take all the new features, bug fixes, and improvements your team has been working on and officially bring them into the main codebase. To merge in GitHub, you’re essentially combining the changes from one branch into another, almost always through a pull request.
Understanding the GitHub Merge Workflow
At its heart, merging is about unifying all the different lines of work your team is pushing forward. Think about it: every time a developer ships a quick fix on a hotfix branch or builds out a cool new feature on a feature branch, those changes eventually need to make their way back to the primary line of development—usually a branch called main or master.
This whole process kicks off with a pull request, which is way more than just a merge button. It’s a dedicated space for your team to hash things out before any code gets integrated.
A pull request is where you’ll handle:
*   **Code Review:** This is the team’s chance to look over the proposed changes, offer suggestions, and make sure everything is up to snuff.
*   **Discussion:** The pull request acts as a living document. It’s the perfect place to ask questions, talk through the implementation, and get on the same page.
*   **Automated Checks:** Continuous Integration (CI) tools can automatically run tests against the new code to ensure it doesn’t break anything.
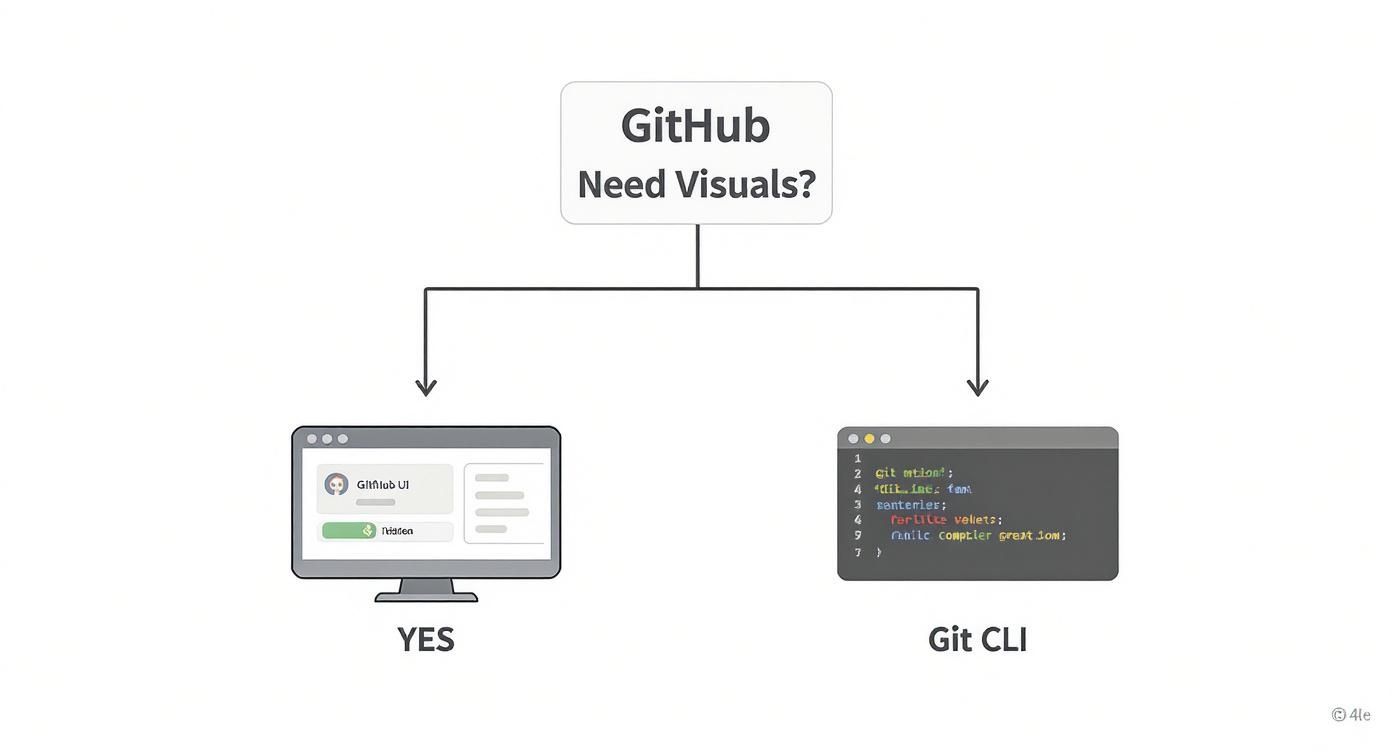
When it comes to actually performing the merge, you’ve got two main options: the friendly GitHub web interface (UI) or the powerful Git command-line interface (CLI). Neither is strictly “better”—it really comes down to your personal comfort level and what the situation calls for.
The UI is fantastic for quick, straightforward merges. It's visual and walks you right through the process. The CLI, on the other hand, gives you fine-grained control for tackling more complex merges or scripting automated workflows. To get a better handle on this entire flow, our guide on mastering the pull request GitHub workflow is a great next step.
GitHub UI vs Git CLI Merging at a Glance
Choosing between the GitHub UI and the Git CLI often depends on the task at hand and a developer's personal preference. Here’s a quick breakdown to help you decide which tool is right for the job.
| Feature | GitHub UI (Web Interface) | Git CLI (Command Line) |
|---|---|---|
| Best For | Straightforward merges, visual learners, quick reviews | Complex merges, scripting, resolving intricate conflicts |
| Ease of Use | Very high; intuitive buttons and clear visual feedback | Moderate to high; requires knowledge of Git commands |
| Conflict Resolution | Basic web-based editor for simple conflicts | Powerful, full-featured conflict resolution with local tools |
| Control | Limited to available merge strategies (Merge, Squash, Rebase) | Full control over merge process, commits, and history |
| Speed | Fast for simple merges with no conflicts | Can be faster for experienced users and automated workflows |
| Collaboration | Excellent; integrates seamlessly with PR discussions/reviews | Primarily a solo tool, but used to push collaborative work |
While the GitHub UI is incredibly convenient for most day-to-day merges, seasoned developers often find themselves dropping into the CLI for its raw power and flexibility, especially when things get complicated.
A successful merge isn't just about combining code; it's about communicating change. A well-managed pull request tells a story, giving context to your work and making the project history understandable for everyone, now and in the future.
Choosing Your Merge Strategy
How you merge in GitHub is more than just a click of a button; it’s a decision that shapes your project's history and your team’s entire workflow. The strategy you choose dictates whether your commit log ends up as a detailed, branching epic or a clean, straight-to-the-point narrative. Getting this right is key to keeping your codebase healthy and easy to understand down the road.
There are three main ways to get your code into the main branch: creating a merge commit, squashing, or rebasing. Each one has its own vibe and is best suited for different situations. Some teams even enforce a specific method across their repos to keep things consistent. If you want a deeper dive, there's a great breakdown of pull request merge strategies on Graphite.com.
Before we get into the strategies, you'll need to decide where you're going to merge: the user-friendly GitHub website or the powerful command line.
Honestly, it just comes down to what you're comfortable with. If you live in the terminal, git is your best friend. If you prefer a more visual approach, the UI is perfect.
Create a Merge Commit
This is the default method on GitHub and probably the one you've seen the most. When you use a standard merge, Git creates a brand-new "merge commit" in the main branch. This special commit acts as a knot, tying the histories of your feature branch and main together.
*   **The good:** It preserves the *entire* history of your feature branch, warts and all. This can be a lifesaver for code archaeology when you need to understand the thought process behind a series of changes months later.
*   **The bad:** It can seriously clutter up the `main` branch history. If your feature branch is full of tiny commits like "fix typo" or "wip," the project log can become a noisy mess that’s hard to follow.
A merge commit tells the full, unabridged story, including every detour and correction. It’s the most transparent option, but that transparency can sometimes create a messy project history if you’re not careful.
Squash and Merge
Squash and merge is my personal favorite for most situations. It takes all the commits from your feature branch and squishes them down into a single, clean commit on the main branch. The messy, detailed history of the feature branch gets left behind.
This approach is perfect for when the journey isn't as important as the destination. Think about a feature branch with ten commits full of minor fixes, tweaks, and refactors. Squashing presents that final, polished feature as one atomic change. It keeps the main branch history tidy and focused on significant additions, not the nitty-gritty of the development process.
This is our team's preferred method because it makes using tools like git bisect to find bugs a breeze and simplifies generating changelogs.
Rebase and Merge
Rebase and merge is for the true neat freaks out there. This strategy takes the commits from your feature branch and replays them, one by one, on top of the latest version of the main branch. The result is a perfectly linear history, almost as if your feature was developed in a straight line without any other changes happening in parallel.
With this method, no merge commits are created, which many teams love. The big catch? It rewrites history. This is a huge "danger zone" if the branch is shared with other developers, as it can cause all sorts of confusion and conflicts.
You should only use this when you want the cleanest possible history and your entire team is comfortable with rebasing workflows and understands the risks.
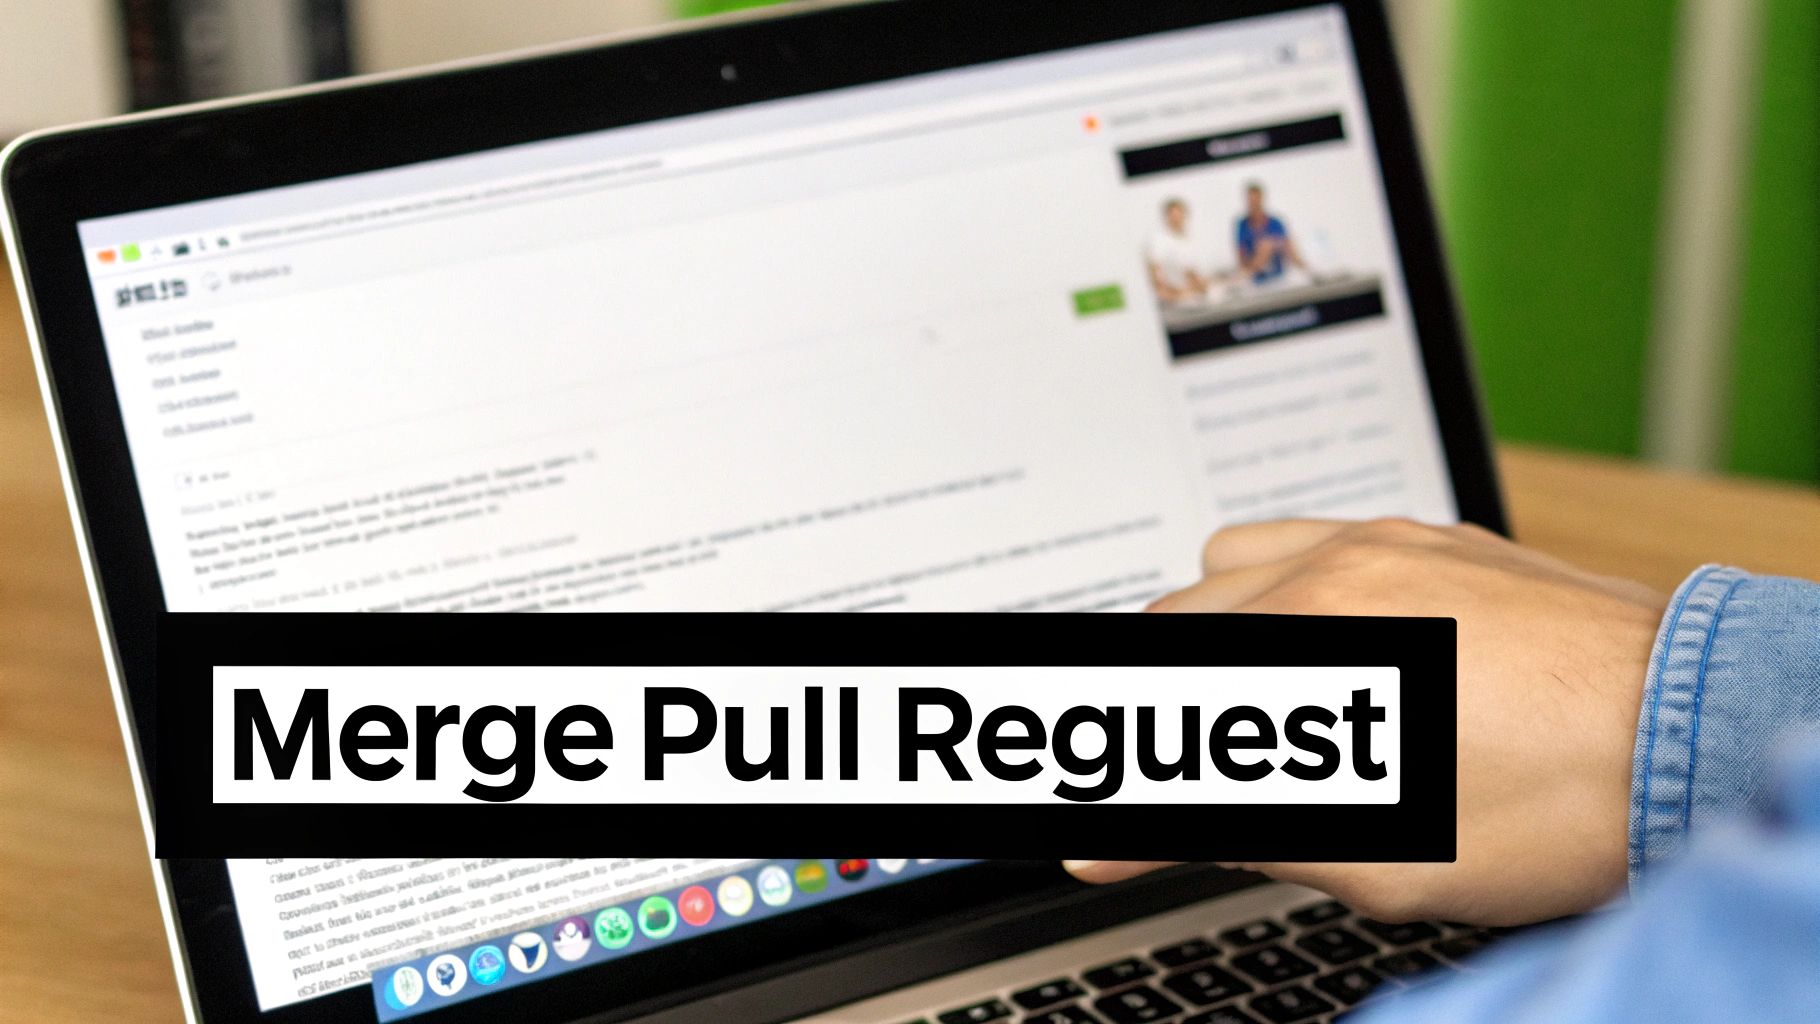
How to Merge a Pull Request
Once your pull request has been reviewed, tested, and approved, it’s time to get those changes into the main branch. This is the moment where your work officially becomes part of the project. You can either stick to the friendly confines of the GitHub website or drop down into the command line for more direct control.
Honestly, both paths lead to the same destination. Your choice really boils down to personal preference or the complexity of the merge. For most day-to-day work, the GitHub UI is more than enough—it’s quick, visual, and gets the job done.
Merging via the GitHub UI
Merging directly on the GitHub website is about as straightforward as it gets. When you open a pull request, you’ll see the entire history—conversation, commits, and CI checks—all laid out. As long as all the automated checks have passed and you've got the green light (and the right permissions), a big green "Merge pull request" button will be waiting for you.
But before you click it, pause for a second. There’s a small dropdown arrow right next to that button. This is where you select your merge strategy: Create a merge commit, Squash and merge, or Rebase and merge, which we talked about earlier.
This little dropdown is where your team’s workflow decisions turn into action, shaping how your project’s history looks. Once you’ve picked your method and hit confirm, GitHub takes it from there.
Merging from the Command Line
For developers who live in the terminal, merging locally gives you a much finer degree of control. The process is pretty standard: you fetch the latest changes from the remote, switch over to your main branch, and merge your feature branch into it.
Here’s what that sequence of commands usually looks like:
First, grab the latest state of the repository. This downloads all the newest commits and branches without touching your local files.
git fetch originNext, hop over to your main branch. You always need to be on the branch you want to merge into.
git checkout mainMake sure your local main branch is current. This pulls in any changes that were merged while you were off working on your feature.
git pull origin mainNow for the main event: merge your feature branch. This is the command that integrates the work from
feature-branchintomain.git merge feature-branch-nameFinally, push the merged
mainbranch back up to GitHub so everyone else can see it.git push origin main
A clean command-line merge feels great, but just remember it can bypass the automated checks and review requirements you see in the GitHub UI. That is unless you have protected branches set up to enforce them on the server side. Always make sure you’re not accidentally skipping crucial quality gates.
The command-line approach is powerful, no doubt—especially for complex situations or automation scripts. But it does require more coordination. To keep the team in sync, many developers use tools to automatically assign reviewers in GitHub, making sure PRs get proper sign-off before any merge commands are run. A little automation here can dramatically speed up the review cycle, whether you end up merging in the UI or from your terminal.
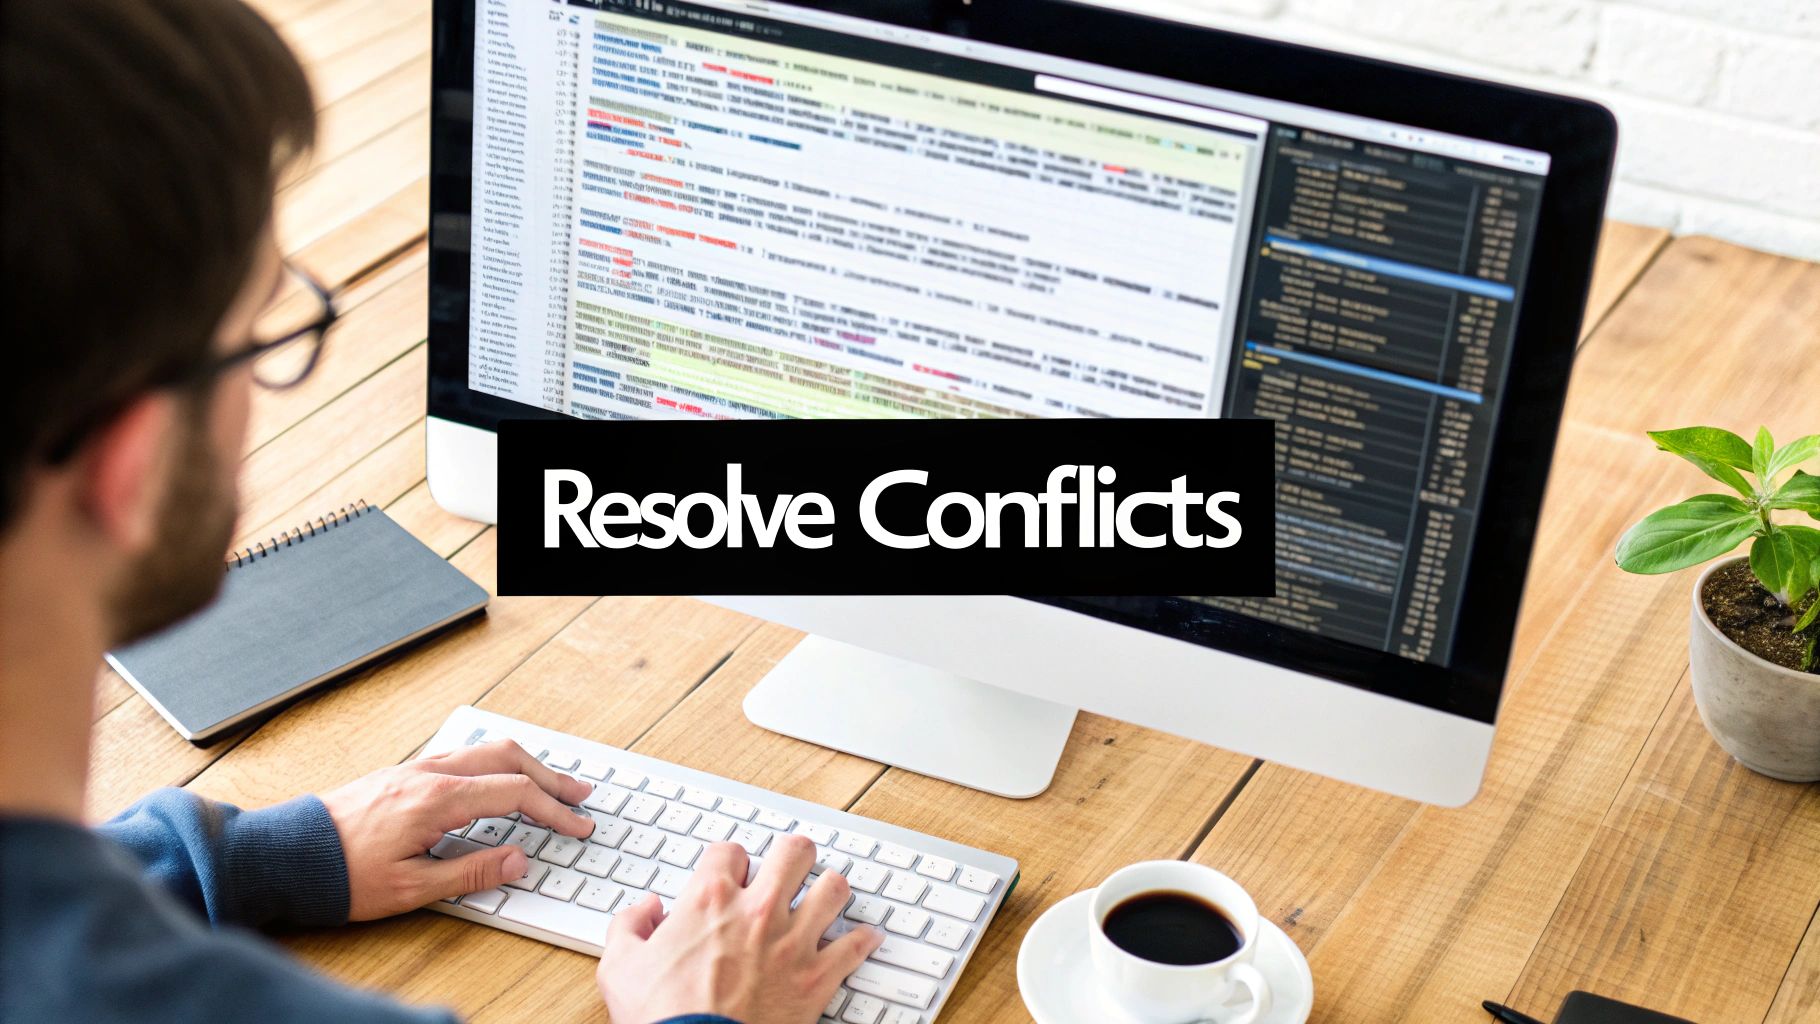
Navigating and Resolving Merge Conflicts
Sooner or later, every developer hits a merge conflict. It's just a part of life when you're coding collaboratively, but it doesn't have to bring your workflow to a grinding halt. A conflict is simply Git's way of telling you it can't automatically figure out which changes to keep.
This usually happens when you and a teammate edit the exact same lines in a file, but on different branches. When you try to merge in GitHub, Git throws up its hands and says, "Hey, I have two different instructions for this line. You need to tell me which one is right."
Instead of seeing conflicts as a headache, I like to think of them as a safety feature. They stop changes from being silently overwritten and force a human to make sure the final code is exactly what the team intended.
Identifying and Understanding Conflict Markers
When a conflict pops up, Git actually modifies the file in question, inserting visual markers to show you exactly where the competing changes are. These markers neatly separate the different versions of the code so you can compare them.
You'll see three distinct markers:
*   `<<<<<<< HEAD`: This points to the start of the conflicting code from your current branch (the one you're merging *into*).
*   `=======`: This acts as a divider, separating your changes from the ones coming in.
*   `>>>>>>> branch-name`: This marks the end of the conflicting code from the other branch (the one you're merging *from*).
Everything between <<<<<<< and ======= is what's on your branch. Everything between ======= and >>>>>>> is from the branch you're trying to merge. Your job is to step in, edit this block, get rid of the markers, and leave only the code you want to keep.
The Resolution Process in Action
Let’s walk through a common scenario. Imagine you changed a button's text from "Submit" to "Send Request" on the main branch. At the same time, a colleague on a feature-ui-tweaks branch changed that same button's text to "Confirm Action." When you go to merge feature-ui-tweaks into main, Git will flag a conflict.
The conflicted file will look something like this:
<<<<<<< HEAD
  <button>Send Request</button>
=======
  <button>Confirm Action</button>
>>>>>>> feature-ui-tweaks
To fix this, you have to decide which version is correct. You could keep your "Send Request" and delete the other version, or you might decide "Confirm Action" is better. You could even combine them or write something entirely new.
The key to resolving conflicts isn't just about deleting lines; it's about understanding the intent behind both changes. A quick chat with your teammate can often clarify the goal and lead to a much better solution than either individual change.
For simple conflicts like this one, GitHub's web editor gives you a pretty handy interface to pick the winning change. But when things get more complex—with multiple files or tricky logic—it's almost always better to pull the changes down locally and use the powerful merge tools built into your IDE. If you need a deeper dive, check out our guide on how to resolve conflicts in Git, which covers both simple and advanced situations.
Once you’ve manually edited the file to contain the final, correct code and removed all the <<<<<<<, =======, and >>>>>>> markers, the process is simple. You save the file, stage it (git add), and commit the resolution. This final commit completes the merge, successfully weaving the changes together.
Advanced Merging Techniques and Best Practices
Once you get the hang of basic merges, it's time to level up. Adopting a few advanced practices can make a world of difference in protecting your codebase and helping your team move faster. A solid merge in GitHub isn't just about smashing code together; it's about doing it safely and keeping your project's history clean and understandable.
Your first line of defense should always be protected branches. This feature is non-negotiable for any serious project. By protecting your main branch, you can block direct pushes entirely. This forces every single change to come through a pull request, guaranteeing another set of eyes on the code before it goes live.
Next, layer on status checks. Requiring CI checks to pass before merging means your automated pipeline—the one running all your tests, linters, and builds—has to give a thumbs-up. Only then does the merge button even light up. This one simple rule is a powerful gatekeeper against broken code ever hitting your main branch.
Maintaining a Healthy Feature Branch
We’ve all been there: a feature branch falls so far behind main that the eventual merge becomes a tangled, painful mess. As the base branch evolves with other developers' work, your branch drifts further and further away, setting you up for a conflict nightmare.
To sidestep this headache, get into the habit of pulling the latest changes from main into your feature branch regularly. You can do this by either merging main into your branch or, for a much cleaner history, rebasing your work on top of main.
*   **To merge:** Run `git checkout your-feature-branch` and then `git merge main`. This pulls all the new updates into your branch, letting you fix small conflicts as you go.
*   **To rebase:** Run `git checkout your-feature-branch` and then `git rebase main`. This essentially rewrites your branch's history by placing your commits on top of the latest version of `main`, creating a straight, linear timeline.
This proactive approach turns what could be one giant, stressful merge conflict into a series of small, manageable updates. The developer community is always refining these workflows. For example, the Git Merge conference recently highlighted how incremental indexing in Git now makes merge operations far more efficient, a huge win for massive repositories. You can read more about the latest in Git merge strategies from GitHub's blog.
Pro Tip: An updated feature branch is a happy feature branch. Syncing with
mainevery day or two is one of the best habits you can build for smoother collaboration and fewer merge-day surprises.
The Power of Clear Communication
Technical guardrails are great, but don't ever underestimate the power of good old-fashioned communication. The quality of your pull request titles and descriptions can make or break your team's efficiency. A PR simply titled "bug fix" helps no one. Something like "Fix User Login Timeout on Safari" immediately tells everyone what's going on.
Your PR description should fill in the rest of the story:
*   **What problem does this solve?** Always link back to the ticket or issue number for context.
*   **How was it solved?** Give a brief, high-level overview of your technical approach.
*   **How can it be tested?** Provide clear, step-by-step instructions for reviewers to follow.
This information becomes an invaluable part of your project's history. It helps future developers—including your future self—understand why a change was made months or years down the line. To round out your workflow, consider adopting these version control best practices.
By combining protected branches with consistently updated feature branches and crystal-clear communication, your merge process transforms from a simple command into a cornerstone of your team’s quality and speed.
GitHub Merging FAQ
Even when you feel like you've got the hang of merging, a few common questions always seem to pop up. Let's tackle some of the trickiest situations developers run into so you can keep your workflow smooth and your project history clean.
Merge vs. Rebase: What’s the Real Difference?
This is probably the most-asked question, and it all comes down to how you want your project's history to look.
A standard merge (git merge) is non-destructive. It takes two branches and joins them with a special "merge commit." This preserves the exact history of your feature branch, showing how parallel lines of work were woven together. It’s all about transparency.
Rebasing (git rebase), on the other hand, is like rewriting history. It lifts the commits from your feature branch and replays them, one by one, on top of the target branch's latest commit. The result is a perfectly straight, linear history—as if all the work was done in a single, clean line.
Stick with a merge for shared branches like
mainto keep a transparent and accurate record of what happened. Use rebase to tidy up your own feature branches before you open a pull request. It keeps the final history much cleaner for everyone else.
How Do I Undo a Merge in GitHub?
We've all been there—you merge something by accident and feel a moment of panic. Don't worry, it's almost always fixable. The safest way to undo a merge that’s already been pushed is to revert it.
The git revert -m 1 <merge_commit_hash> command creates a new commit that simply reverses all the changes introduced by the bad merge. This approach is ideal because it doesn't mess with the existing project history; it just adds a new commit that cleans up the mistake.
If the merge only exists on your local machine and hasn't been pushed yet, you can use git reset. This moves your branch pointer back to the commit right before the merge. Just be extremely careful with git reset on shared branches, as rewriting history can create huge headaches for your teammates.
Can I Merge with Unresolved Review Conversations?
By default, GitHub will let you merge a pull request even if there are unresolved review comments. But just because you can, doesn't mean you should. It’s a recipe for ignoring important feedback.
High-performing teams avoid this by flipping on a simple repository setting: requiring conversations to be resolved before merging. You can find this option in your branch protection rules.
When you enable this, the merge button stays grayed out until every single comment thread has been marked as resolved. This one rule does wonders for accountability and ensures all feedback is actually addressed, which is a huge part of maintaining high code quality. It turns review comments from suggestions into required actions.
Tired of noisy GitHub notifications flooding your Slack channels? PullNotifier delivers clean, consolidated pull request updates, cutting through the clutter so your team can focus on what matters—shipping great code. Start for free and accelerate your code reviews today.